When you click on links to various merchants on this site and make a purchase, this can result in this site earning a commission. Affiliate programs and affiliations include, but are not limited to, the eBay Partner Network.
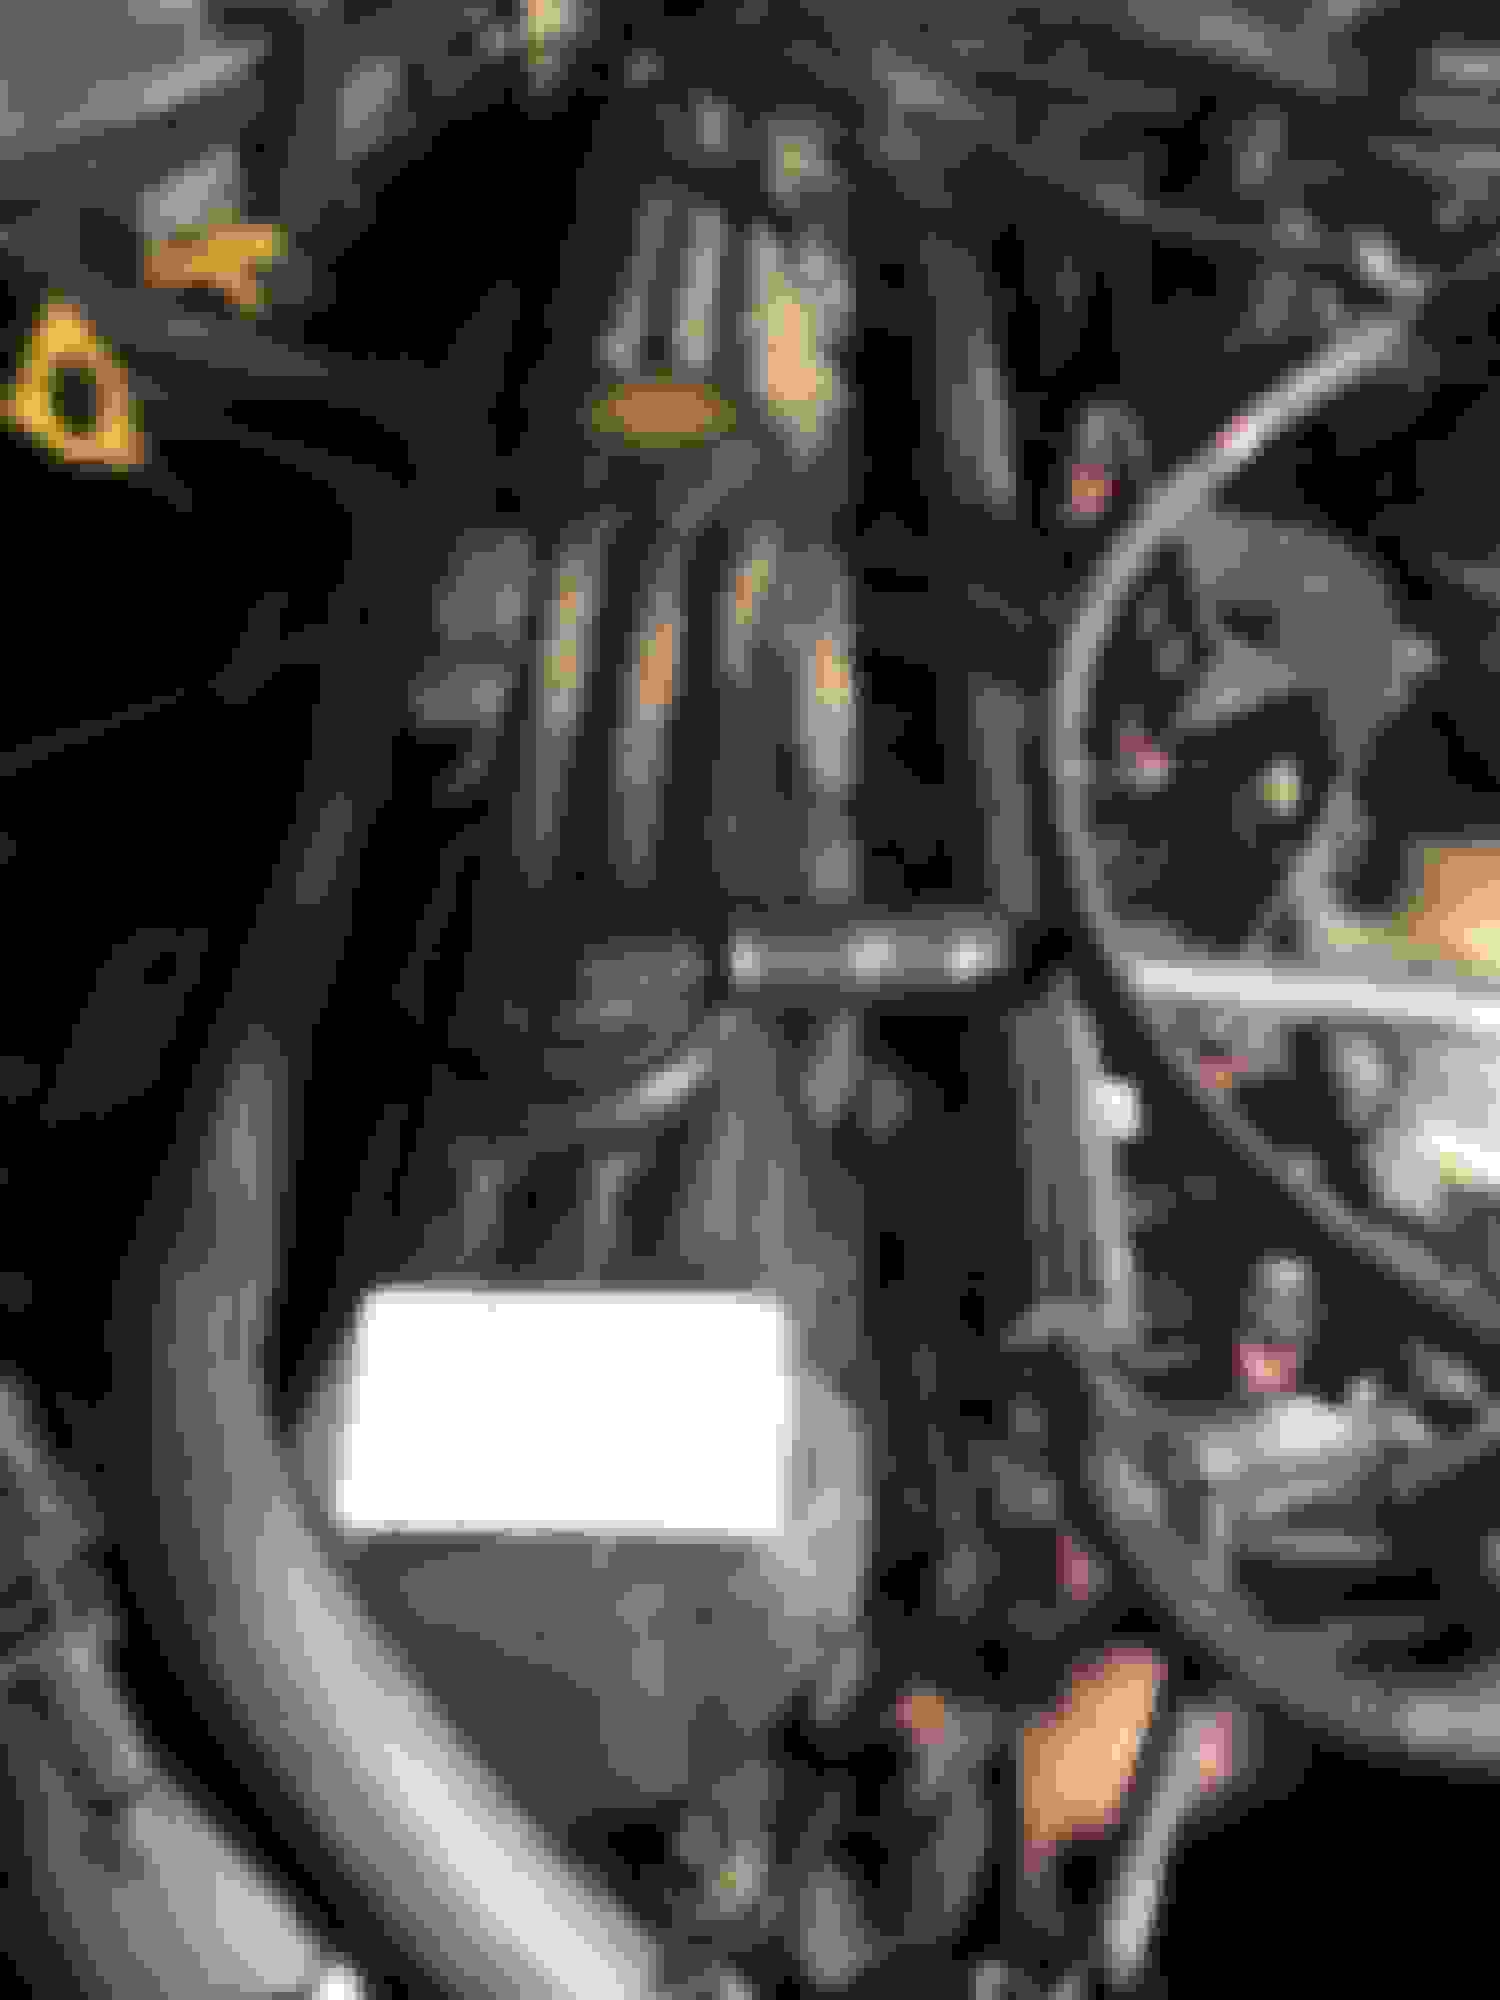
Frustrated. I can't get the damn PCV/CCV elbows out of the valve cover, and I ended up breaking all of the flange off of the front vent. It's brittle and definitely in need of replacing. The rear vent is pretty stuck too. I bought new grommets and elbows today to replace them since it looks like oil has been leaking from there as well.
Before
Still need to find that 15th washer.
After raging for 15 minutes
I was following a write-up on this process, but the elbows seemed to come out A LOT easier for that person than for me. Removing the hoses from the elbows also seemed to be no problem for others, but I'm unable to pull them apart. Anyone have any tips to get these suckers out? Help!
My PCV valves came out the exact same way! I ended up getting a generic from the parts store and running fuel line instead of paying whatever jeep wanted for the same damn thing.
i like where you're going with this! I think the 35s look better with that 4.5" lift, although my personal preference is that the 33s really fit the XJ well, even if they look a bit small for that lift.
Me, I'm going for 2.5" and 32s eventually... might be rolling on the 29s I've got installed though. :-/
Tried to get the vents out again tonight to no avail, but I decided to start cutting/breaking crap and just replace everything. All of the parts should come in this week.
Originally Posted by Snajo
i like where you're going with this! I think the 35s look better with that 4.5" lift, although my personal preference is that the 33s really fit the XJ well, even if they look a bit small for that lift.
Me, I'm going for 2.5" and 32s eventually... might be rolling on the 29s I've got installed though. :-/
Thanks! Yeah, I might go 35s further down the line, but I'm good with 33s for now.
I had the same issue with mine recently. Just broke them all off and replaced them. Was to much of a nightmare to try and save them. One thing to make sure of is when you are pulling the hose of the back elbow, don't pull to hard because the hose might snap. Mine did and had to find a "fix" to get it replaced.
Ready to go (minus the shocks). Now I just need time. I'll be starting the rear lift on Wednesday night. Still waiting for some more tools/parts to come in to work on the leaky valve cover and CCV system.
Patience.
I'm also considering getting the valve cover powder coated. Not sure yet though. I'm gonna go drench some bolts in PB Blaster now.
When I did my lift on my '88 I sprayed the bolts once in the morning and at night for a whole week and used 2 full cans, only snapped the u bolts and a sway bar link. Good luck, those 33s look mean, you can start benching it too lol.
I installed the rear lift last night with an extremely knowledgeable and experienced friend. He showed me the basics of jacking a vehicle up safely, as this was my first time doing anything like this. Everything seemed pretty straightforward after that, provided you have the right tools.
And speaking of having the right tools, I gotta say that the installation instructions straight from RE are virtually useless. Sure, they give you a general idea of the process, but they're incredibly vague (HERE). They also don't mention the specific tools, socket/wrench/drill bit sizes, or torque specs. Of course it's entirely possible to figure all of that out on your own (as we did), but why not include it? Not only do they lack clarity and detail, but they're wrong unless the following applies to a pre '96 XJ or something I'm unaware of (and if that's the case, it should specify that). The instructions state that the center pin on the stock leaf pack is 3/8". The instructions then state that you need to enlarge the pin hole in the spring perch for the new RE leaf pack, but they don't specify to what diameter. Using a caliper, we found that the stock pin is actually 1/2" and the pin on the RE leaf pack is 9/16". Fortunately, we formed a pretty solid idea of the process beforehand by watching a few videos several times and reading some write-ups, which helped a ton.
All that being said, I thought I'd attempt to clarify the installation process here for anyone who's looking for a more detailed how-to. Please correct me if I miss anything. I also haven't torqued anything to spec yet as I'm planning on doing that once the entire lift is completed. If anyone has a good resource for all those torque specs, please share! Here goes!
RUBICON EXPRESS 4.5" SUPER-FLEX REAR LIFT
BOLT/NUT SIZES
-13mm > top shock bolts and rear sway bar bolts
-14mm > brake line vent nut
-18mm > stock U-bolt nuts, bottom shock nuts, and top nut of RE extended brake line
-21mm > shackle bolts/nuts and leaf pack bolts/nuts
-3/8" > brake line nuts
-3/4" > RE U-bolt nuts
-9/16" drill bit > enlarging spring perch hole
I was surprised at how incredibly easy and smooth the whole rear lift installation went. All of the bolts came out like butter after using breaker bars. I did use some PB Blaster, but I actually don't think it was necessary in my case. My XJ is basically rust-free. I think the combination of living in a desert and the previous owner not wheeling it has kept this XJ in excellent condition. Also, my friend pointed out that the grease pencil mark from the factory is still present on the passenger side stock leaf pack. Pretty cool.
We started by removing the sway bar and installing the extended brake line. I don't have a flare nut wrench (yet), but a 3/8" wrench worked just fine on the brake line nuts. We used a 14mm wrench on the top vent nut and used a hammer and flat head to knock out the retainer clip up at the top connection for the brake line. The new brake line was a little twisted once we got it installed, so I used an 18mm wrench to loosen the brake line nut at the top connection enough to twist it into a better alignment.
Next, we took the shock off the driver side. No problems there. Both shocks were in pretty bad shape though, and the passenger side shock was leaking. Considering how well it went for me, I'm not sure why people complain about bar pins. I was thinking about getting BPE's, but I don't think that I need them anymore. As for new shocks, I'm planning on measuring extended and collapsed lengths once the lift is complete and buying shocks based on that.
After that, we were able to remove the driver side leaf pack after removing the U-bolts and 21mm bolts. Again, no issues after loosening with a hammer and breaker bar. At this point, we drilled the 1/2" hole in the spring perch out to 9/16". Then we put the new RE leaf pack in. The new U-bolts are extremely long, and I plan to cut them down eventually. On the driver side leaf pack, we bolted the shackle and rear eye first and then moved to the forward eye. It might have been the fact that we were on a slope (driveway), but the forward leaf eye wasn't even close to the holes in the frame. We solved this by wrapping a tie down around the axle and locking the front hook to a hole in the frame. One person ratcheted while the other pushed the axle from the rear. Worked out pretty well. We also varied the tension on the leaf pack as needed by raising or lowering the axle with the floor jack.
With the driver side done, we moved over to the passenger side. Taking everything we learned, we put the tie down around the axle, attached it to the frame, and cinched it down BEFORE we removed the stock leaf pack. We also bolted the forward eye first and then the rear eye and shackle for the new leaf pack. This side probably took about 20 minutes.
Lastly, we put the 33s on. Beastly and now level on an incline.
Lots of room for activities here.
Pretty cool being able to get under the Jeep without jacking it up.
Needless to say, I'm pretty damn stoked with how it turned out. The stock lift height is supposedly 17.5" in the rear (center of hub to fender). That length now measures 25". Did I measure wrong or holy crap?


 04-03-2015, 11:55 PM


 Fortunately, we formed a pretty solid idea of the process beforehand by watching a few videos several times and reading some write-ups, which helped a ton.


