Lanes 99 2 door
 09-25-2013, 08:56 AM
#1
Member
Thread Starter

Join Date: May 2013
Location: CT
Posts: 196
Likes: 0
Received 2 Likes
on
1 Post
Year: 1999
Model: Cherokee
Engine: 4.0 HO
I figure Ill start a build thread for my GFs Jeep to keep track of the progress. Right now Ill give a little intro into it and throw out a bunch of pictures from the past month or so and hopefully she'll be on her to continue with updates.
It all started after I met my GF and took her off road a few times. It didnt take long before she was hooked and was wanting a rig of her own to wheel in

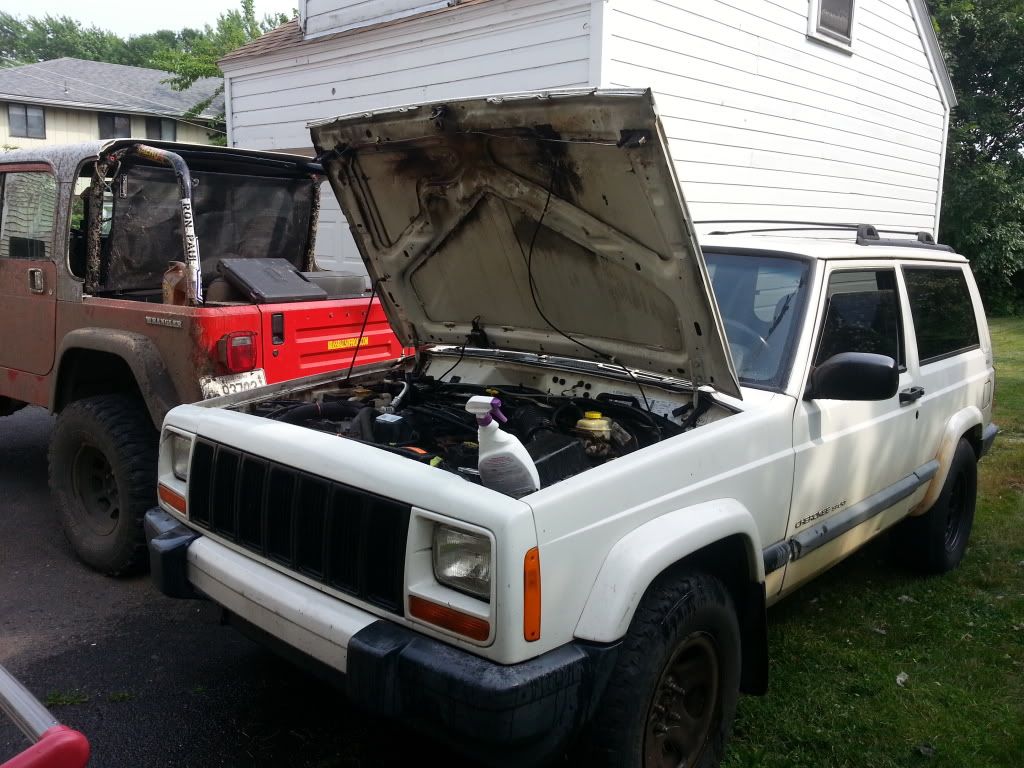
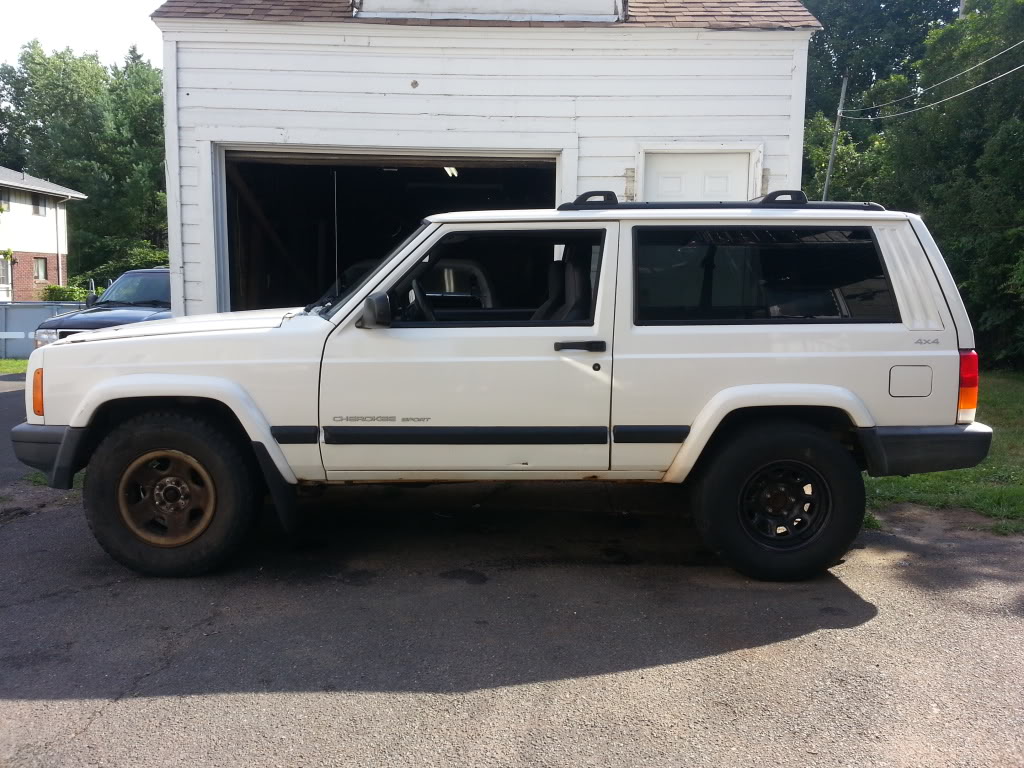
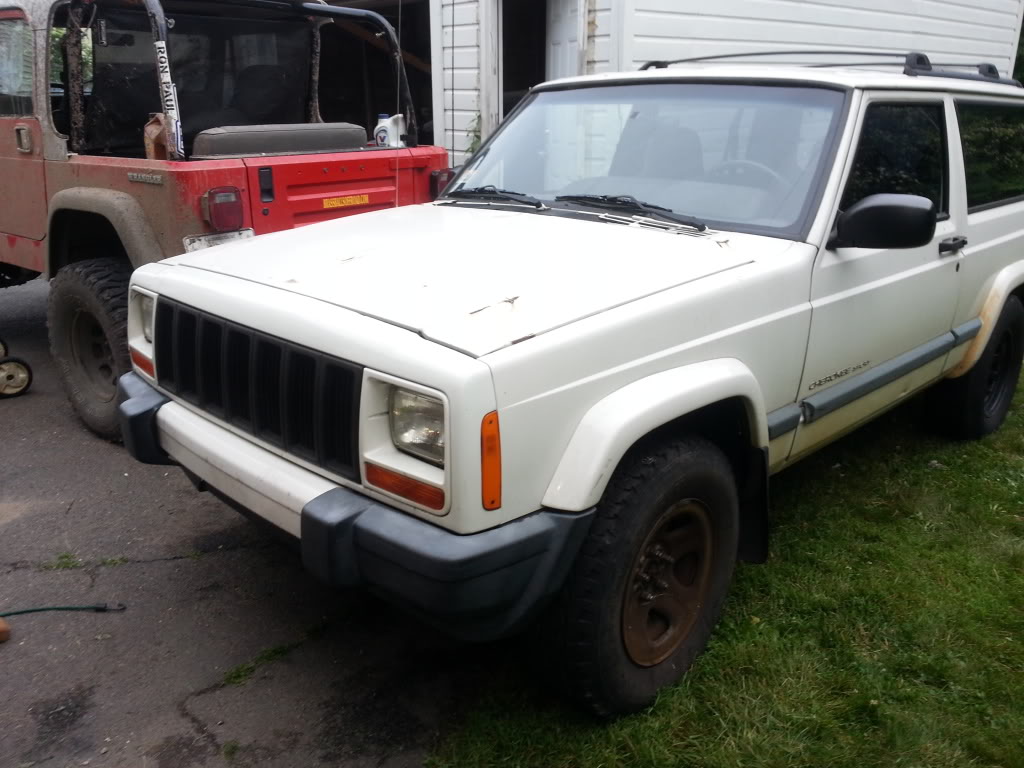
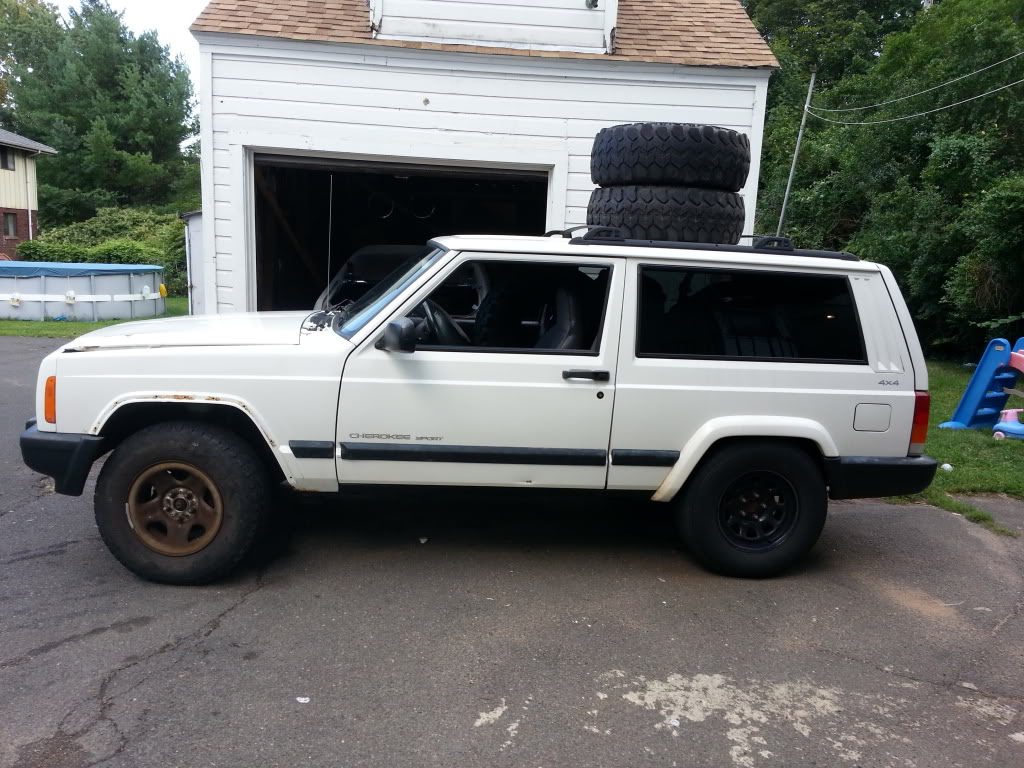
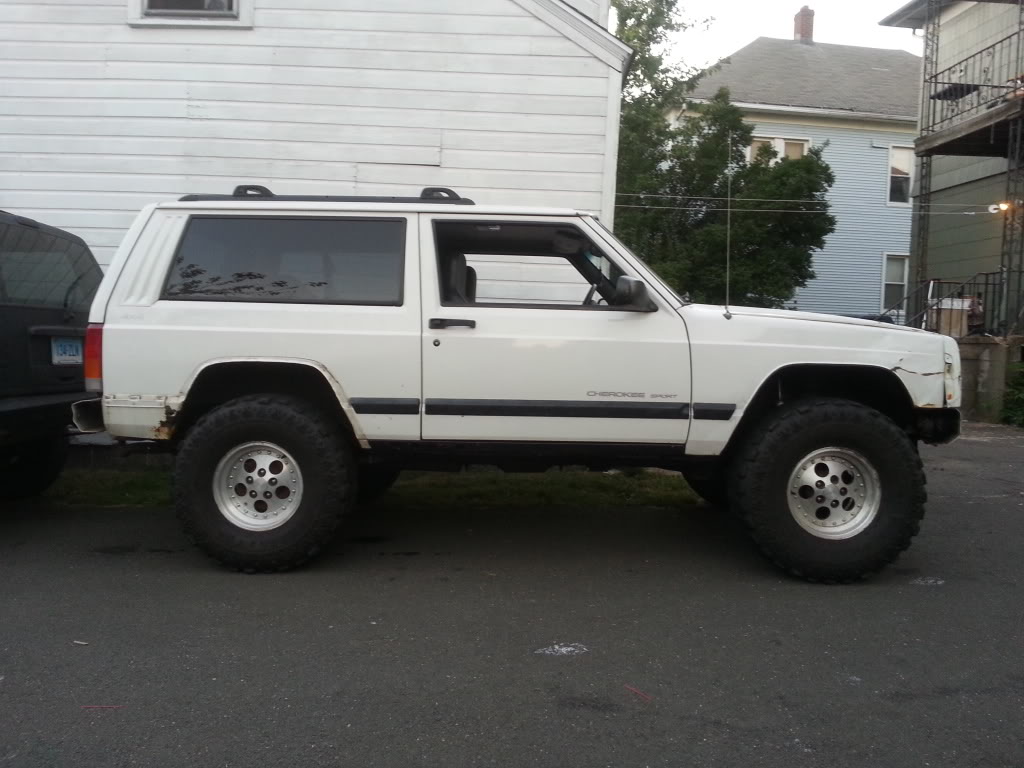
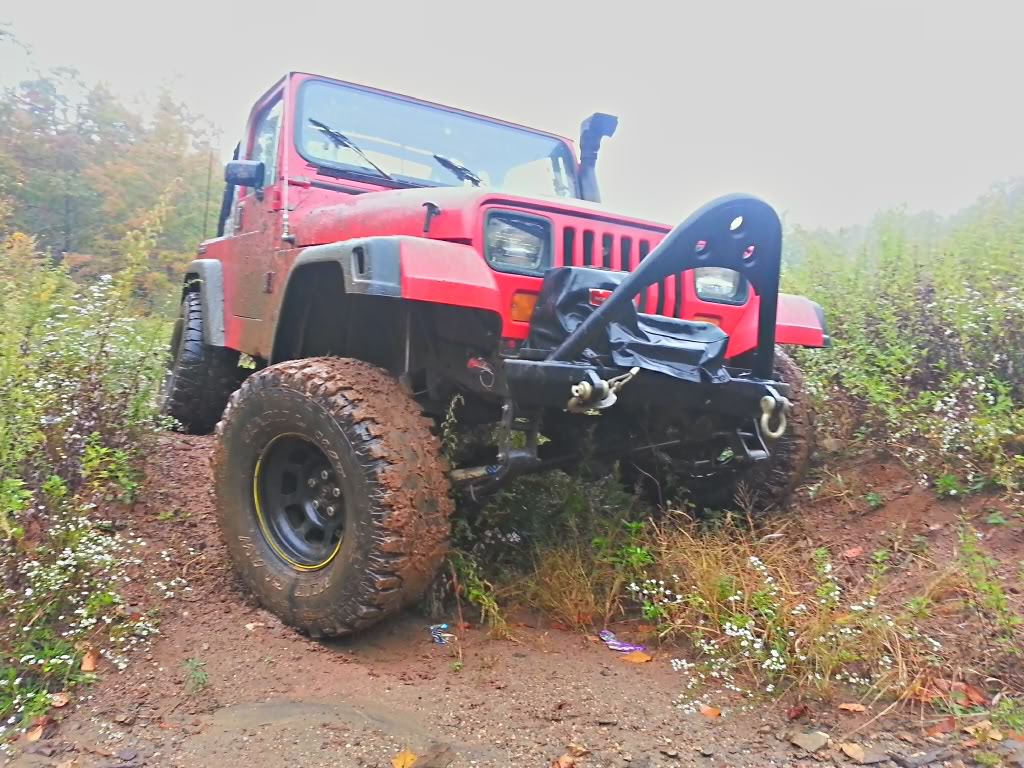
So we picked up a nice white 2 door after looking at a dozen other rust buckets and decided that this will be the one
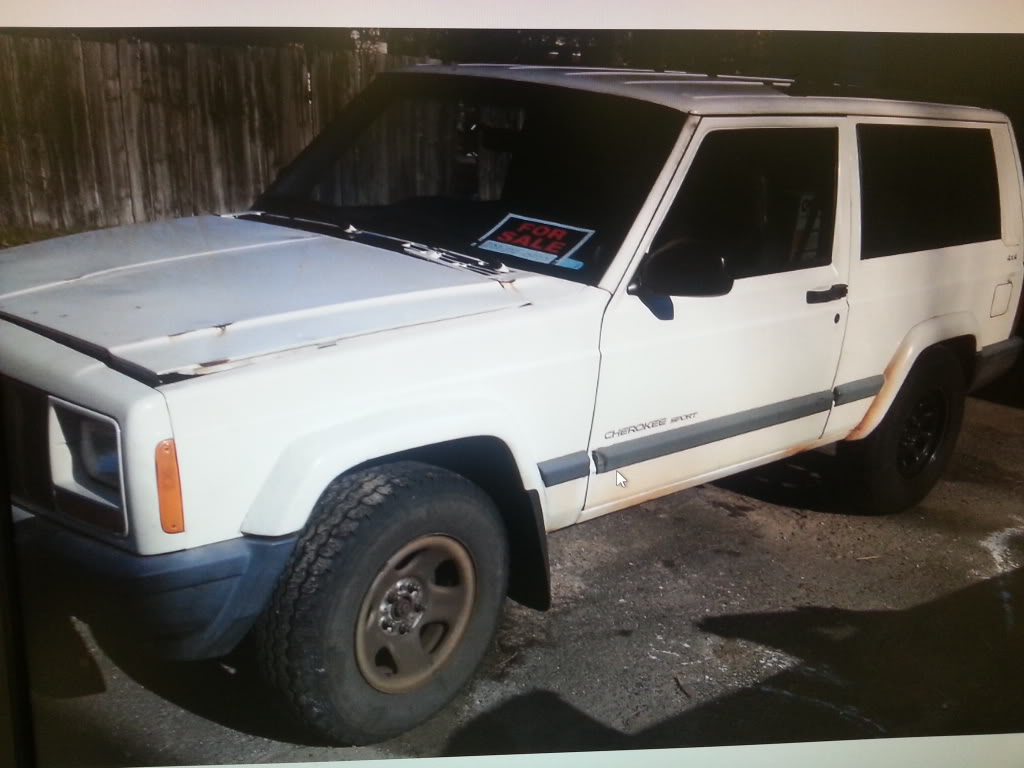
Yeah Its not the cleanest, it has some obvious exterior damage but it was in a lot better shape than all the other ones up here and we got it for a good price after talking the guy down.
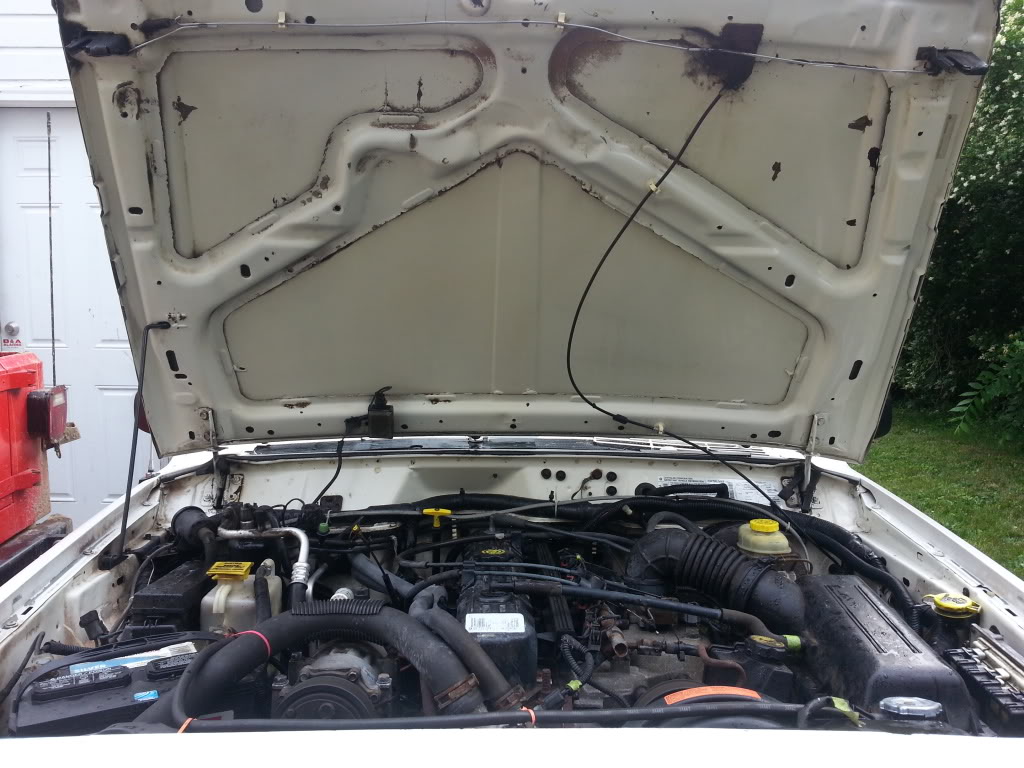
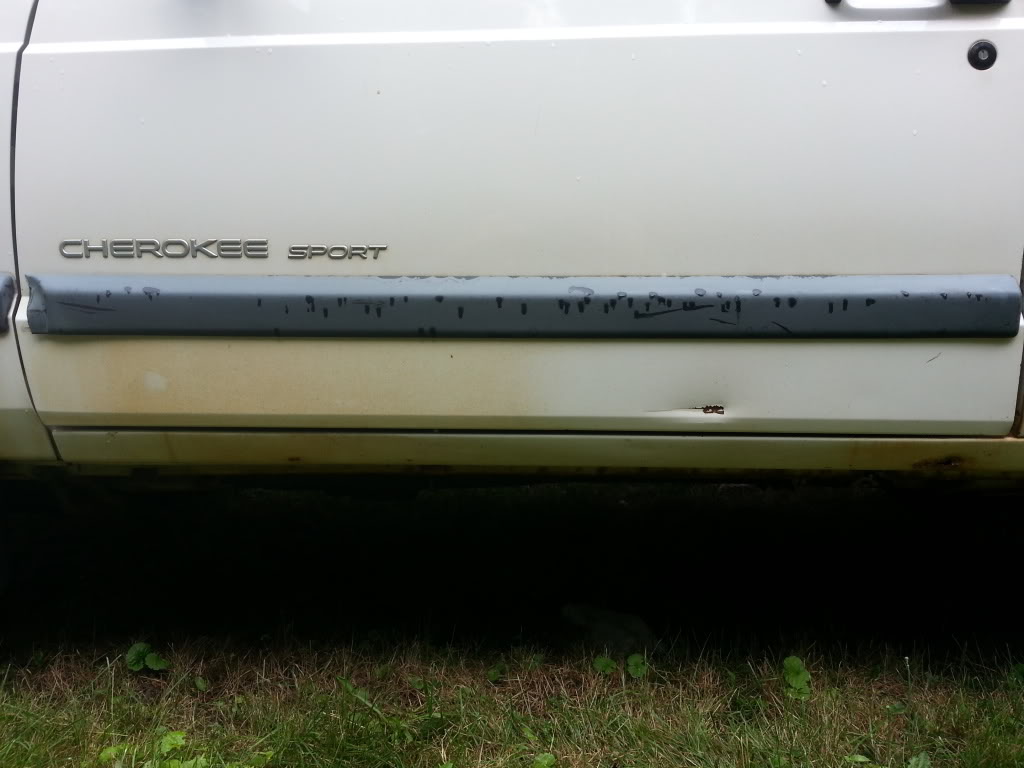
First thing we did was clean it up. The interior was kind of gross with candy wrappers and trash. The exterior had a lot of green and some rust from sitting in the grass for a while and the black trim was pretty faded. And the engine compartment was filthy as well.
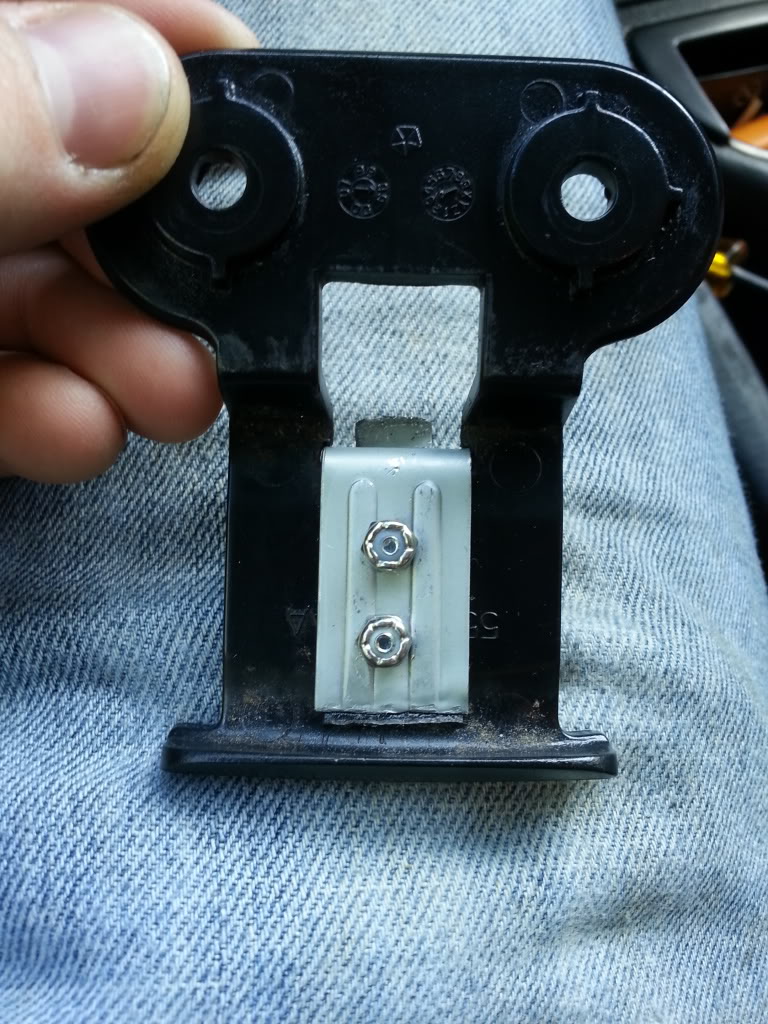
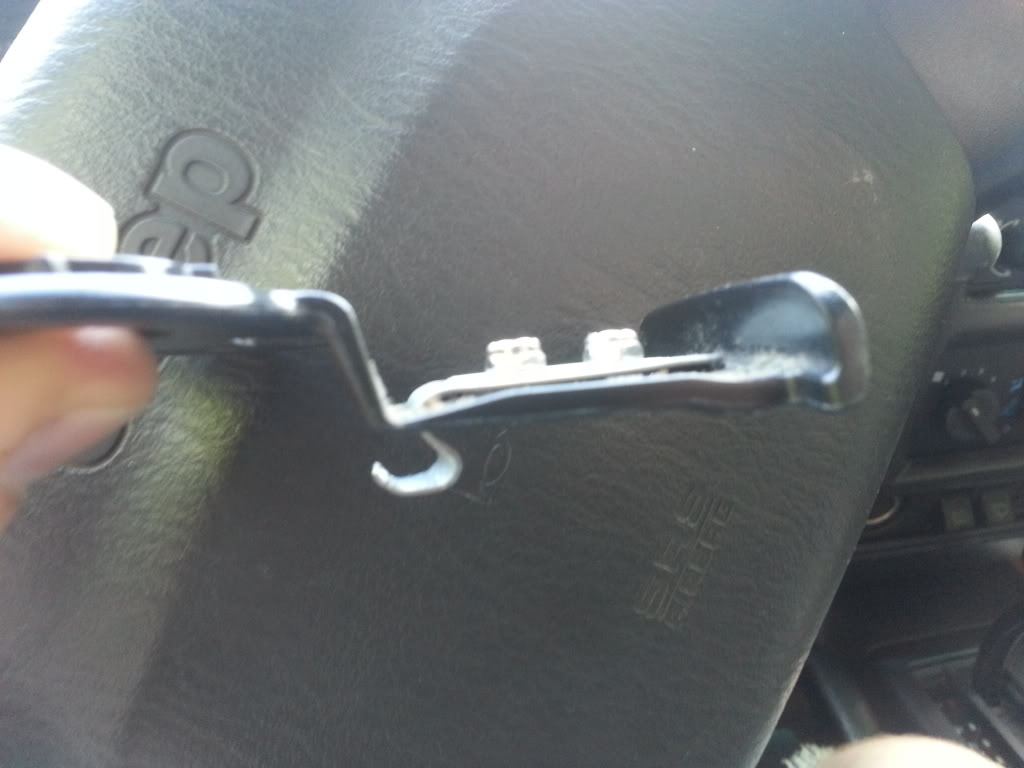
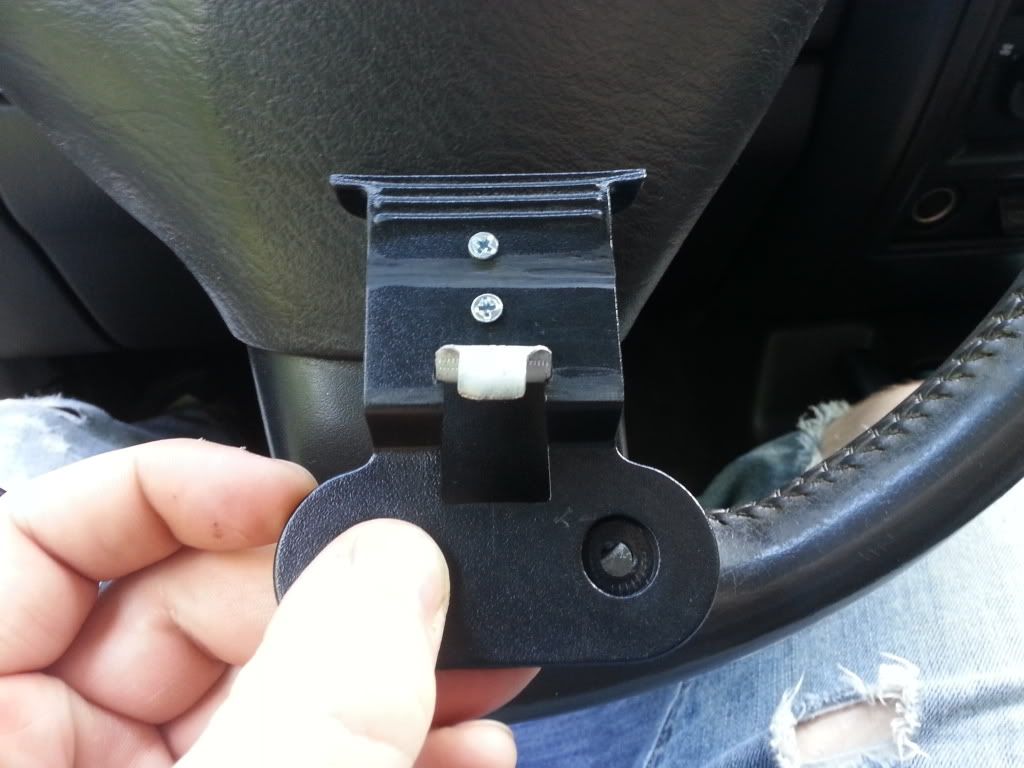
Even fixed the center console latch
Then I striaghten out the hood and passenger fender enough to close the hood
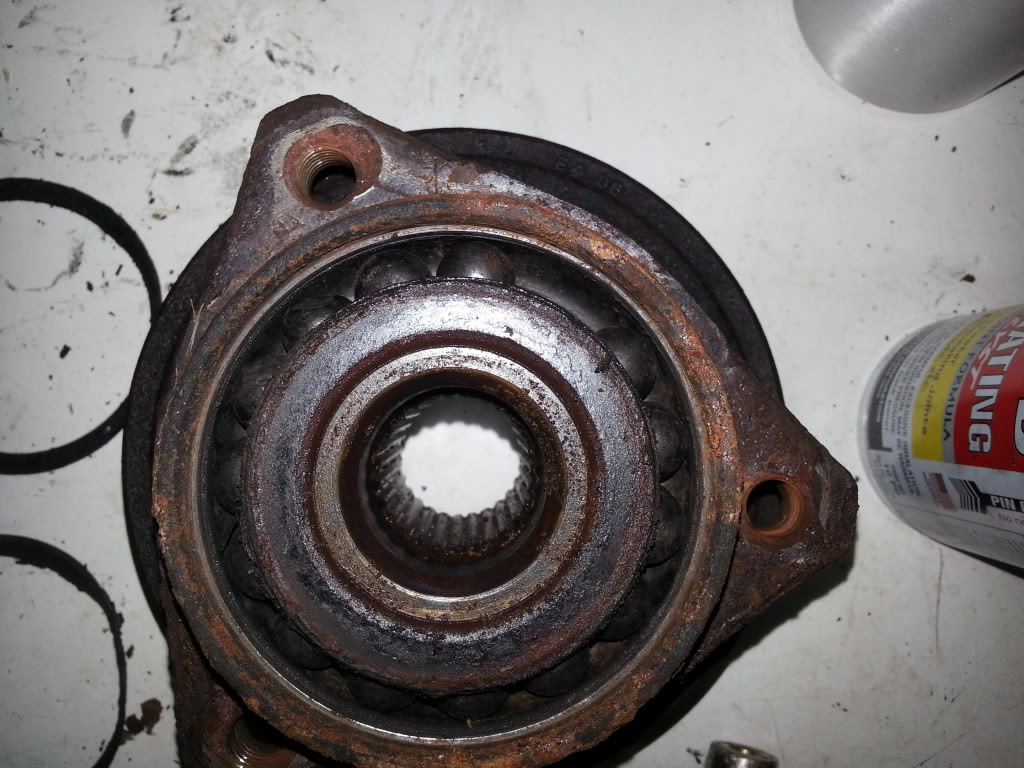
One day on the way to my garage, the driver wheel bearing blew apart!

During all this, I scowered craiglist.. and came up with a 3.5" lift and 5 33" super swampers without rims. Then I found a set of alloy rims that had some 32" super swampers on them. Also, picked up a front tube bumper
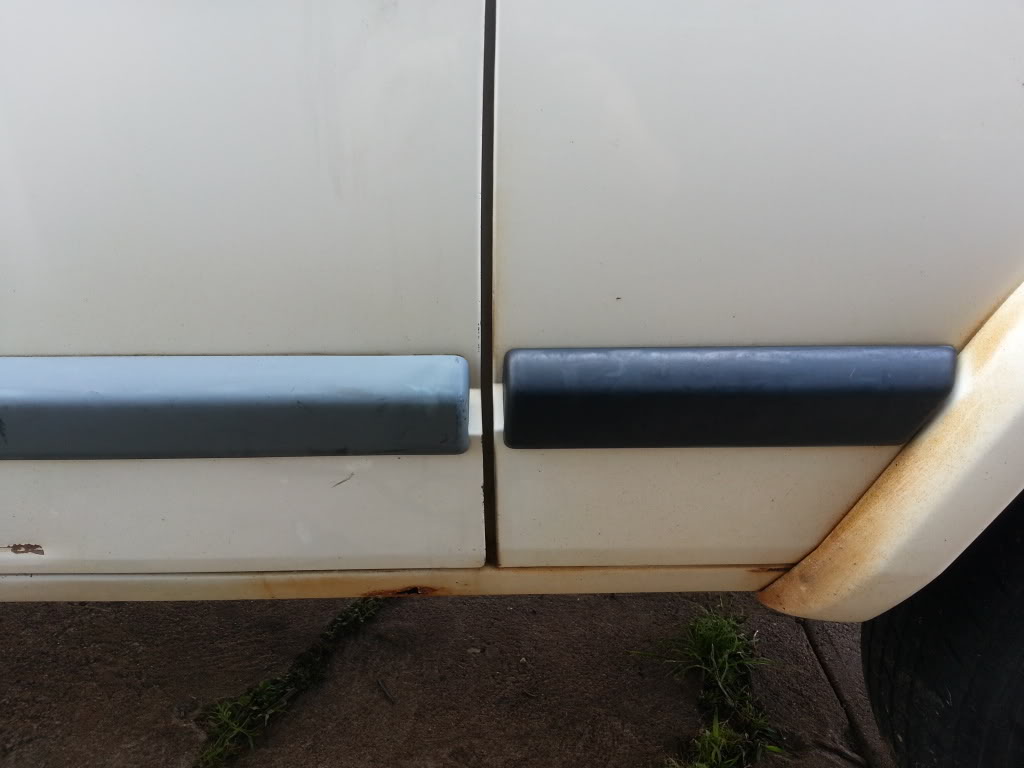
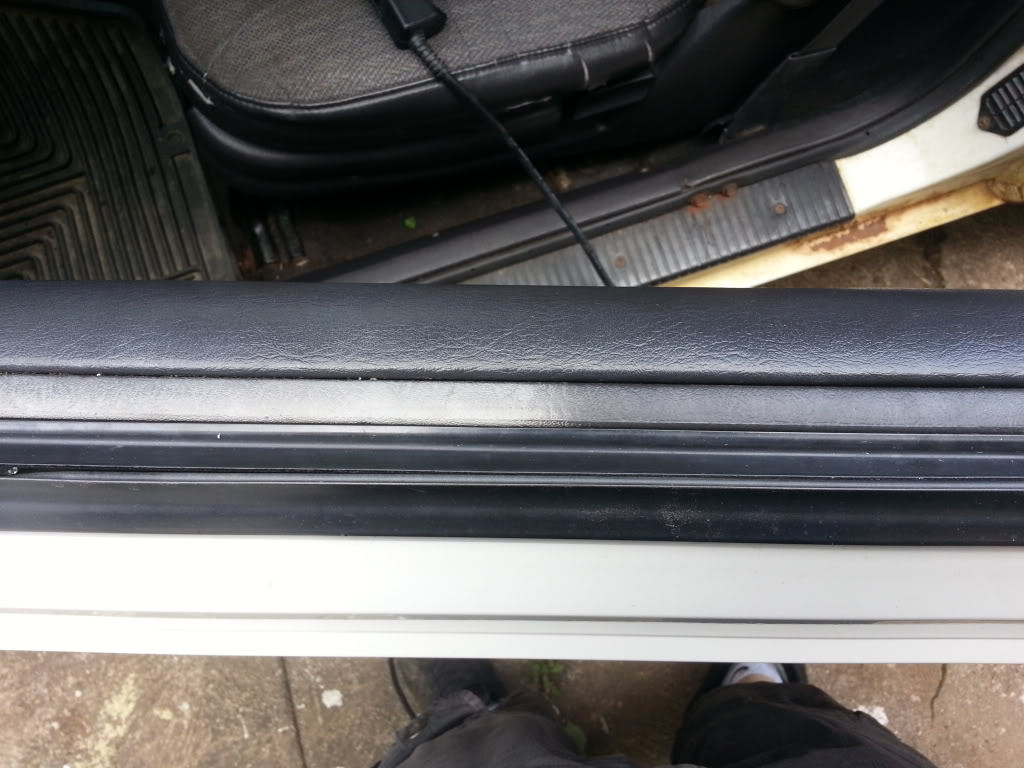
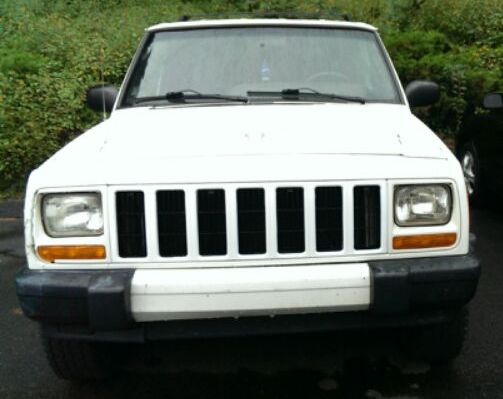
So for the next couple weeks I started PB blasting everything in prep for the lift. We also painted the grill, removed the flares, painted the rockers and removed the rear shocks so I could deal with those upper bolts before getting into the lift.
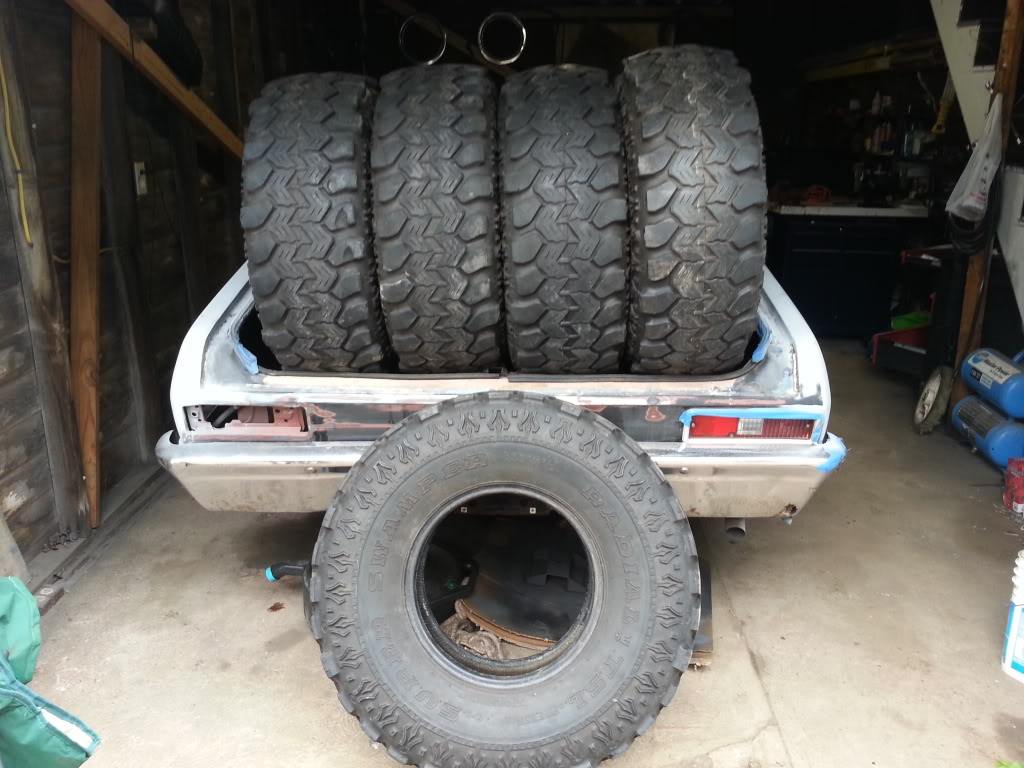
Loaded up with all 8 super swampers and rims
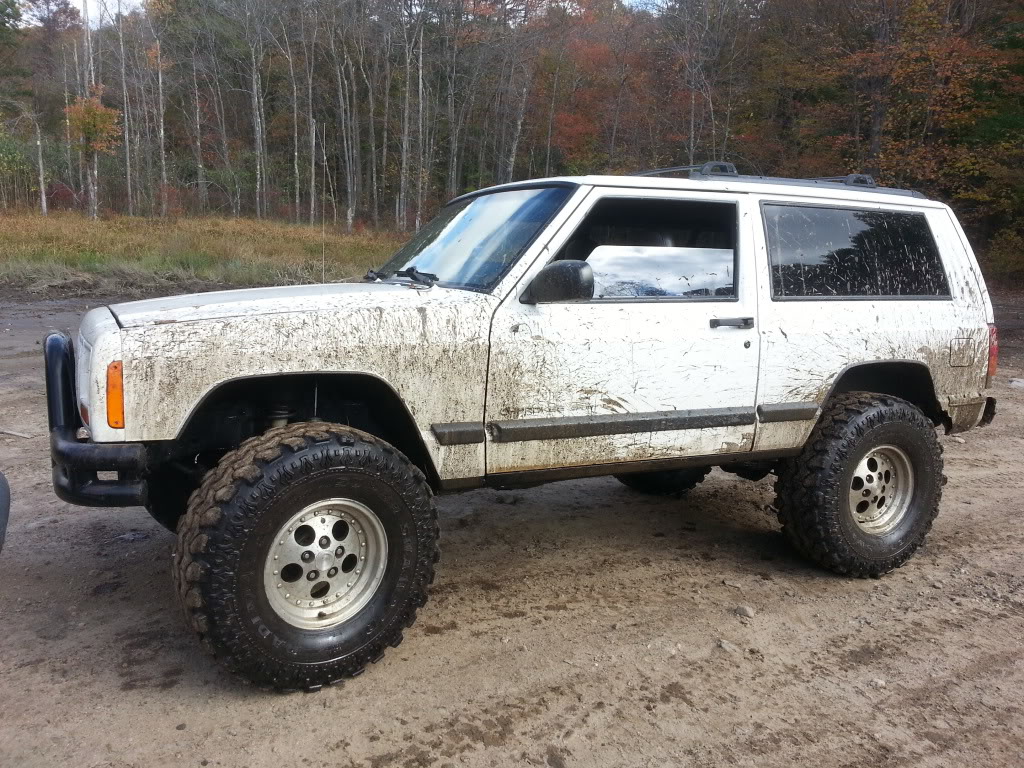
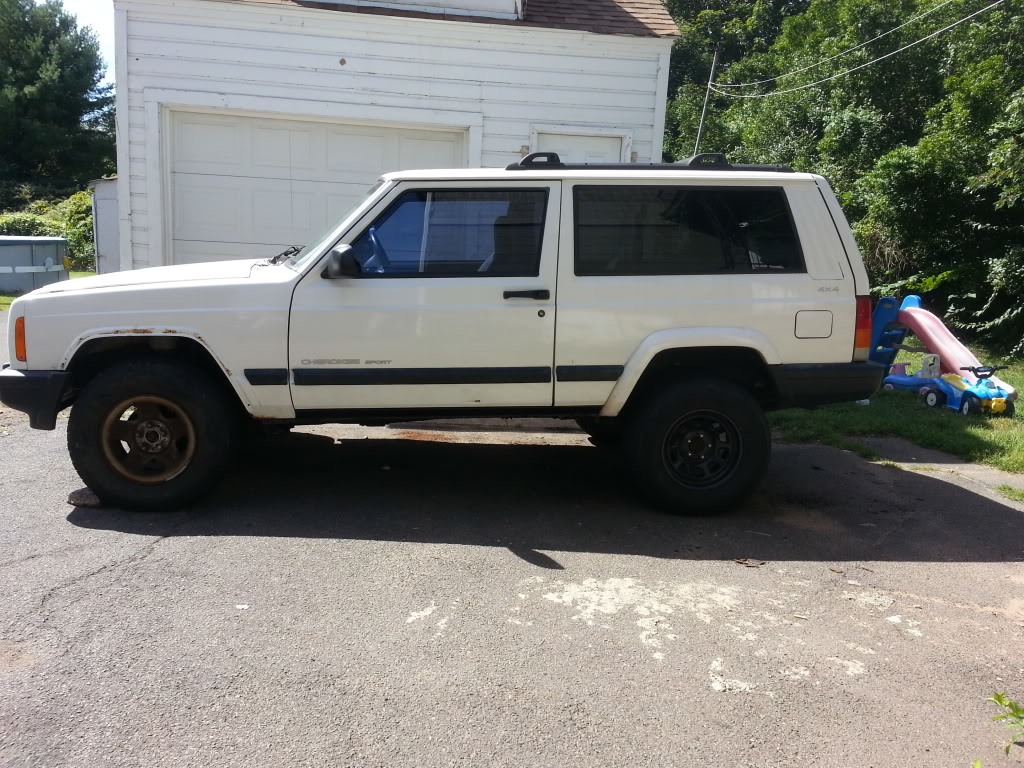
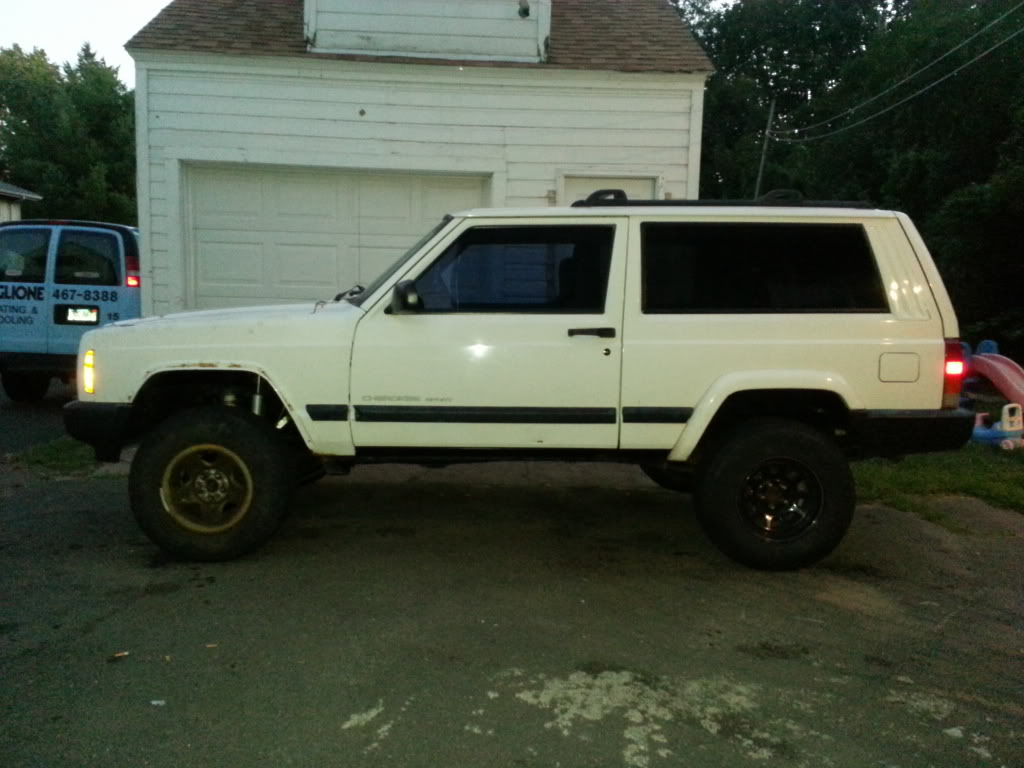
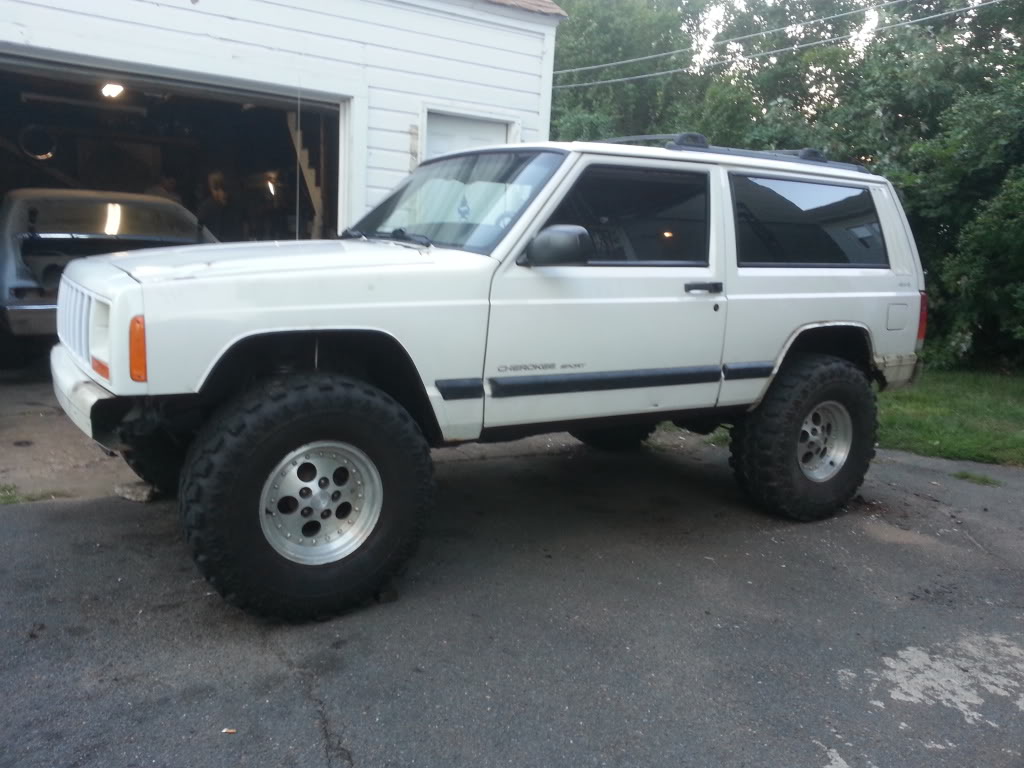
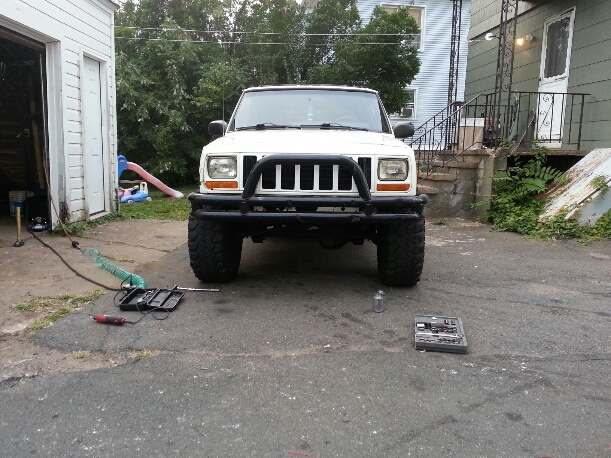
And finally...The lift!...Before trimming and bigger tires
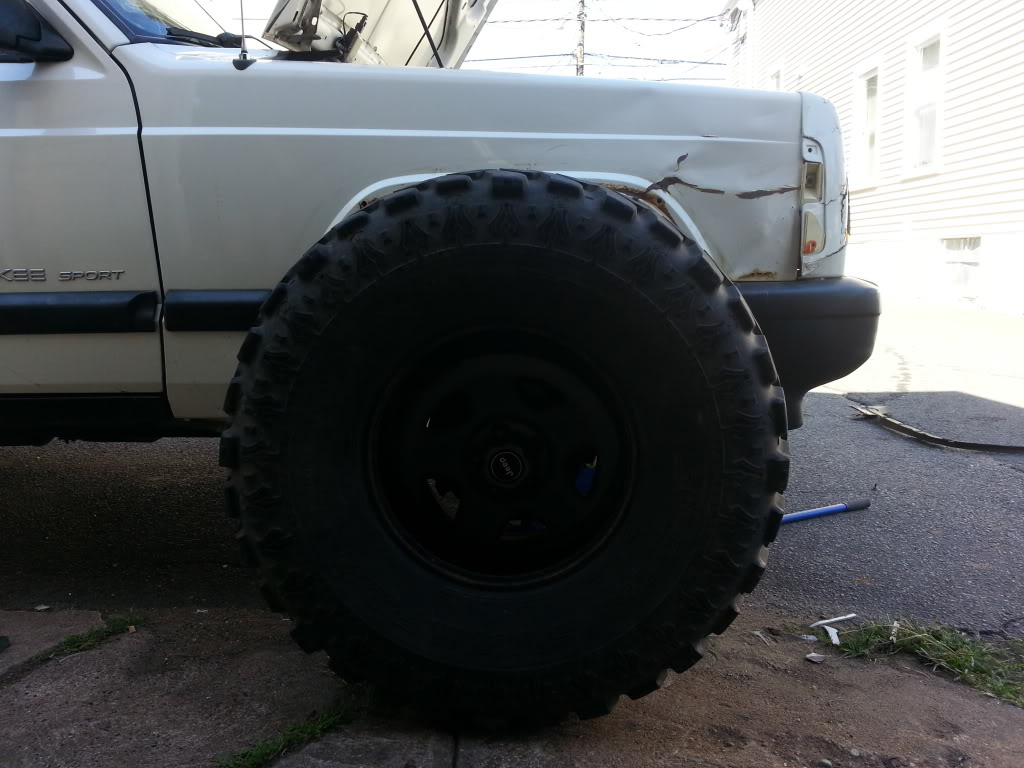
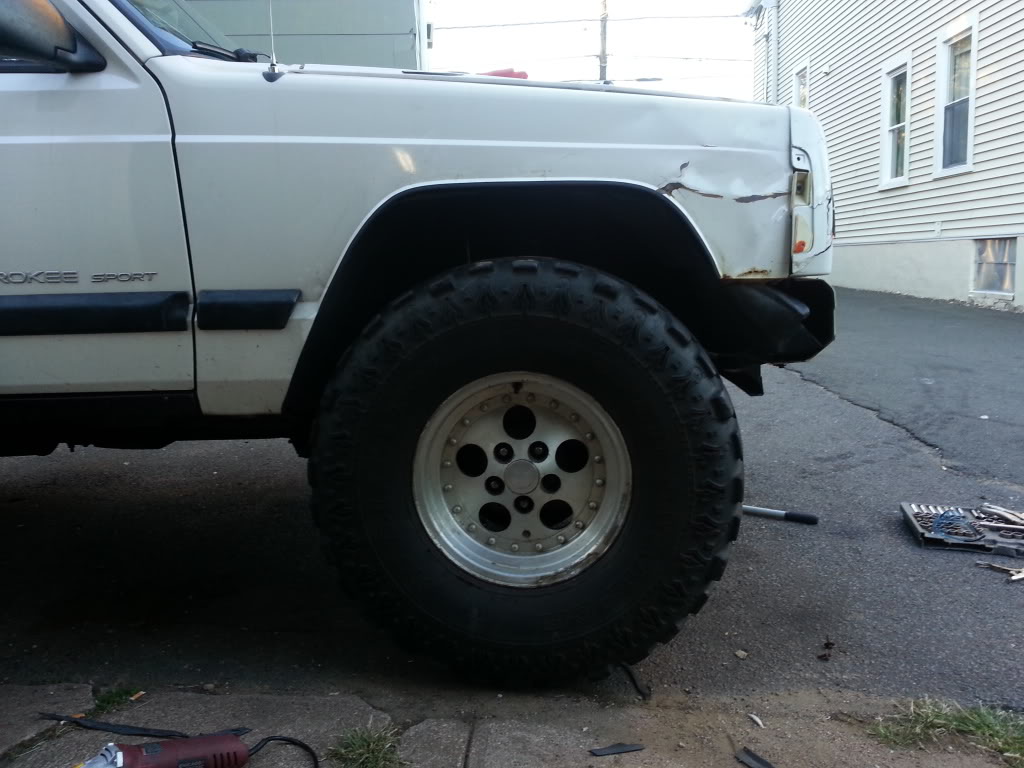
Front trimmed with a swamper
The rear getting a cut and fold
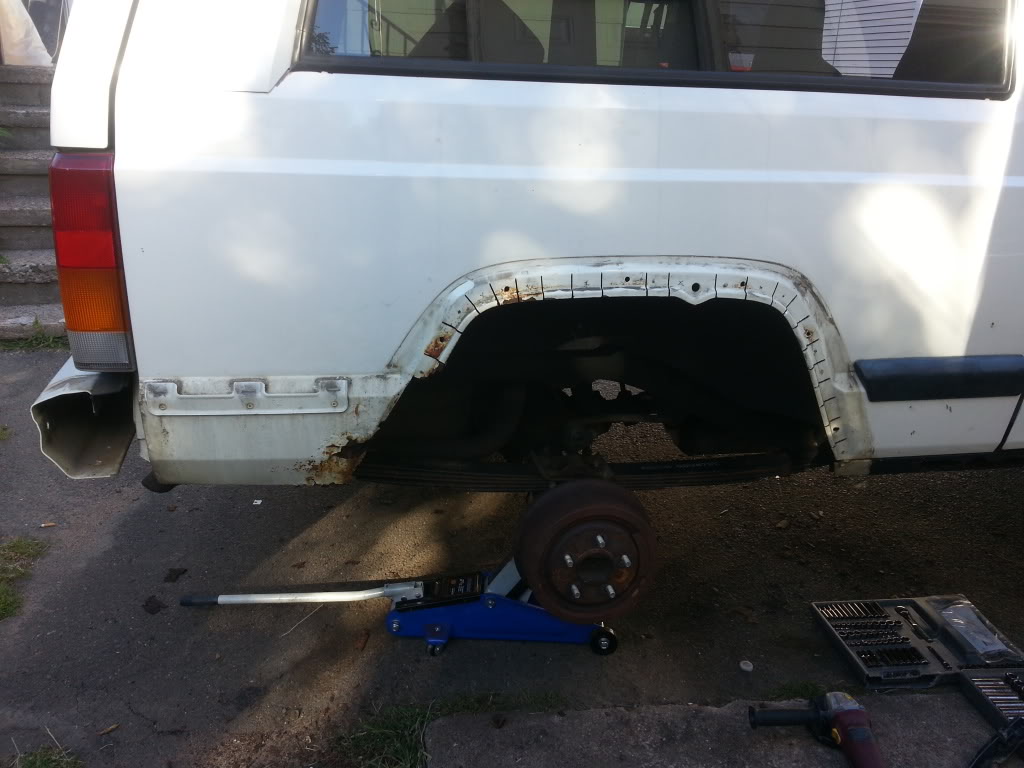

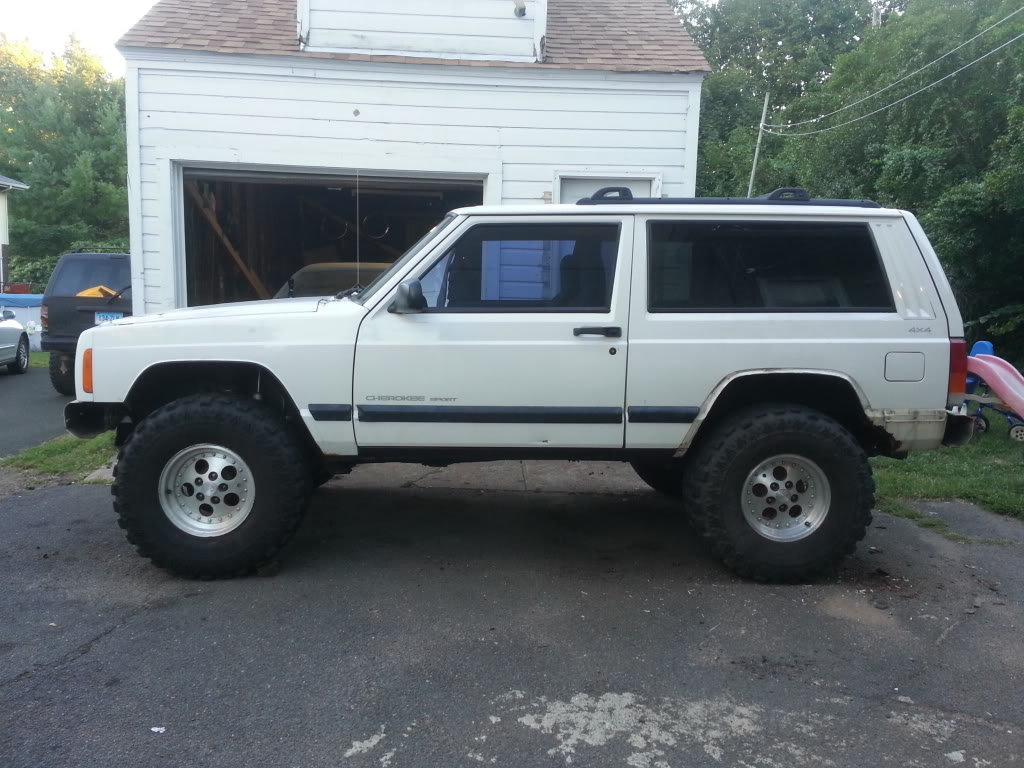
And all trimmed up with the swampers
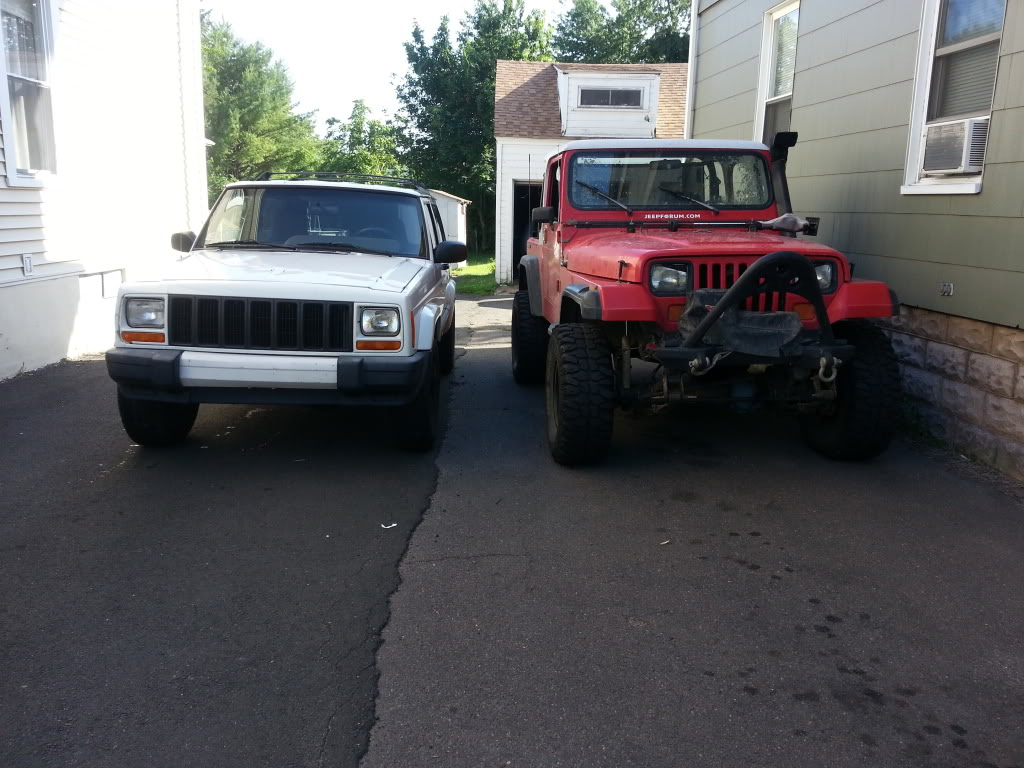
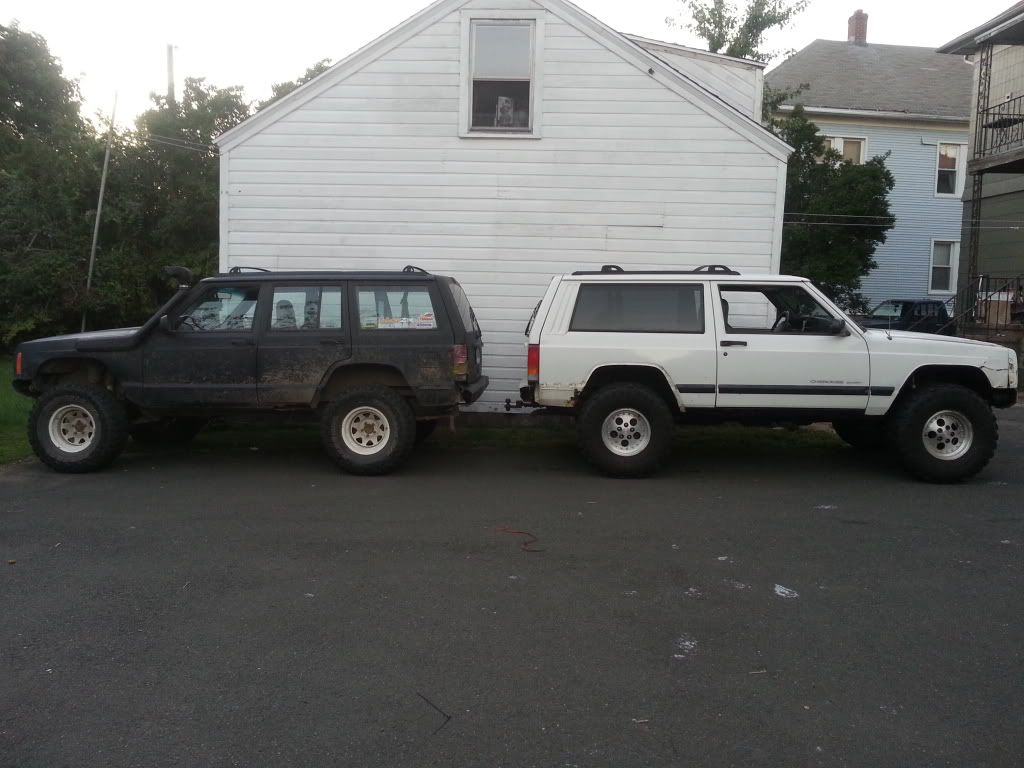
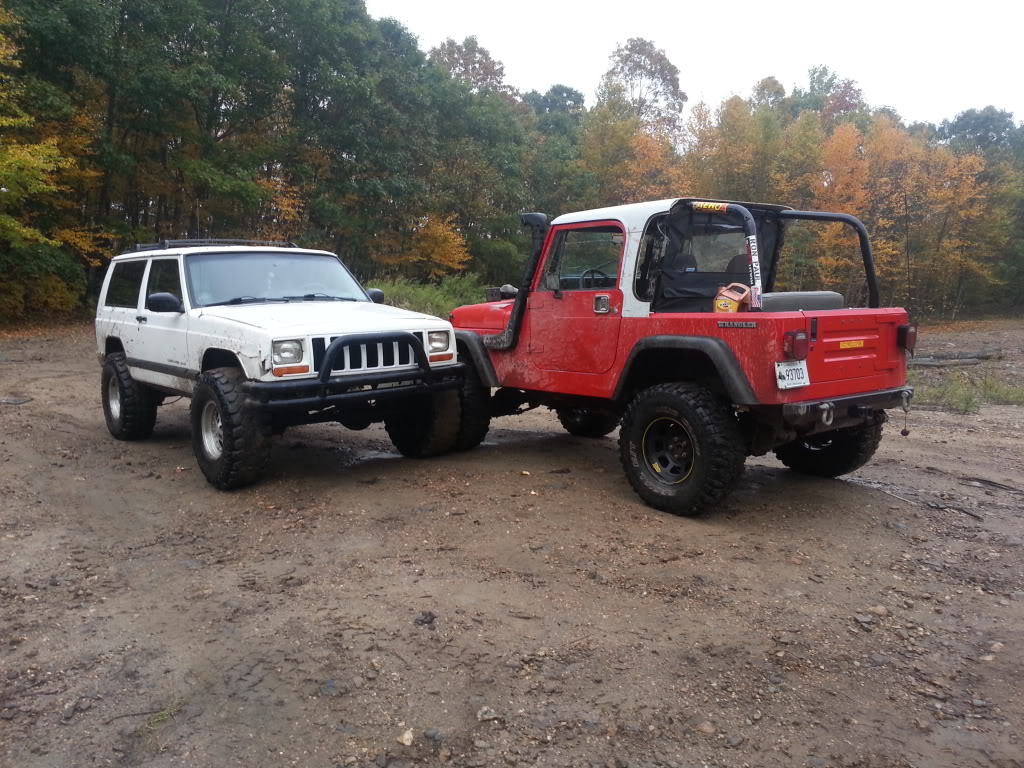
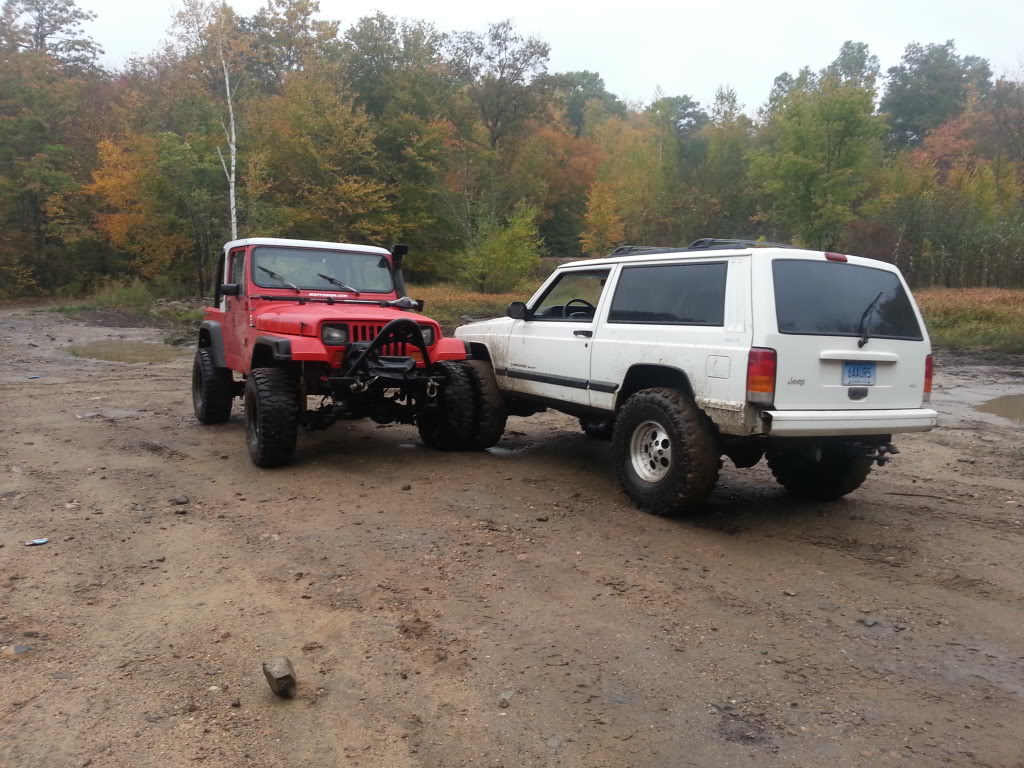
Next to my friends XJ
And that brings us up to date. The main things that will be done within the next week are have aligned, install the front sway bar, install extended bump stops and finish painting the black trim along the bottom.
Obviously there will be tons of little things here and there she will want to do but thats it for me for now to get it on the road. My jeep needs some lovin too lol Friday we're going to go on a shake down run through a local trail and see how it does and then plan for a group wheelin trip.

It all started after I met my GF and took her off road a few times. It didnt take long before she was hooked and was wanting a rig of her own to wheel in

So we picked up a nice white 2 door after looking at a dozen other rust buckets and decided that this will be the one

Yeah Its not the cleanest, it has some obvious exterior damage but it was in a lot better shape than all the other ones up here and we got it for a good price after talking the guy down.
First thing we did was clean it up. The interior was kind of gross with candy wrappers and trash. The exterior had a lot of green and some rust from sitting in the grass for a while and the black trim was pretty faded. And the engine compartment was filthy as well.


Even fixed the center console latch


Then I striaghten out the hood and passenger fender enough to close the hood


One day on the way to my garage, the driver wheel bearing blew apart!


During all this, I scowered craiglist.. and came up with a 3.5" lift and 5 33" super swampers without rims. Then I found a set of alloy rims that had some 32" super swampers on them. Also, picked up a front tube bumper


So for the next couple weeks I started PB blasting everything in prep for the lift. We also painted the grill, removed the flares, painted the rockers and removed the rear shocks so I could deal with those upper bolts before getting into the lift.


Loaded up with all 8 super swampers and rims

And finally...The lift!...Before trimming and bigger tires

Front trimmed with a swamper


The rear getting a cut and fold


And all trimmed up with the swampers


Next to my friends XJ


And that brings us up to date. The main things that will be done within the next week are have aligned, install the front sway bar, install extended bump stops and finish painting the black trim along the bottom.
Obviously there will be tons of little things here and there she will want to do but thats it for me for now to get it on the road. My jeep needs some lovin too lol Friday we're going to go on a shake down run through a local trail and see how it does and then plan for a group wheelin trip.
 09-25-2013, 09:17 AM
#3
Member
Thread Starter
Join Date: May 2013
Location: CT
Posts: 196
Likes: 0
Received 2 Likes
on
1 Post
Year: 1999
Model: Cherokee
Engine: 4.0 HO
Thanks! Youre right, once I took the rear bumper caps off and discovered the rust lying beneath, that was my first thought but since its her Jeep and she wasnt there, I left the decision up to her.
I also forgot to mention all the little things I had fixed like the driver window, lockout switch bypass, A/C, AUX fan, rear hatch wiring and a full tune up. Other things for the future are to tear out the carpet, install bumpers and do the doorless mod to name a few
I also forgot to mention all the little things I had fixed like the driver window, lockout switch bypass, A/C, AUX fan, rear hatch wiring and a full tune up. Other things for the future are to tear out the carpet, install bumpers and do the doorless mod to name a few
09-25-2013, 09:36 AM
#5
Member
Thread Starter
Join Date: May 2013
Location: CT
Posts: 196
Likes: 0
Received 2 Likes
on
1 Post
Year: 1999
Model: Cherokee
Engine: 4.0 HO
Thanks! Yes, those are 33x12.5x15 super swamper tsls. The 32s were a little more shot and we're just going to resell them cheap.
The rockers we painted black and we're going to continue a black trim line around the whole thing but waited till we were done cutting and trimming.
The rockers we painted black and we're going to continue a black trim line around the whole thing but waited till we were done cutting and trimming.


Trending Topics
09-25-2013, 04:42 PM
#8
Member

Join Date: Sep 2013
Location: Mile from Tomken
Posts: 121
Likes: 0
Received 0 Likes
on
0 Posts
Year: 1998
Model: Cherokee
Engine: 4.0
Sweet looking rig. Love the mud on your lady, she seems like a trooper
Mine get tic'd when I sneak a mud puddle on her , still worth it tho
Mine get tic'd when I sneak a mud puddle on her , still worth it tho
09-30-2013, 06:57 AM
#9
Member
Thread Starter
Join Date: May 2013
Location: CT
Posts: 196
Likes: 0
Received 2 Likes
on
1 Post
Year: 1999
Model: Cherokee
Engine: 4.0 HO
Thanks again! She is a trooper lol I got her into quiet an expensive habit
09-30-2013, 07:05 AM
#10
Member
Thread Starter
Join Date: May 2013
Location: CT
Posts: 196
Likes: 0
Received 2 Likes
on
1 Post
Year: 1999
Model: Cherokee
Engine: 4.0 HO
So I got it aligned but its still pulling to the right a little. That and we start to get some death wobble around 55-60mph. Around town though and cruising down the backroads its not bad. But Id like to get the death wobble sorted out.
Then the rear shocks came in and I got those installed without too much hassle. What an improvement in the ride! No more bouncing down the road and it handles corners much better now.

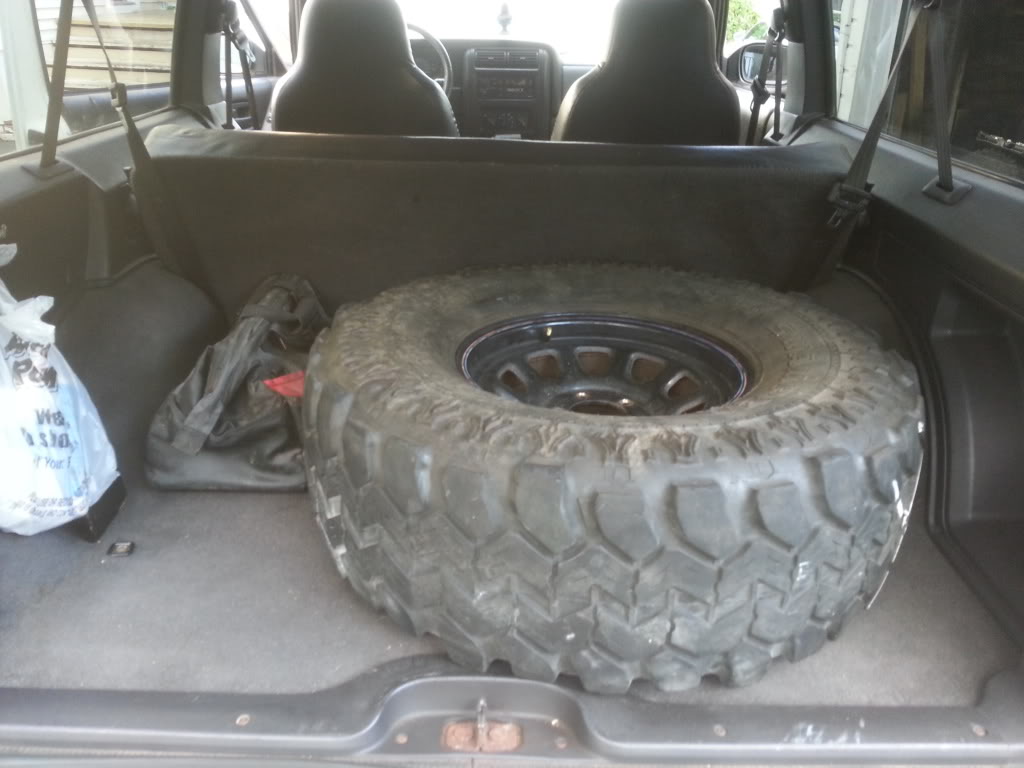
Didnt get a chance to take it off road yet because we decided to wait on the wheel spacers to be safe. Didnt realize how close the tire was to the leaf spring in the rear.
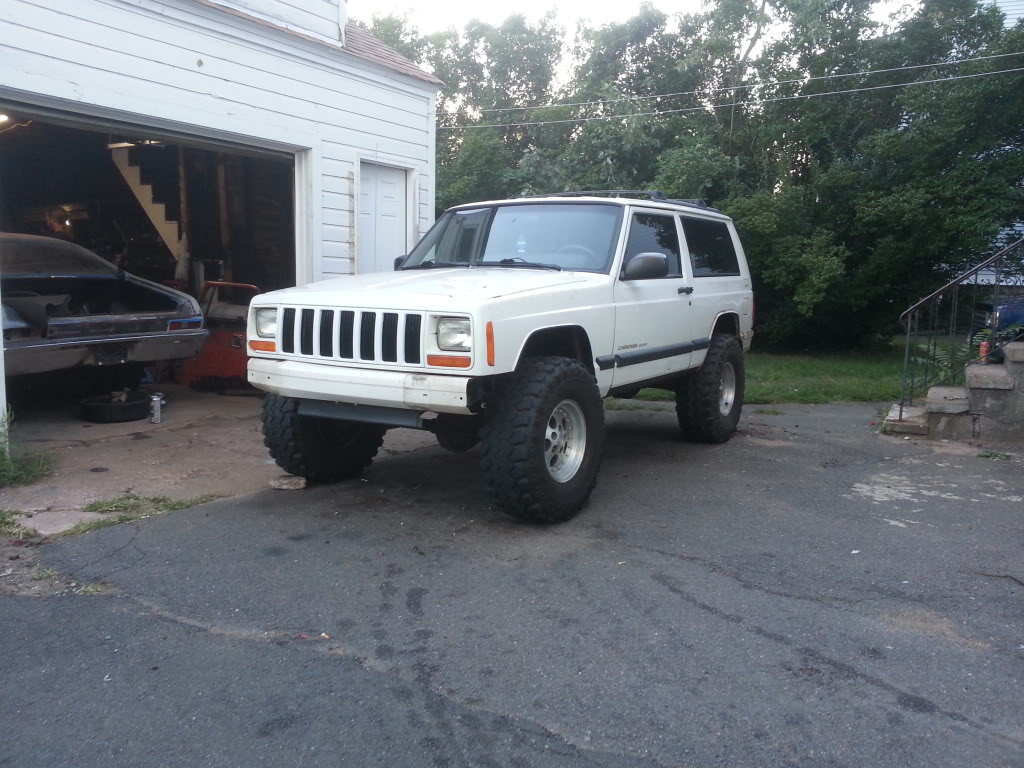
But I did get a chance to finish the black trim on the bottom, straighten out the front bumper and align the hood a little better

I saw a write up where they mounted a 32" spare in the stock location and I think we might do that cause this takes up a lot of space
Then the rear shocks came in and I got those installed without too much hassle. What an improvement in the ride! No more bouncing down the road and it handles corners much better now.


Didnt get a chance to take it off road yet because we decided to wait on the wheel spacers to be safe. Didnt realize how close the tire was to the leaf spring in the rear.
But I did get a chance to finish the black trim on the bottom, straighten out the front bumper and align the hood a little better

I saw a write up where they mounted a 32" spare in the stock location and I think we might do that cause this takes up a lot of space

Last edited by LanesRide; 10-04-2013 at 06:18 AM.
10-04-2013, 06:22 AM
#11
Member
Thread Starter
Join Date: May 2013
Location: CT
Posts: 196
Likes: 0
Received 2 Likes
on
1 Post
Year: 1999
Model: Cherokee
Engine: 4.0 HO
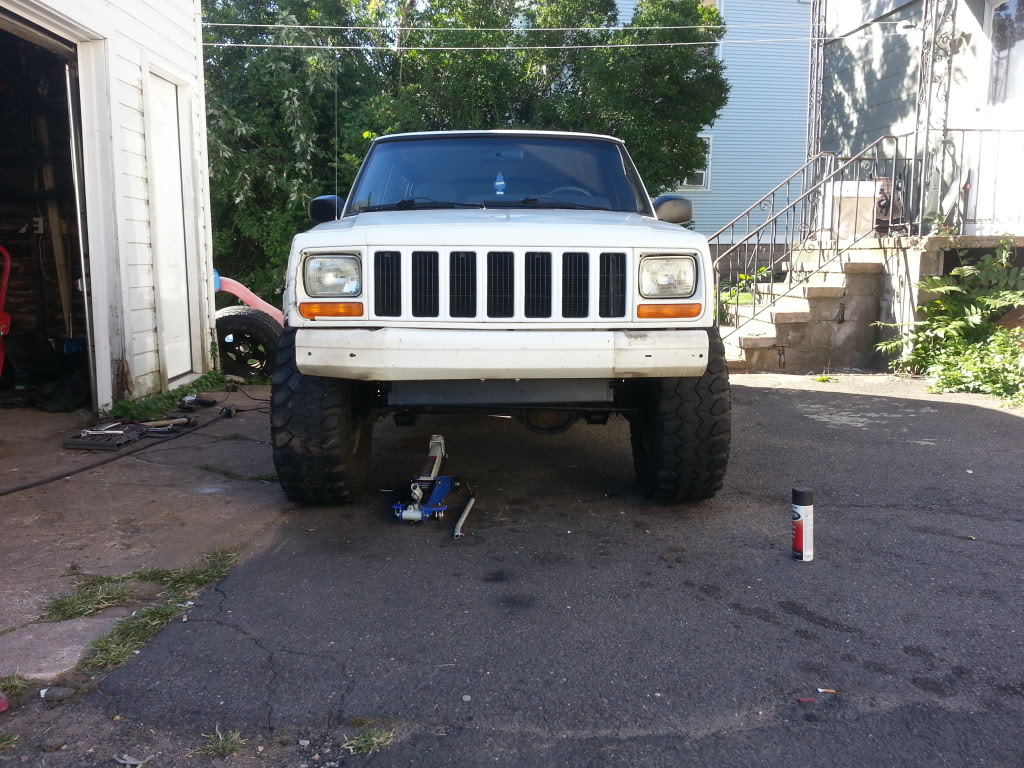
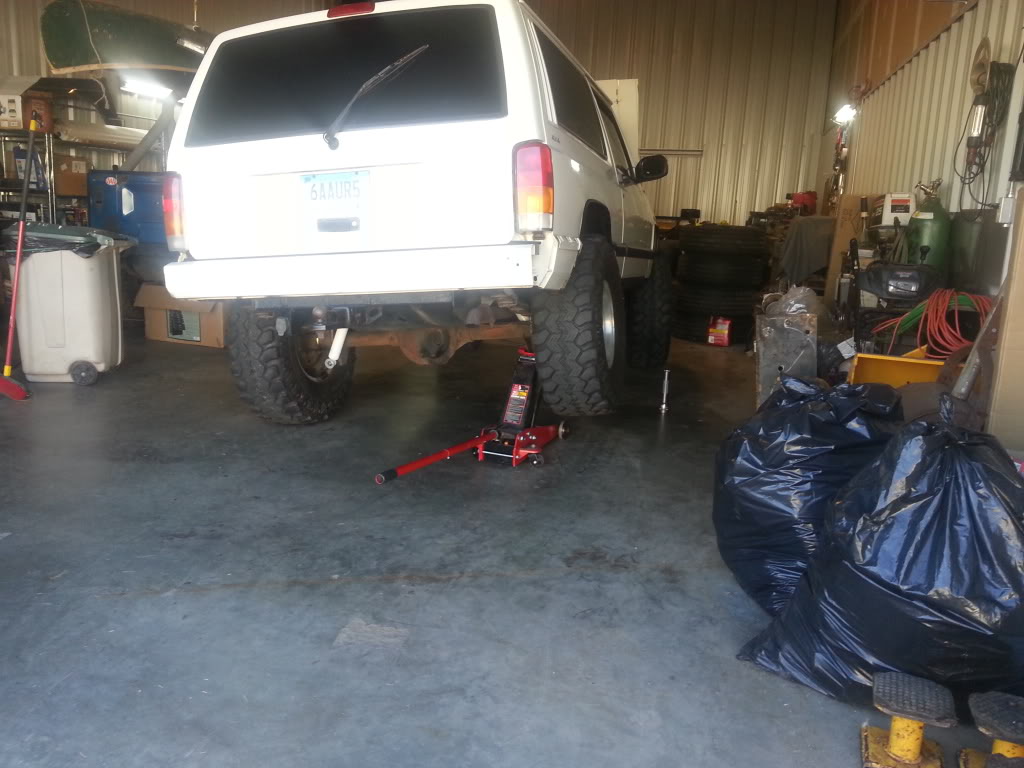
So I took the cherokee to my garage and finally decided to install her front bumper
The install was easy and I actually really like how it looks on there.
The wheel spacers came in late last night too so it looks like Ill be putting those on after work today

The install was easy and I actually really like how it looks on there.
The wheel spacers came in late last night too so it looks like Ill be putting those on after work today
10-07-2013, 06:45 AM
#12
Member
Thread Starter
Join Date: May 2013
Location: CT
Posts: 196
Likes: 0
Received 2 Likes
on
1 Post
Year: 1999
Model: Cherokee
Engine: 4.0 HO
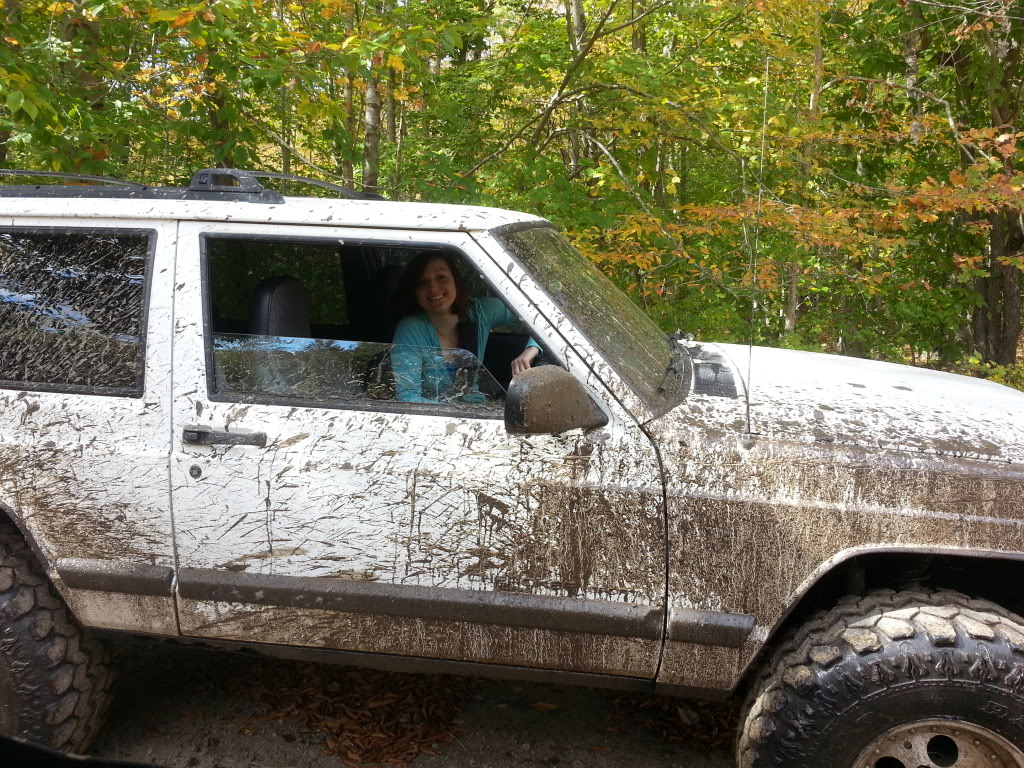
Finally got to take them (my GF and the cherokee) out for their first off road session and they did great! The cherokee rubbed at full stuff but we will be getting some 1.5" spacers and shackles from a friend and then see about adding some bump stops
Her just testing out the waters
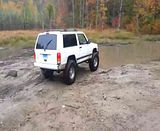
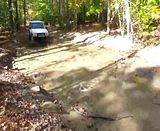
Me stretching out
Im in desperate need of new, longer shocks though.
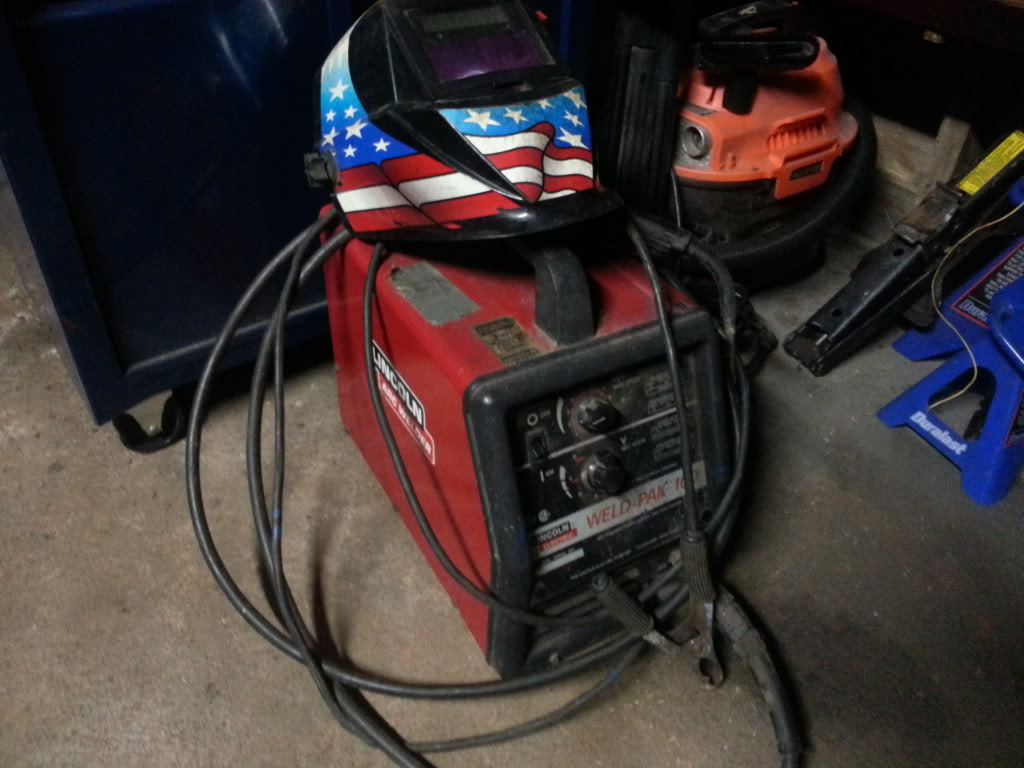
And I just picked this up this weekend. I see a lot of work in my future lol good thing it came with a full 10lb spool


Her just testing out the waters
Me stretching out

Im in desperate need of new, longer shocks though.
And I just picked this up this weekend. I see a lot of work in my future lol good thing it came with a full 10lb spool
 10-15-2013, 06:35 AM
#13
Member
Thread Starter
Join Date: May 2013
Location: CT
Posts: 196
Likes: 0
Received 2 Likes
on
1 Post
Year: 1999
Model: Cherokee
Engine: 4.0 HO
Well my work blocked photobucket and I cant seem to attach pictures to my post but Ive been getting some work done.
I helped a friend replace his old worn out lift on his XJ with a new zone 4.5" lift and he gave me his coil spacers and lift shackles to put on her cherokee. She also picked up a bunch of hockey pucks for the front bumpstops so that might be this weekends project.
Last night I installed the rear wheel spacers finally. Then did some more trimming in the front and adjusted the steering stops so it doesnt rub while turning anymore.
While topping off all the fluids, I noticed the power steering pressure hose has a slight leak and Ill need to replace that sooner than later as well