LACK's 94 Country
#1
CF Veteran
Thread Starter
Join Date: Oct 2016
Location: CA
Posts: 1,535
Likes: 0
Received 7 Likes
on
4 Posts
Year: 1994
Model: Cherokee (XJ)
LACK's 94 Country
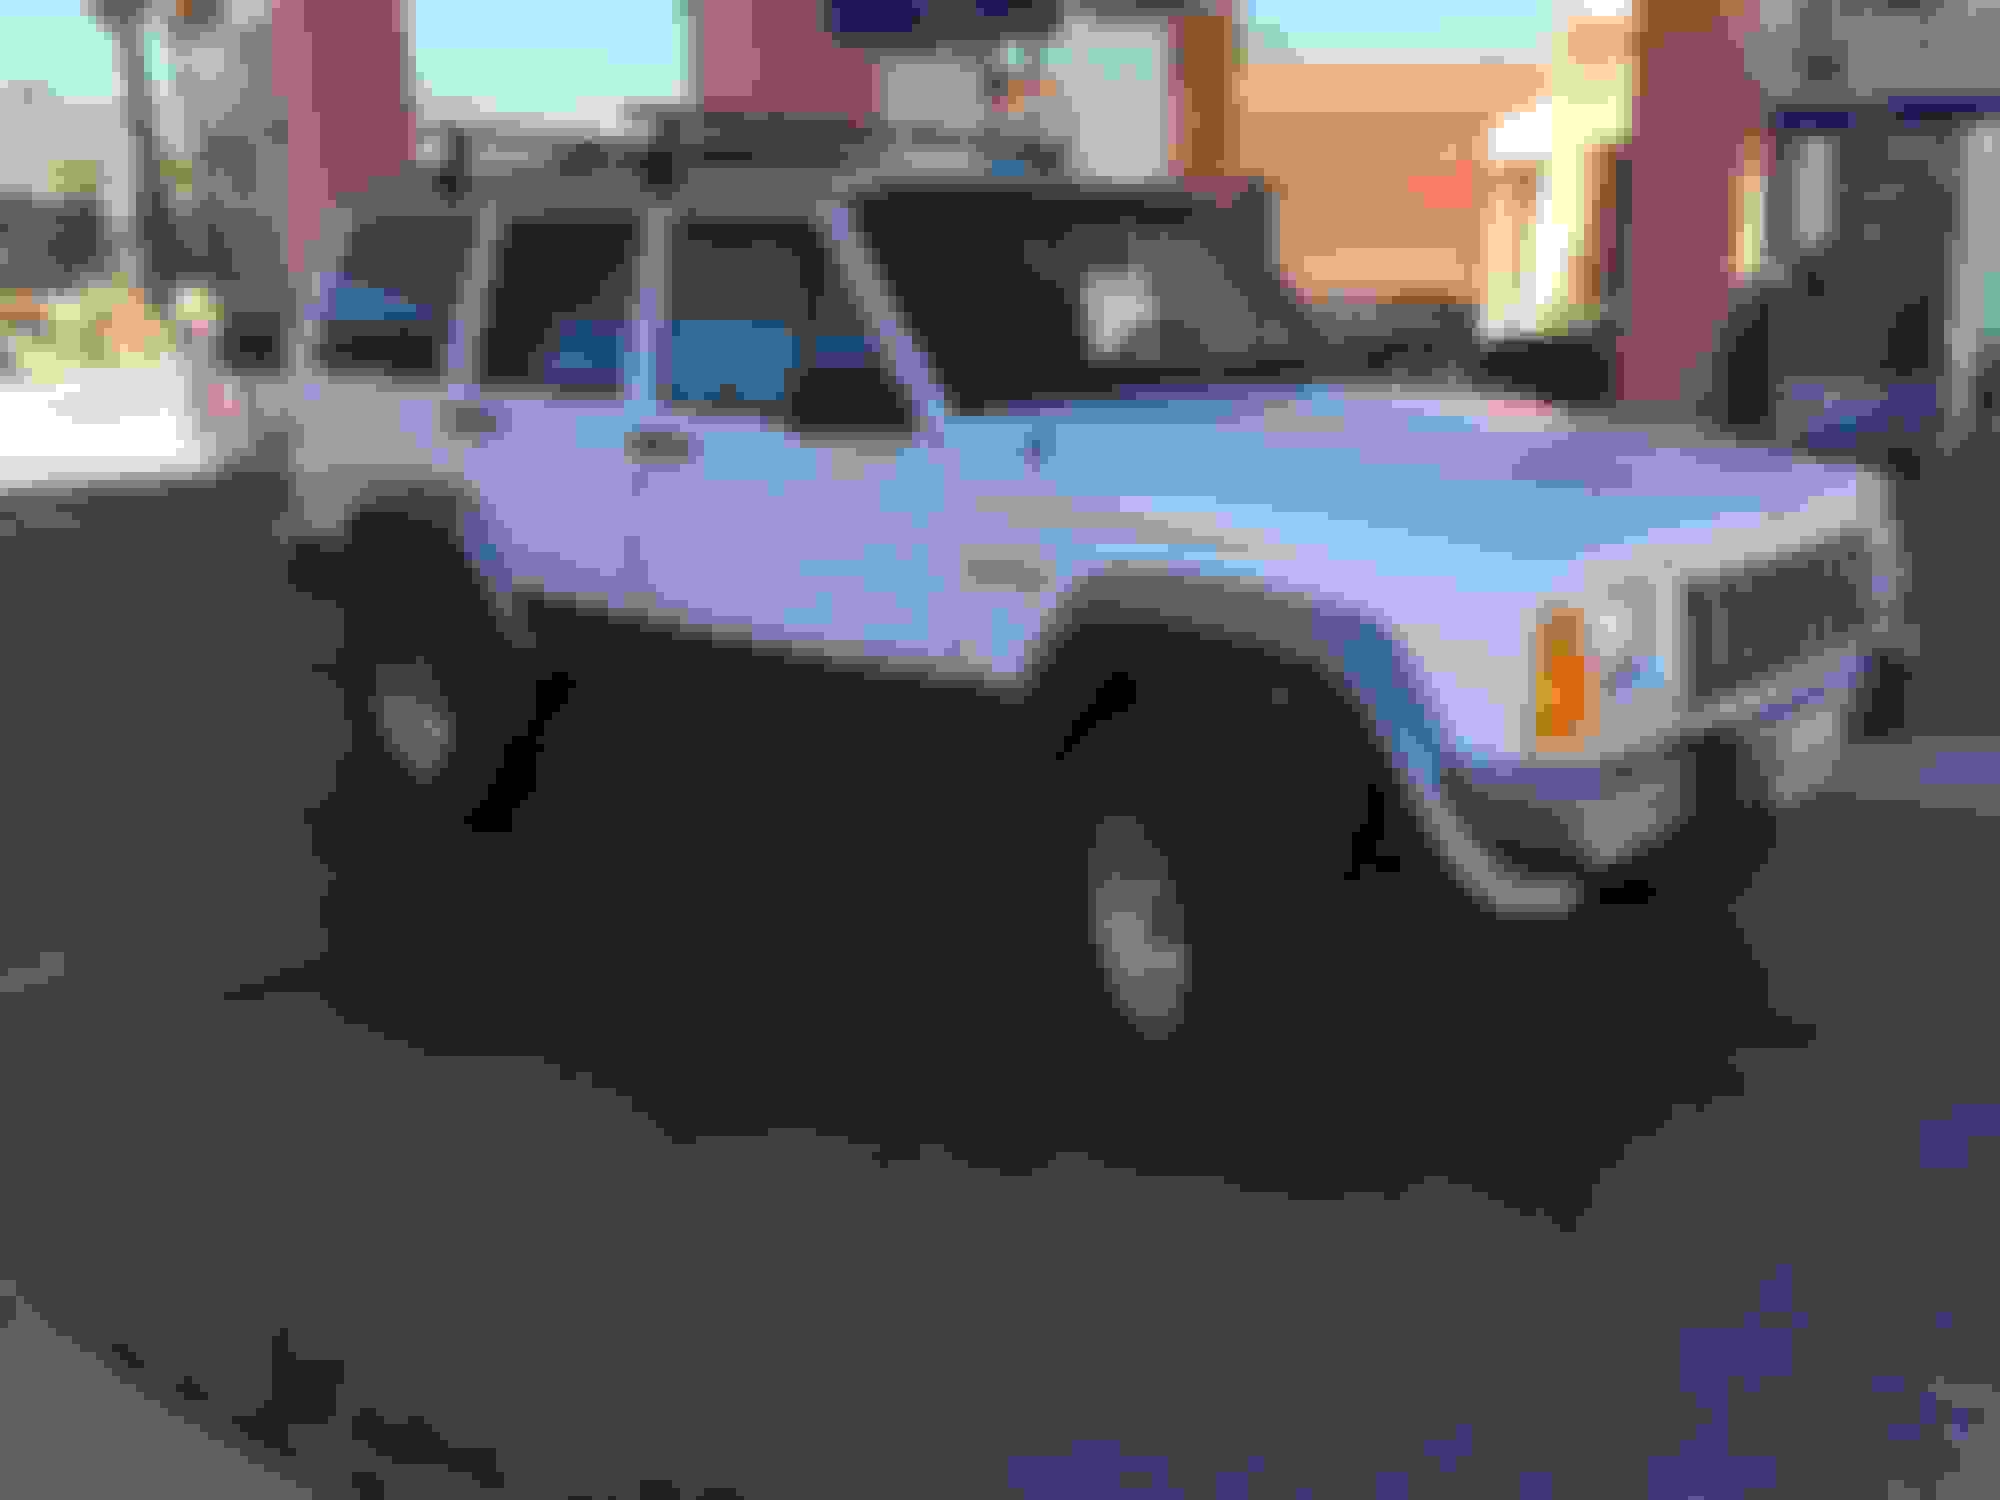
Bought a 94 Cherokee about 2 months ago, jeep has lived in the desert its entire life, rust free, 170k on the clock and the previous owner already installed some quality parts (new radiator, water pump, SYE/driveshaft, etc)
The following pics are when I picked it up, drove it 3 hours home with the AC blasting and it didnt skip a beat.
Plans for the future are bigger lift, 3 link, steering, frame stiffeners, etc etc. Ive already done some of the items on my long list, posts following this one will show whats been done so far.
Last edited by LACK; 11-17-2016 at 06:25 PM.
#2
CF Veteran
Thread Starter
Join Date: Oct 2016
Location: CA
Posts: 1,535
Likes: 0
Received 7 Likes
on
4 Posts
Year: 1994
Model: Cherokee (XJ)
Made map lights out of that little plastic housing for the factory keyless entry sensor. Sourced the LED's from auto zone, drilled appropriate sized holes, epoxied them, and just wired them in to a switch. They draw hardly anything so I just tapped in to the 12v and ground going to the plug on the keyless entry sensor. Came out pretty good and around 20 bucks in supplies. A lot brighter in person than the last couple pictures.
Along with my other LED's.
#3
CF Veteran
Thread Starter
Join Date: Oct 2016
Location: CA
Posts: 1,535
Likes: 0
Received 7 Likes
on
4 Posts
Year: 1994
Model: Cherokee (XJ)
Next came =a 2x6 rocker replacement. Went smooth, came out great and only spent around 100 bucks for all the steel to do it.
If anyone wants some more photos of the process let me know
#4
CF Veteran
Thread Starter
Join Date: Oct 2016
Location: CA
Posts: 1,535
Likes: 0
Received 7 Likes
on
4 Posts
Year: 1994
Model: Cherokee (XJ)
Next came the stiffeners from HD Offroad, quick shipping, and fit great. I have the whole set but waiting until i get the front and rear suspension components to tear it all down. Once I get to that point I will get those welded in as well.
Rails prepped and sprayed with weld thru primer
Start burning them in
All ground down and sprayed in self etching primer
Tied in to my 2x6 rockers with some 2x2 1/4 wall square tube
Some overhead weld ****.
Rails prepped and sprayed with weld thru primer
Start burning them in
All ground down and sprayed in self etching primer
Tied in to my 2x6 rockers with some 2x2 1/4 wall square tube
Some overhead weld ****.
Last edited by LACK; 11-17-2016 at 06:48 PM.
#5
CF Veteran
Thread Starter
Join Date: Oct 2016
Location: CA
Posts: 1,535
Likes: 0
Received 7 Likes
on
4 Posts
Year: 1994
Model: Cherokee (XJ)
Made an angle iron mounting plate for my tractor supply tool box. Mounts to the factory spare tire bracket holes, one hole in the front that clears the fuel tank and two bolts in in the back near the back seat. Super sturdy and should hold plenty of tools. Just need to get some foam drawer liners, magnetic socket organizers, etc.
Eventually going to integrate it into a rack in the cargo area.
#7
CF Veteran
Thread Starter
Join Date: Oct 2016
Location: CA
Posts: 1,535
Likes: 0
Received 7 Likes
on
4 Posts
Year: 1994
Model: Cherokee (XJ)
The time came to cut the fenders to make some room for these massive 30" tires im running.
Plus I get bored when I have no parts so I do other mods.
How she sits before the cuts.
How much fender came off.
All cleaned up and put some generic door edge guard trim around the cut to clean it up.
A spare 35x12.5 sitting next to it as a little inspiration.
Plus I get bored when I have no parts so I do other mods.
How she sits before the cuts.
How much fender came off.
All cleaned up and put some generic door edge guard trim around the cut to clean it up.
A spare 35x12.5 sitting next to it as a little inspiration.
Last edited by LACK; 11-17-2016 at 06:39 PM.
Trending Topics
#8
CF Veteran
Thread Starter
Join Date: Oct 2016
Location: CA
Posts: 1,535
Likes: 0
Received 7 Likes
on
4 Posts
Year: 1994
Model: Cherokee (XJ)
A few more pics of a run some friends and I did at last chance canyon. The brown XJ went through v-notch no problem. The black blazer on 35's also made it through but took a lot of time and a lot more spotting.
#10
CF Veteran
Thread Starter
Join Date: Oct 2016
Location: CA
Posts: 1,535
Likes: 0
Received 7 Likes
on
4 Posts
Year: 1994
Model: Cherokee (XJ)
Just ordered some RE 3.5 leafs, +1" shackles and RE 5.5 front coils. Already have brake lines and planning on a ZJ booster swap and rear disc conversion.
List of suspension/steering still to come/be ordered and deciding if I want to do an 8.8 swap or run the 8.25
Front:
-Cav Fab 3 link (possibly clayton 3 link)
-Serious Offroad 1 ton steering
-IRO double sheer track bar and bracket
-Bilstien 5100's
-Steering box brace and bracket
Rear:
-HD Offroad shackle relocation brackets (might make my own with scrap I have laying around)
-Degree shims (4* or 6*) need to figure that out yet.
Thank you sir.
#11
CF Veteran
Thread Starter
Join Date: Oct 2016
Location: CA
Posts: 1,535
Likes: 0
Received 7 Likes
on
4 Posts
Year: 1994
Model: Cherokee (XJ)
Forgot to add I installed some brown dog motor mounts and new tranny mount a couple weeks ago.
This is what my old mounts looked like. The engine was held in with a dream.
#13
CF Veteran
Thread Starter
Join Date: Oct 2016
Location: CA
Posts: 1,535
Likes: 0
Received 7 Likes
on
4 Posts
Year: 1994
Model: Cherokee (XJ)
http://www.jeepkings.ca/forums/showt...er-replacement
On "step 2" in that guide you can see where his cuts are on the bottom side of the rocker to fit the angle iron. Instead of cutting the bottom flush, I left around 3/4 of an inch of existing rocker sheet metal. That way when the angle is put in place it has a lip to rest against and you can stitch weld the under side of the angle to the sheet metal for more strength.
You can see it in this photo. There's the lip of stock sheet metal, then angle iron then the 2x6 rocker itself.
Also on the inside of the door sill I stitch welded the 1" strip to the factory sheet metal instead of just plug welds. Then finished it with seam sealer. I'll grab some more photos of that or anything else youd like photos of, just let me know if you have any other questions.
Last edited by LACK; 11-18-2016 at 09:57 AM.
#14
Senior Member
Join Date: Jul 2016
Location: NC
Posts: 651
Likes: 0
Received 0 Likes
on
0 Posts
Year: 1994
Model: Grand Cherokee
Engine: 4.0
I did mine almost exactly like this guide with a few modifications.
http://www.jeepkings.ca/forums/showt...er-replacement
On "step 2" in that guide you can see where his cuts are on the bottom side of the rocker to fit the angle iron. Instead of cutting the bottom flush, I left around 3/4 of an inch of existing rocker sheet metal. That way when the angle is put in place it has a lip to rest against and you can stitch weld the under side of the angle to the sheet metal for more strength.
You can see it in this photo. There's the lip of stock sheet metal, then angle iron then the 2x6 rocker itself.
Also on the inside of the door sill I stitch welded the 1" strip to the factory sheet metal instead of just plug welds. Then finished it with seam sealer. I'll grab some more photos of that or anything else youd like photos of, just let me know if you have any other questions.