When you click on links to various merchants on this site and make a purchase, this can result in this site earning a commission. Affiliate programs and affiliations include, but are not limited to, the eBay Partner Network.
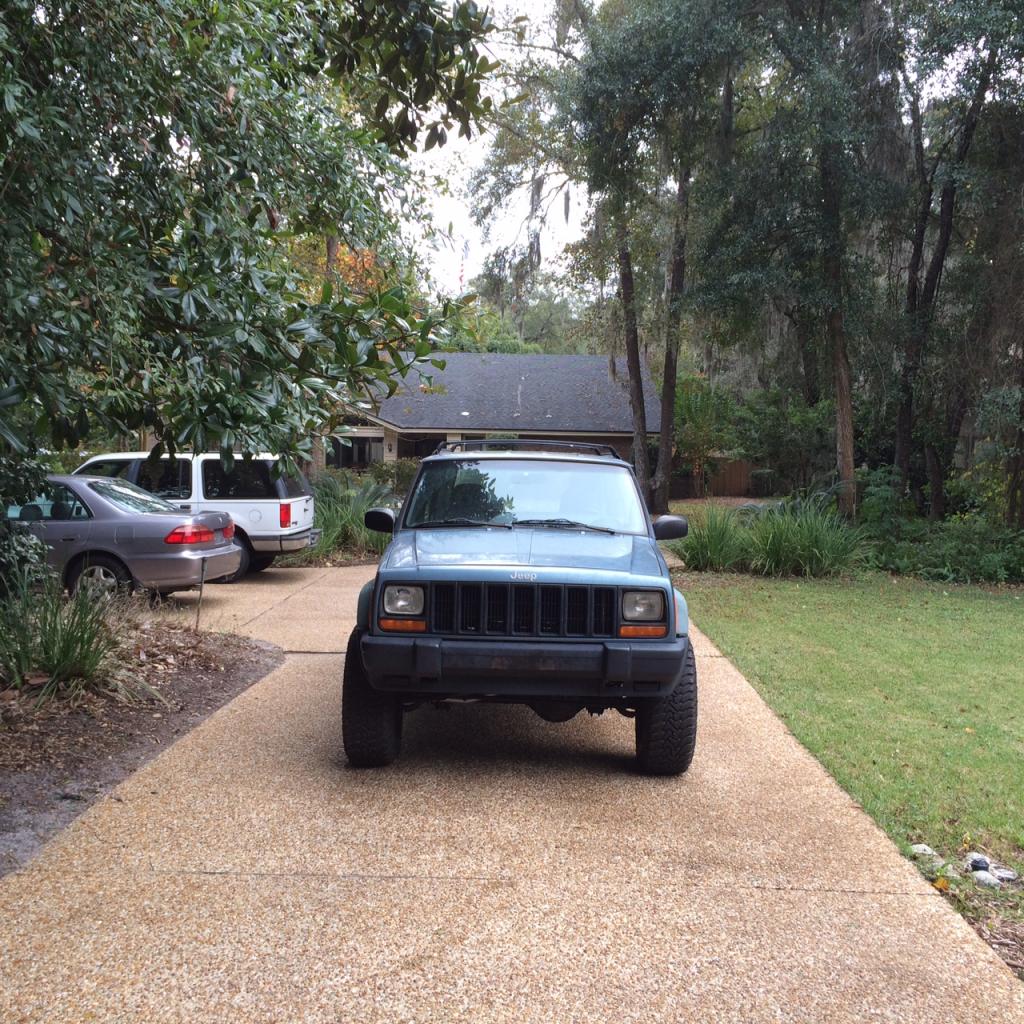
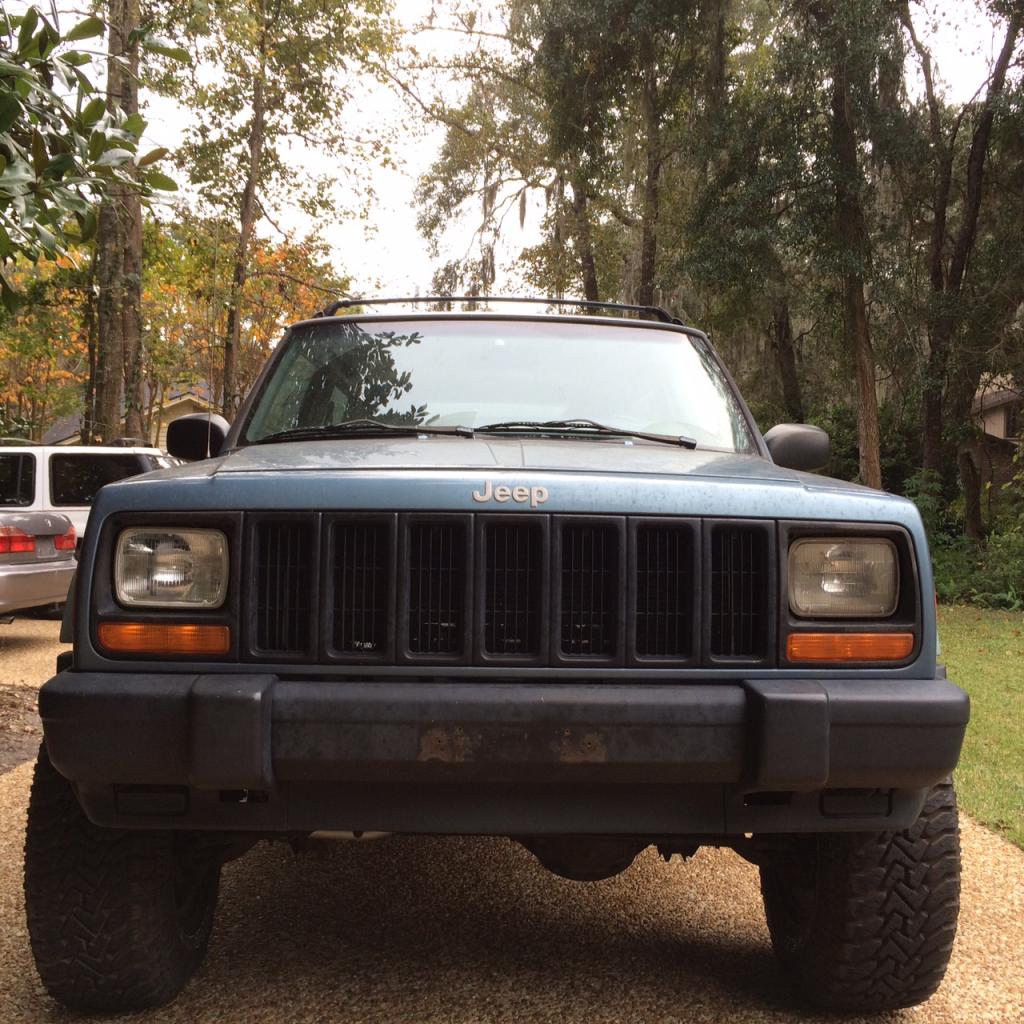
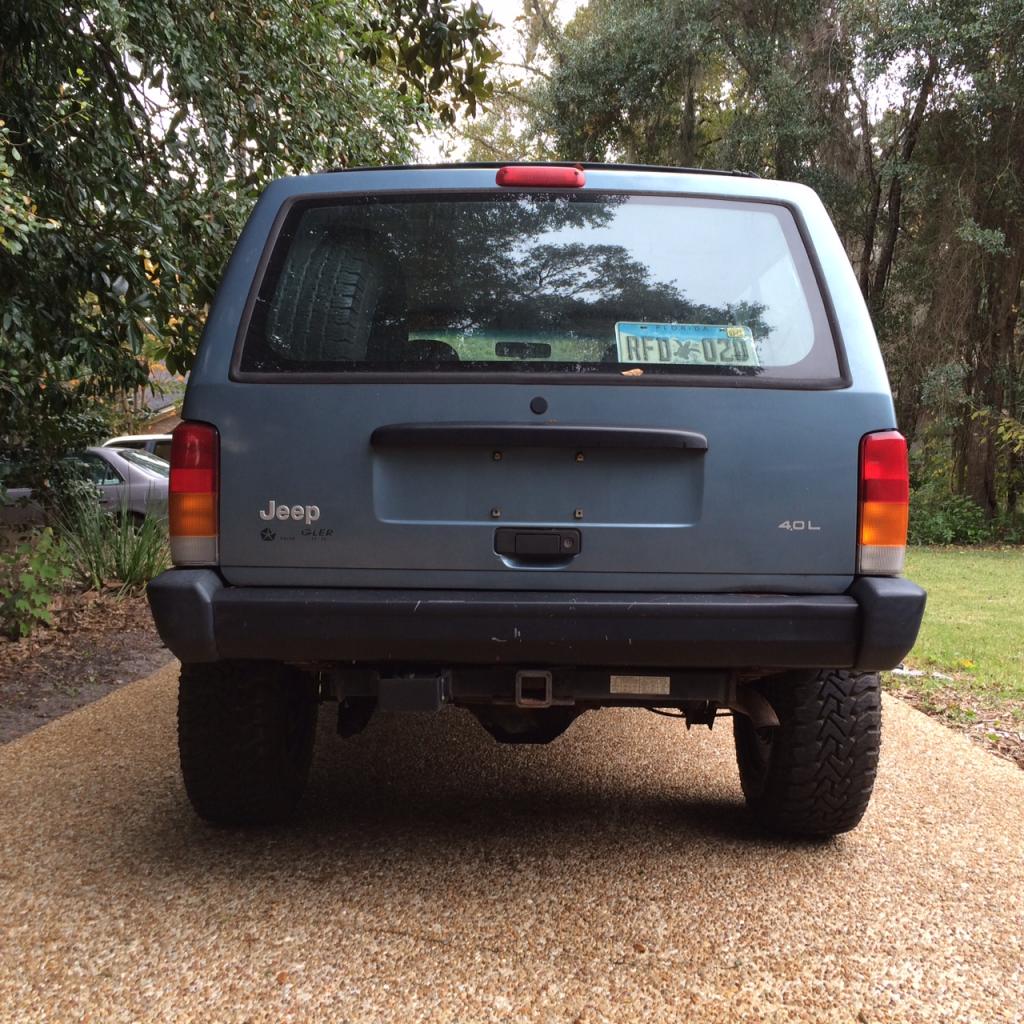
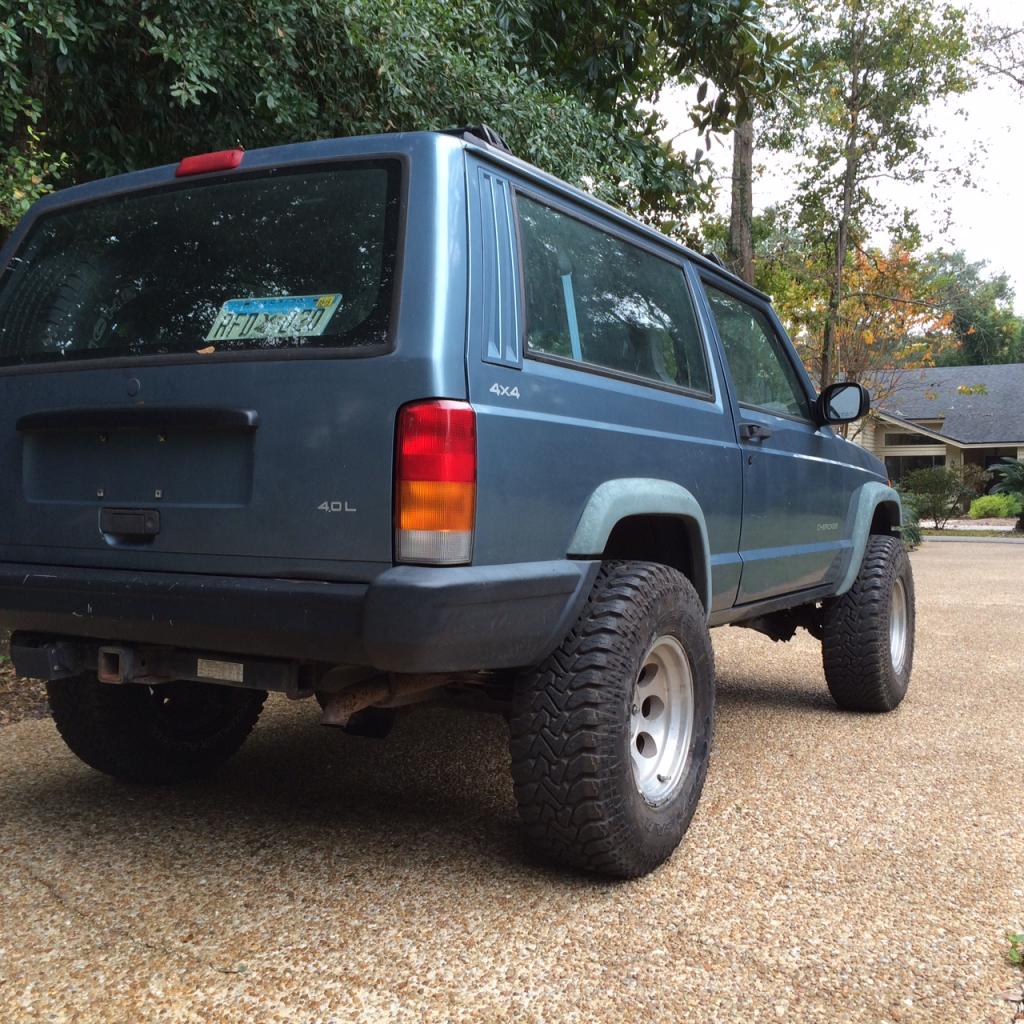
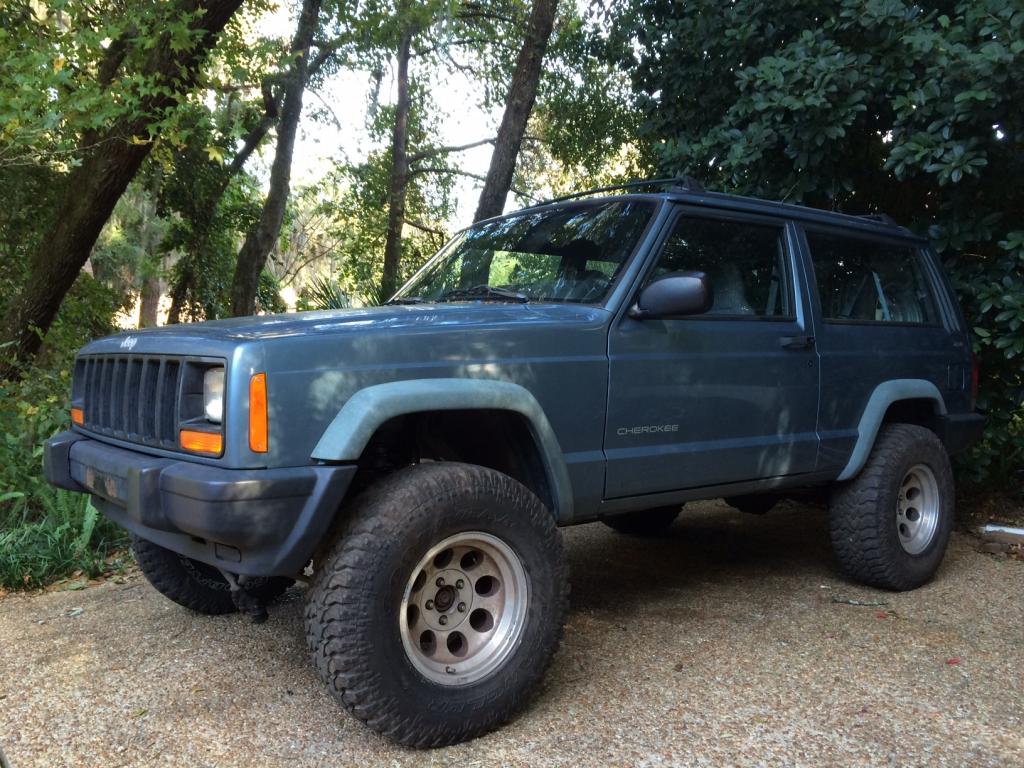
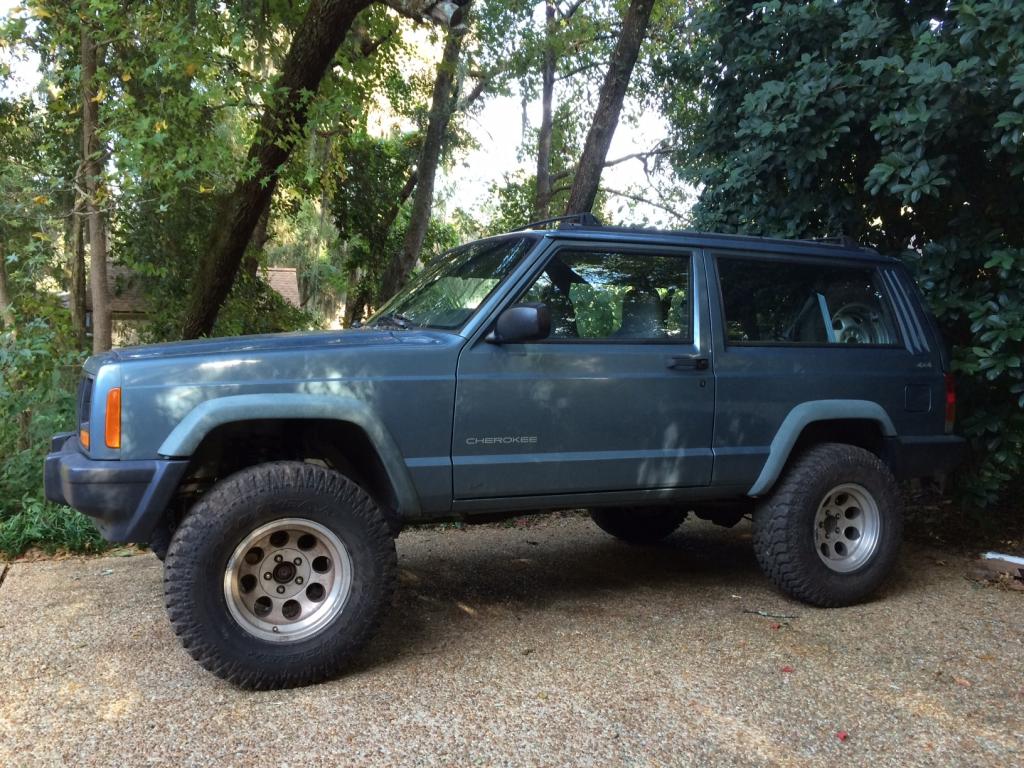
Then I decided to throw on the wheels and tires. Love how it looks!
Thats all the time I had today. I still need to connect the pitman arm and I've got a track bar and some homebrew disconnects in the works. More on that next time.
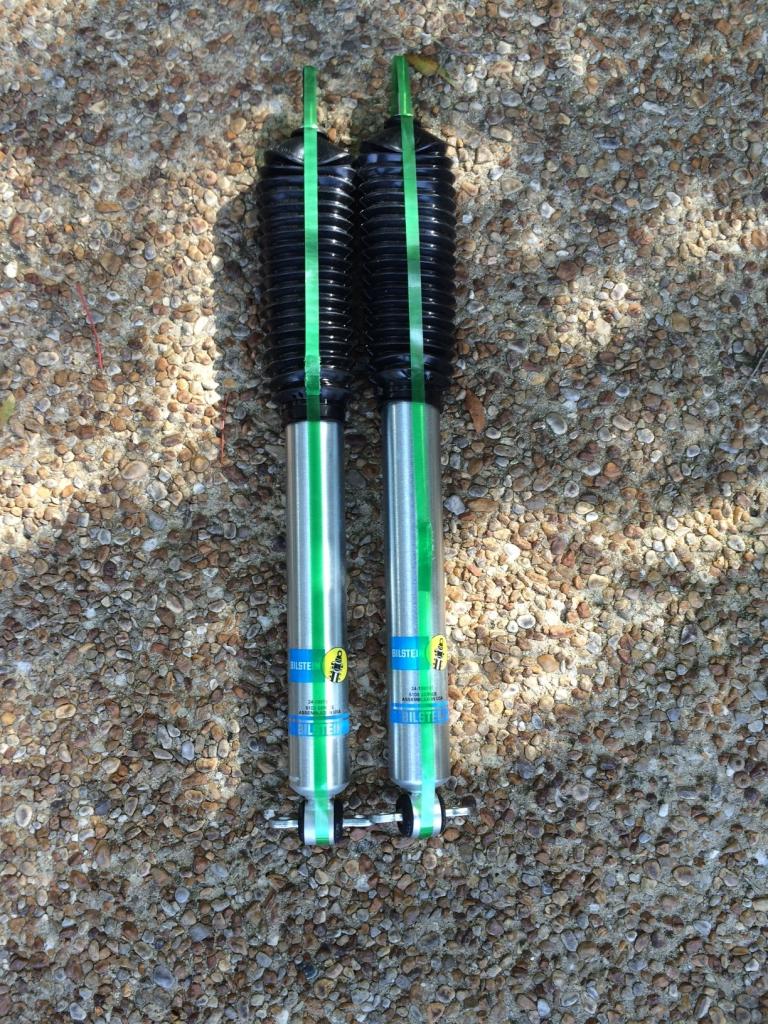
Let me know your thoughts on the before/after with the bilsteins...
Thanks bud!
Originally Posted by kevin96xx
Id also like to know your thoughts on the bilsteins, considering to get them up front for my xj im not a big fan of the RE monotubes
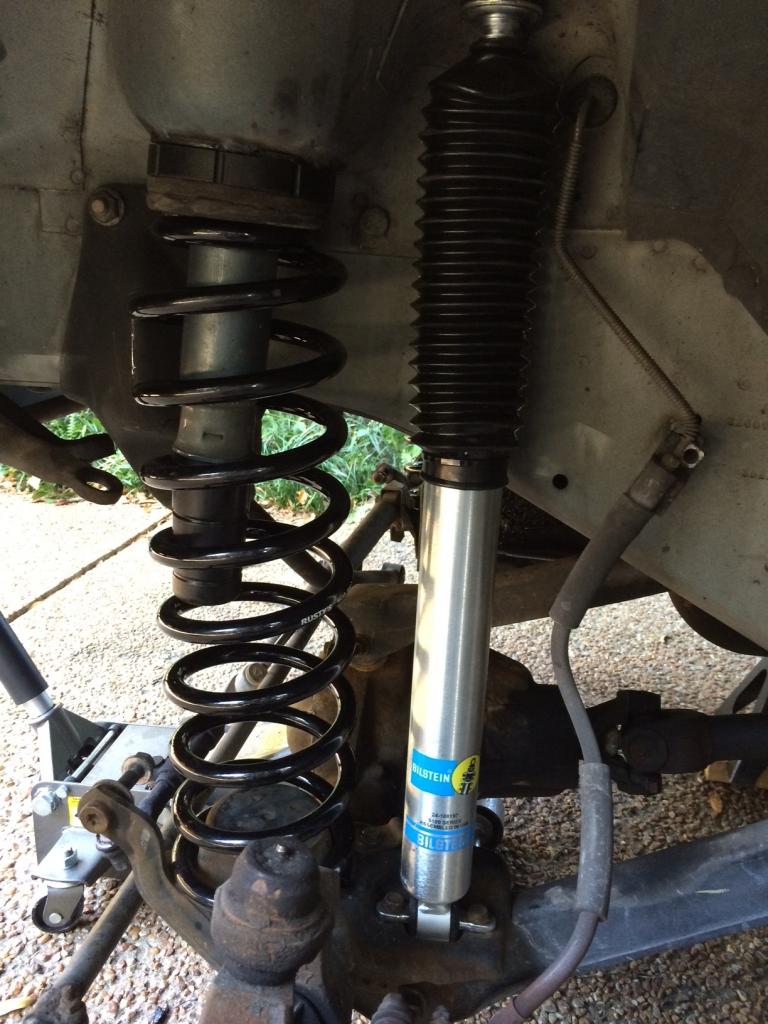
The last time I drove it was when I had my first version of the bastard packs and the Bilsteins on the rear. It was only for few miles but seemed at least as good as stock. I will definitely report back once I get it on the road with all 4.
I decided to go ahead and get a adjustable track bar since I didn't want to drill another hole in the axle-side mount. Came across a Rubicon Express 1660 on craigslist. They said they tried to adjust it but couldn't so they just bought a new one. He wanted $50, but I offered $40 since I was taking a chance on it and he said yes.
I put the bar in a vice and put a pipe wrench on it but it wouldn't budge. After some heat from a torch and a 3 foot pipe on the wrench handle for leverage, it finally came loose! Since the Jeep will be at less than 4 inches of lift it is necessary to cut off about a half inch of threads from the track bar. So I got out my cutting wheel and went to it. Still more than enough threaded area left....which will have anti seize on it before install...this time.
Ready to go in next time. Got the RE bracket for it as well. Both are super beefy! (I had the joint apart at this point for inspection when I took the pic)
Almost!
After soaking the bolts/nuts with PB blaster, I started removing the stock track bar bracket by taking off the nuts near the coil spring. I didn't have a open end wrench in the appropriate size so I had to use a small socket and an extension to get past the spring for the rear one. Hammered it on and used my impact to remove it. Then came the 2 bolts that go up into the frame rail and what appear to be welded on nuts. Heres a pic of what it looks like (not mine).
The first bolt towards the front came out without issue. The one towards the rear (on the left) goes into a round nut and would not move using my impact. So I put a breaker bar on it and...SNAP! Broke the round nut loose. After using vice grips with no success, I brought out my HF cut off tool.
Cut right through the nut and most of the bolt. Put the vice grips on one last time and used my impact to snap through the rest of the bolt.
That is when I ran out of time. Now I am searching for the right size bolt and nut so I can finish the job when I get a chance.
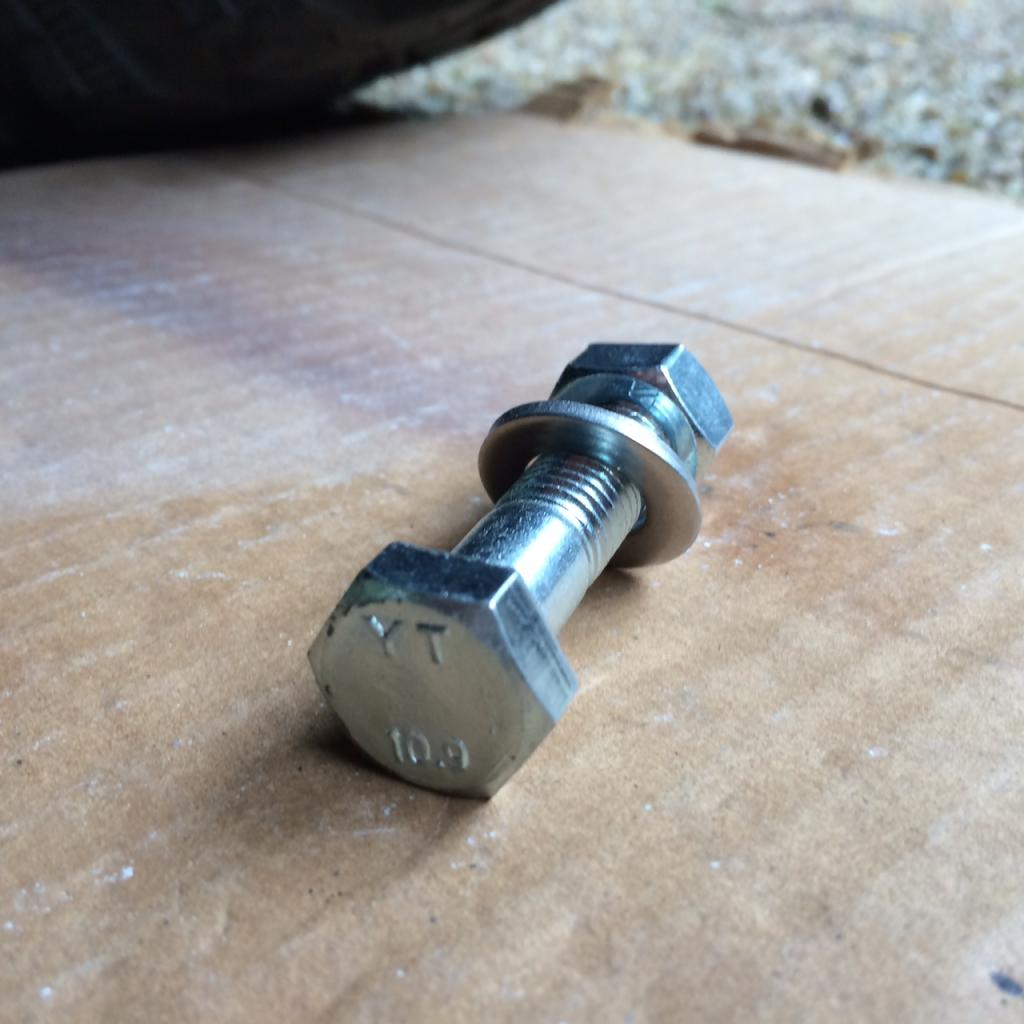
After a good bit of searching, I learned the correct size for the bolts that go up vertically into the track bar bracket are M12 x 1.75 and the class or grade is 10.9. Lowes did not have them so I went over to Ace Hardware and there they were. Seems like they usually have what the larger stores don't.
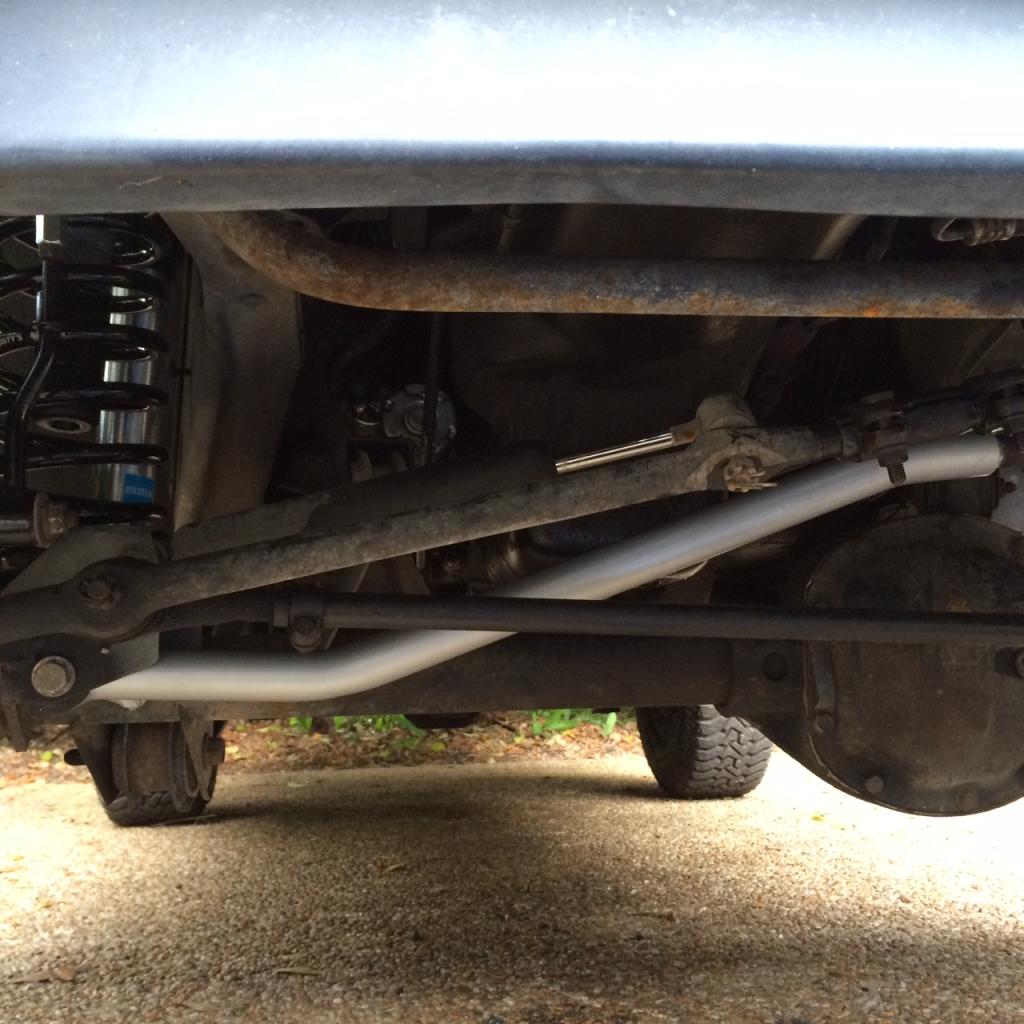
So I was finally able to install the Rubicon Express HD track bar and bracket.
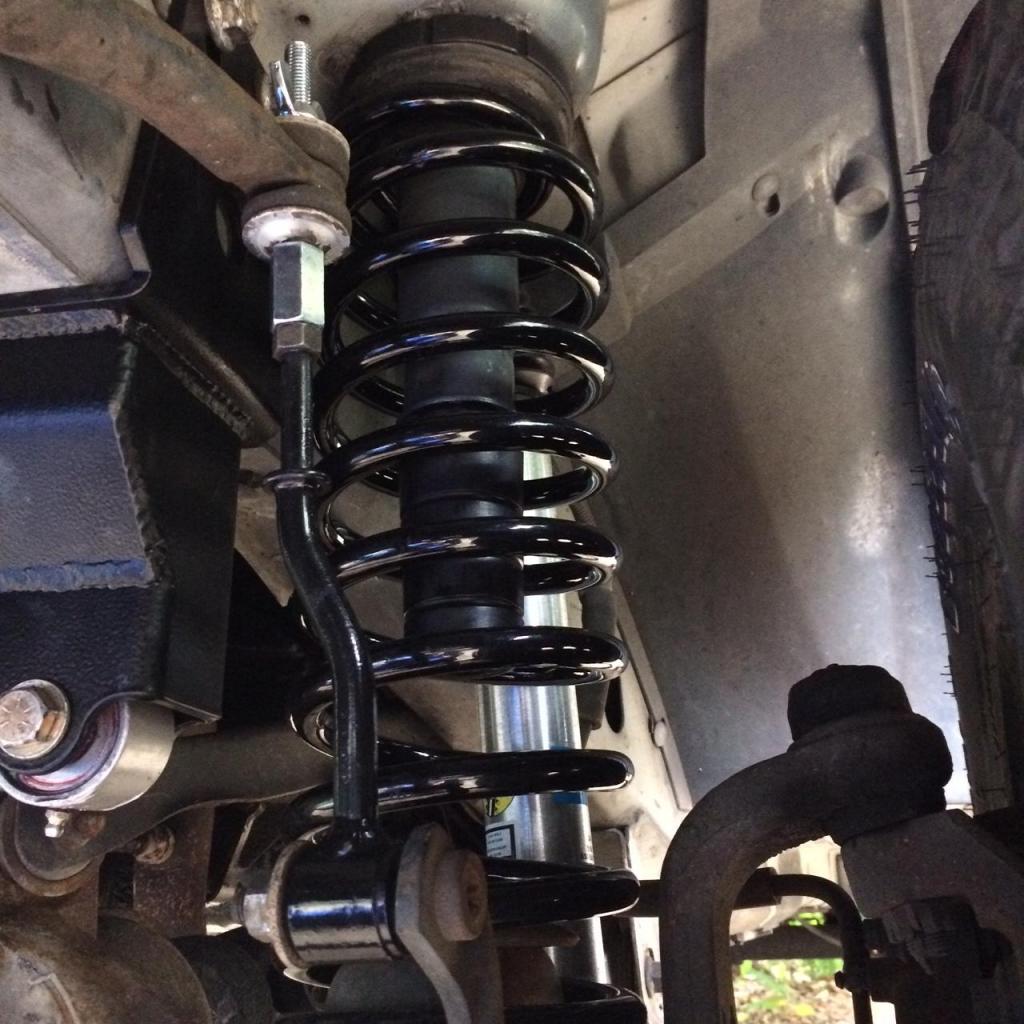
Then I installed the extended disconnects I made up.
Adjusting the track bar was pretty easy. First I started the Jeep. Then rotated the steering wheel from side to side a few times to center the axle under it. Then, connected the track bar on the axle side first and adjusted the other side so the hole in the other end lined up perfectly with the hole in the bracket. I noticed the steering wheel was cocked at a 90 degree angle so I loosened up the adjustment sleeve on the drag link and turned it a few times until it straightened out. With everything tightened down I took it for a test run to check everything out. Everything performed pretty well. The only thing I wasn't happy with is in reverse during a hard turn, the tires will just barely rub the front fender flare near the door hinge area. I will need to shim the LCAs to remedy this until I can afford new LCAs. Other than that I am happy to report no death wobble or drive line vibes that I could detect. A few more pics after the test drive. Really happy to get it to this point.
 11-20-2014, 08:14 PM


 Since the Jeep will be at less than 4 inches of lift it is necessary to cut off about a half inch of threads from the track bar. So I got out my cutting wheel and went to it. Still more than enough threaded area left....which will have anti seize on it before install...this time.

 (I had the joint apart at this point for inspection when I took the pic)


 Everything performed pretty well. The only thing I wasn't happy with is in reverse during a hard turn, the tires will just barely rub the front fender flare near the door hinge area. I will need to shim the LCAs to remedy this until I can afford new LCAs. Other than that I am happy to report no death wobble or drive line vibes that I could detect.