Gunmetal 2 Door XJ Build
#16
Seasoned Member
Thread Starter
Join Date: Jul 2010
Location: NE FL
Posts: 337
Likes: 0
Received 0 Likes
on
0 Posts
Year: 1997
Model: Cherokee
Engine: 4.0
I wonder how much longer they need to be. I guess I will just try them. I think my plan will be to make the bastard pack first, then depending on how much lift I end up with, I'll probably buy some new springs to level it out. I'll have to try that BP method you mentioned. Thanks again.
#17
CF Veteran
Join Date: Aug 2010
Location: Greensboro
Posts: 1,220
Received 0 Likes
on
0 Posts
Year: 1992
Model: Cherokee
Engine: 4.0L
Here's two threads that will give you some info on the control arm lengths and someone that has used them.
http://www.jeepforum.com/forum/f11/c...h-chart-81592/
http://go.jeep-xj.info/HowtoWJcontrolarms.htm
http://www.jeepforum.com/forum/f11/c...h-chart-81592/
http://go.jeep-xj.info/HowtoWJcontrolarms.htm
#18
Seasoned Member
Thread Starter
Join Date: Jul 2010
Location: NE FL
Posts: 337
Likes: 0
Received 0 Likes
on
0 Posts
Year: 1997
Model: Cherokee
Engine: 4.0
Awesome, Thanks! I had meant to bookmark that first link when I came across it while doing research but forgot. So going by that chart, if I have a 3.5" lift, I will need lcas that are between 16.09 and 16.33. If the WJ lca is 2' longer than a stock XJ (15.75"), then it would be 17.75" Hmmmm. More figuring to do, but this helps a great deal.
The 2nd link looks as though he is using the fronts as fronts and rears as rears for the upper and lowers....and also drop brackets for the LCAs.
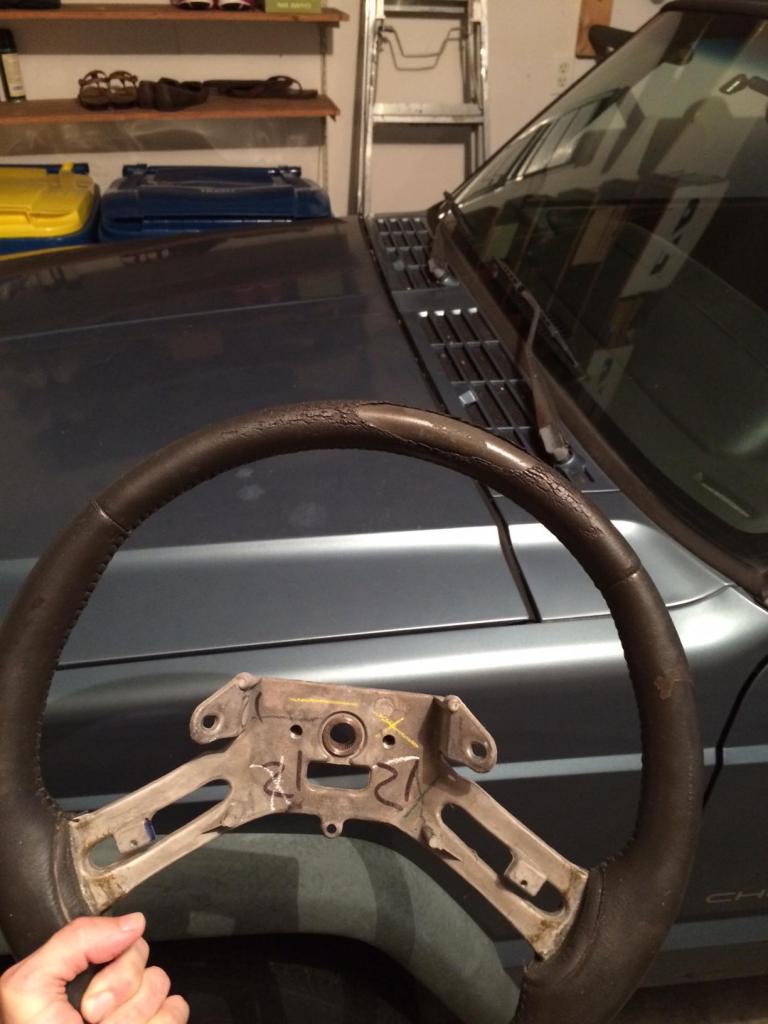
#19
Seasoned Member
Thread Starter
Join Date: Jul 2010
Location: NE FL
Posts: 337
Likes: 0
Received 0 Likes
on
0 Posts
Year: 1997
Model: Cherokee
Engine: 4.0
Since I am trying to figure out and gather parts for my lift, I decided to take care of some cosmetic stuff on the Jeep.
Went to my local Pick a Part salvage yard and found a steering wheel in great condition for only $12. Used a puller rented from Advanced and these write ups to change it out since I had not done one with an airbag before: http://www.links4jeeps.com/writeups/clockspring/
http://home.myfairpoint.net/m_levesq...ssite/id2.html
Before
After
Last edited by pittman71; 11-26-2014 at 09:44 AM.
#22
Seasoned Member
Thread Starter
Join Date: Jul 2010
Location: NE FL
Posts: 337
Likes: 0
Received 0 Likes
on
0 Posts
Year: 1997
Model: Cherokee
Engine: 4.0
#23
Seasoned Member
Thread Starter
Join Date: Jul 2010
Location: NE FL
Posts: 337
Likes: 0
Received 0 Likes
on
0 Posts
Year: 1997
Model: Cherokee
Engine: 4.0
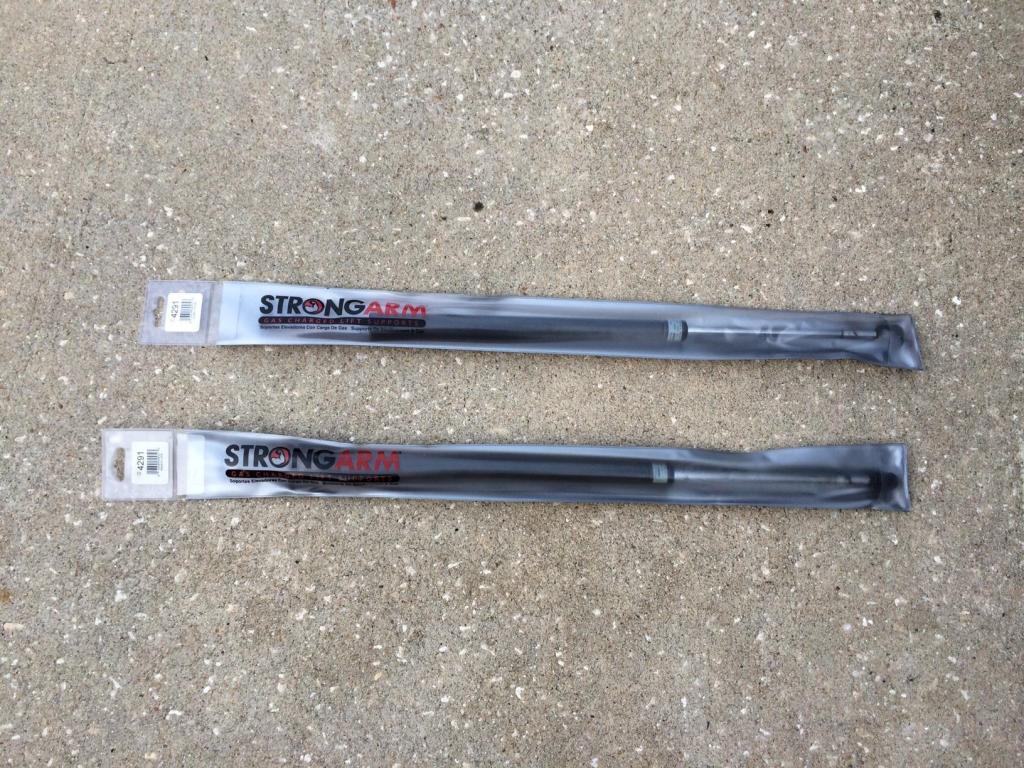
Yep, coming up soon.
#24
Member
Join Date: Sep 2014
Location: Mountain Town, USA
Posts: 180
Likes: 0
Received 0 Likes
on
0 Posts
Year: 1991
Model: Cherokee (XJ)
Engine: 4.0 6 Cyl
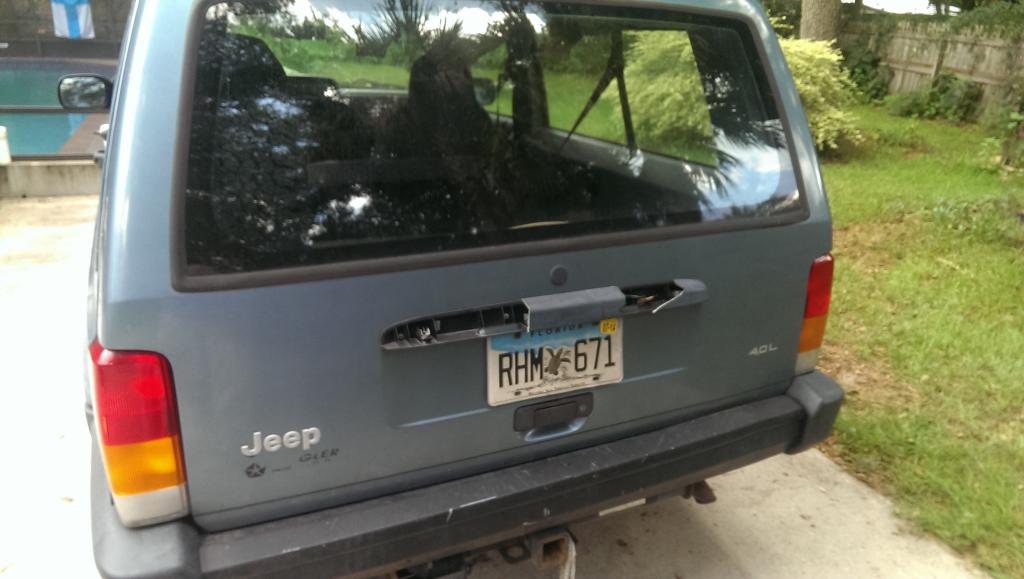
Im enjoying the build so far man. I have a (older) 2 door as well, and yours looks to be in pretty decent shape!
I plan on being around where you want to be, 3"/31", and am getting quite a bit from the local pull-n-save as well.
Sub'd!
I plan on being around where you want to be, 3"/31", and am getting quite a bit from the local pull-n-save as well.
Sub'd!
#25
Senior Member
Join Date: Jul 2014
Location: St. Louis
Posts: 793
Likes: 0
Received 2 Likes
on
2 Posts
Year: 1998
Model: Cherokee
Engine: 4.0 Liter I6 PowerTech
Yeah, those are the stock control arms. I upgraded to Rusty's off road upper and lower control arms, full coils and leafs, and got all new shocks. The bastard packs were pretty decent, I just wanted to upgrade my suspension all the way around after I bought it.
#27
Seasoned Member
Thread Starter
Join Date: Jul 2010
Location: NE FL
Posts: 337
Likes: 0
Received 0 Likes
on
0 Posts
Year: 1997
Model: Cherokee
Engine: 4.0
Well I searched for a while and could not find a headliner or board for that matter that was in decent shape. So I decided to try to salvage mine even though it had some pretty bad gouges in it.
What I started with
Pulled it and scrubbed off the left over foam
Picked up some headliner material and 2 cans of adhesive from JoAnnns fabric using their 40% off coupon. Spent about $50 total.
This stuff is great. Super sticky!
Turned out pretty good for my first...especially with the gouged board. Total for materials was right at $50
Last edited by pittman71; 11-13-2014 at 06:16 PM.
#28
Member
Join Date: Sep 2014
Location: Mountain Town, USA
Posts: 180
Likes: 0
Received 0 Likes
on
0 Posts
Year: 1991
Model: Cherokee (XJ)
Engine: 4.0 6 Cyl
Wow! That turned out great! Especially considering what you had to work with. Just curious, did you do anything to fill in the gouges?
My headliner fabric was taken down by PO, but my board seems to be in fairly good condition. I need to do this.......
Was it as difficult as what I've read?
My headliner fabric was taken down by PO, but my board seems to be in fairly good condition. I need to do this.......
Was it as difficult as what I've read?
#29
Seasoned Member
Thread Starter
Join Date: Jul 2010
Location: NE FL
Posts: 337
Likes: 0
Received 0 Likes
on
0 Posts
Year: 1997
Model: Cherokee
Engine: 4.0
Thanks!
I wouldn't say it was difficult, but it was definitely time consuming. I am pretty mechanically inclined, but I don't do it for a living. While building my CJ I learned that things usually take longer than you think they will. My dad and I now say, "Think about how much time you think it will take you to do the job and at least double it.....sometimes triple. Doing things the first time is a learning experience. So if you ever need to do something again, it will go quicker the next time.
I didn't do a write up since there are many of them already and there is not much to it. Basically, you just unscrew and pull the plastic interior panels around the sides and rear of the headliner. Also remove the sun visors and dome lights. You will need a large torx to remove the rear seatbelts. Then slide the headliner board out through the back.
For the gouges, some of them were torn and still had material I could bring back together. Other areas were just missing. I knew it wouldn't be completely perfect, but it actually turned out better than I expected. Huge improvement!
Last edited by pittman71; 11-26-2014 at 09:47 AM.
#30
Seasoned Member
Thread Starter
Join Date: Jul 2010
Location: NE FL
Posts: 337
Likes: 0
Received 0 Likes
on
0 Posts
Year: 1997
Model: Cherokee
Engine: 4.0