Evilpopcorn's 1999 Jeep Cherokee
 10-19-2015, 03:59 AM
#16
CF Veteran
Thread Starter
Join Date: Jan 2011
Location: Converse, Texas
Posts: 1,651
Likes: 0
Received 5 Likes
on
5 Posts
Year: 1999
Model: Cherokee
Engine: 4.0 I6
I'm looking at this kit-
http://www.metalcloak.com/XJ-Cheroke...ion-p/7180.htm
Me likey the double flex joints on the control arms.
http://www.metalcloak.com/XJ-Cheroke...ion-p/7180.htm
Me likey the double flex joints on the control arms.

 11-03-2015, 04:16 AM
#18
CF Veteran
Thread Starter
Join Date: Jan 2011
Location: Converse, Texas
Posts: 1,651
Likes: 0
Received 5 Likes
on
5 Posts
Year: 1999
Model: Cherokee
Engine: 4.0 I6
Just realized I never got any pictures or posted about it- got my quarter panels cut. I'll get pictures when I can, but a body shop near me said they'd both cut and weld new metal, as well as stop rust from spreading for the same price as just welding in new metal. So I figured what the hell, for the price I'd rather have the bottom welded in rather than riveted like I was gonna try (Too much rust for a proper cut-n-fold). Jeep was in the shop for a few days, and the quarter panels are looking good, if not a little weird (They flared them out a bit, and the metal is strong enough that I can use it as a step, I kinda like it). Granted I didn't realize the primer they use is tan... so now all the former rust spots are tan. But- I'm just gonna paint the whole rear quarter panel black. I know... I should have done it myself... at least the cutting.
Last edited by Evilpopcorn; 11-03-2015 at 04:22 AM.
11-12-2015, 09:53 PM
#19
CF Veteran
Thread Starter
Join Date: Jan 2011
Location: Converse, Texas
Posts: 1,651
Likes: 0
Received 5 Likes
on
5 Posts
Year: 1999
Model: Cherokee
Engine: 4.0 I6
I actually got something done today!!!
I keep forgetting to take pictures... but whatever- got new 784 Neon injectors from jhc7399 and a 62mm bored out throttle body from Thexjfiles both installed today, just did a couple laps around the neighborhood and they're working great! Although I broke all the injectors' plugs getting them out... but they're on tight, not coming off.
I keep forgetting to take pictures... but whatever- got new 784 Neon injectors from jhc7399 and a 62mm bored out throttle body from Thexjfiles both installed today, just did a couple laps around the neighborhood and they're working great! Although I broke all the injectors' plugs getting them out... but they're on tight, not coming off.
11-24-2015, 08:07 PM
#20
CF Veteran
Thread Starter
Join Date: Jan 2011
Location: Converse, Texas
Posts: 1,651
Likes: 0
Received 5 Likes
on
5 Posts
Year: 1999
Model: Cherokee
Engine: 4.0 I6
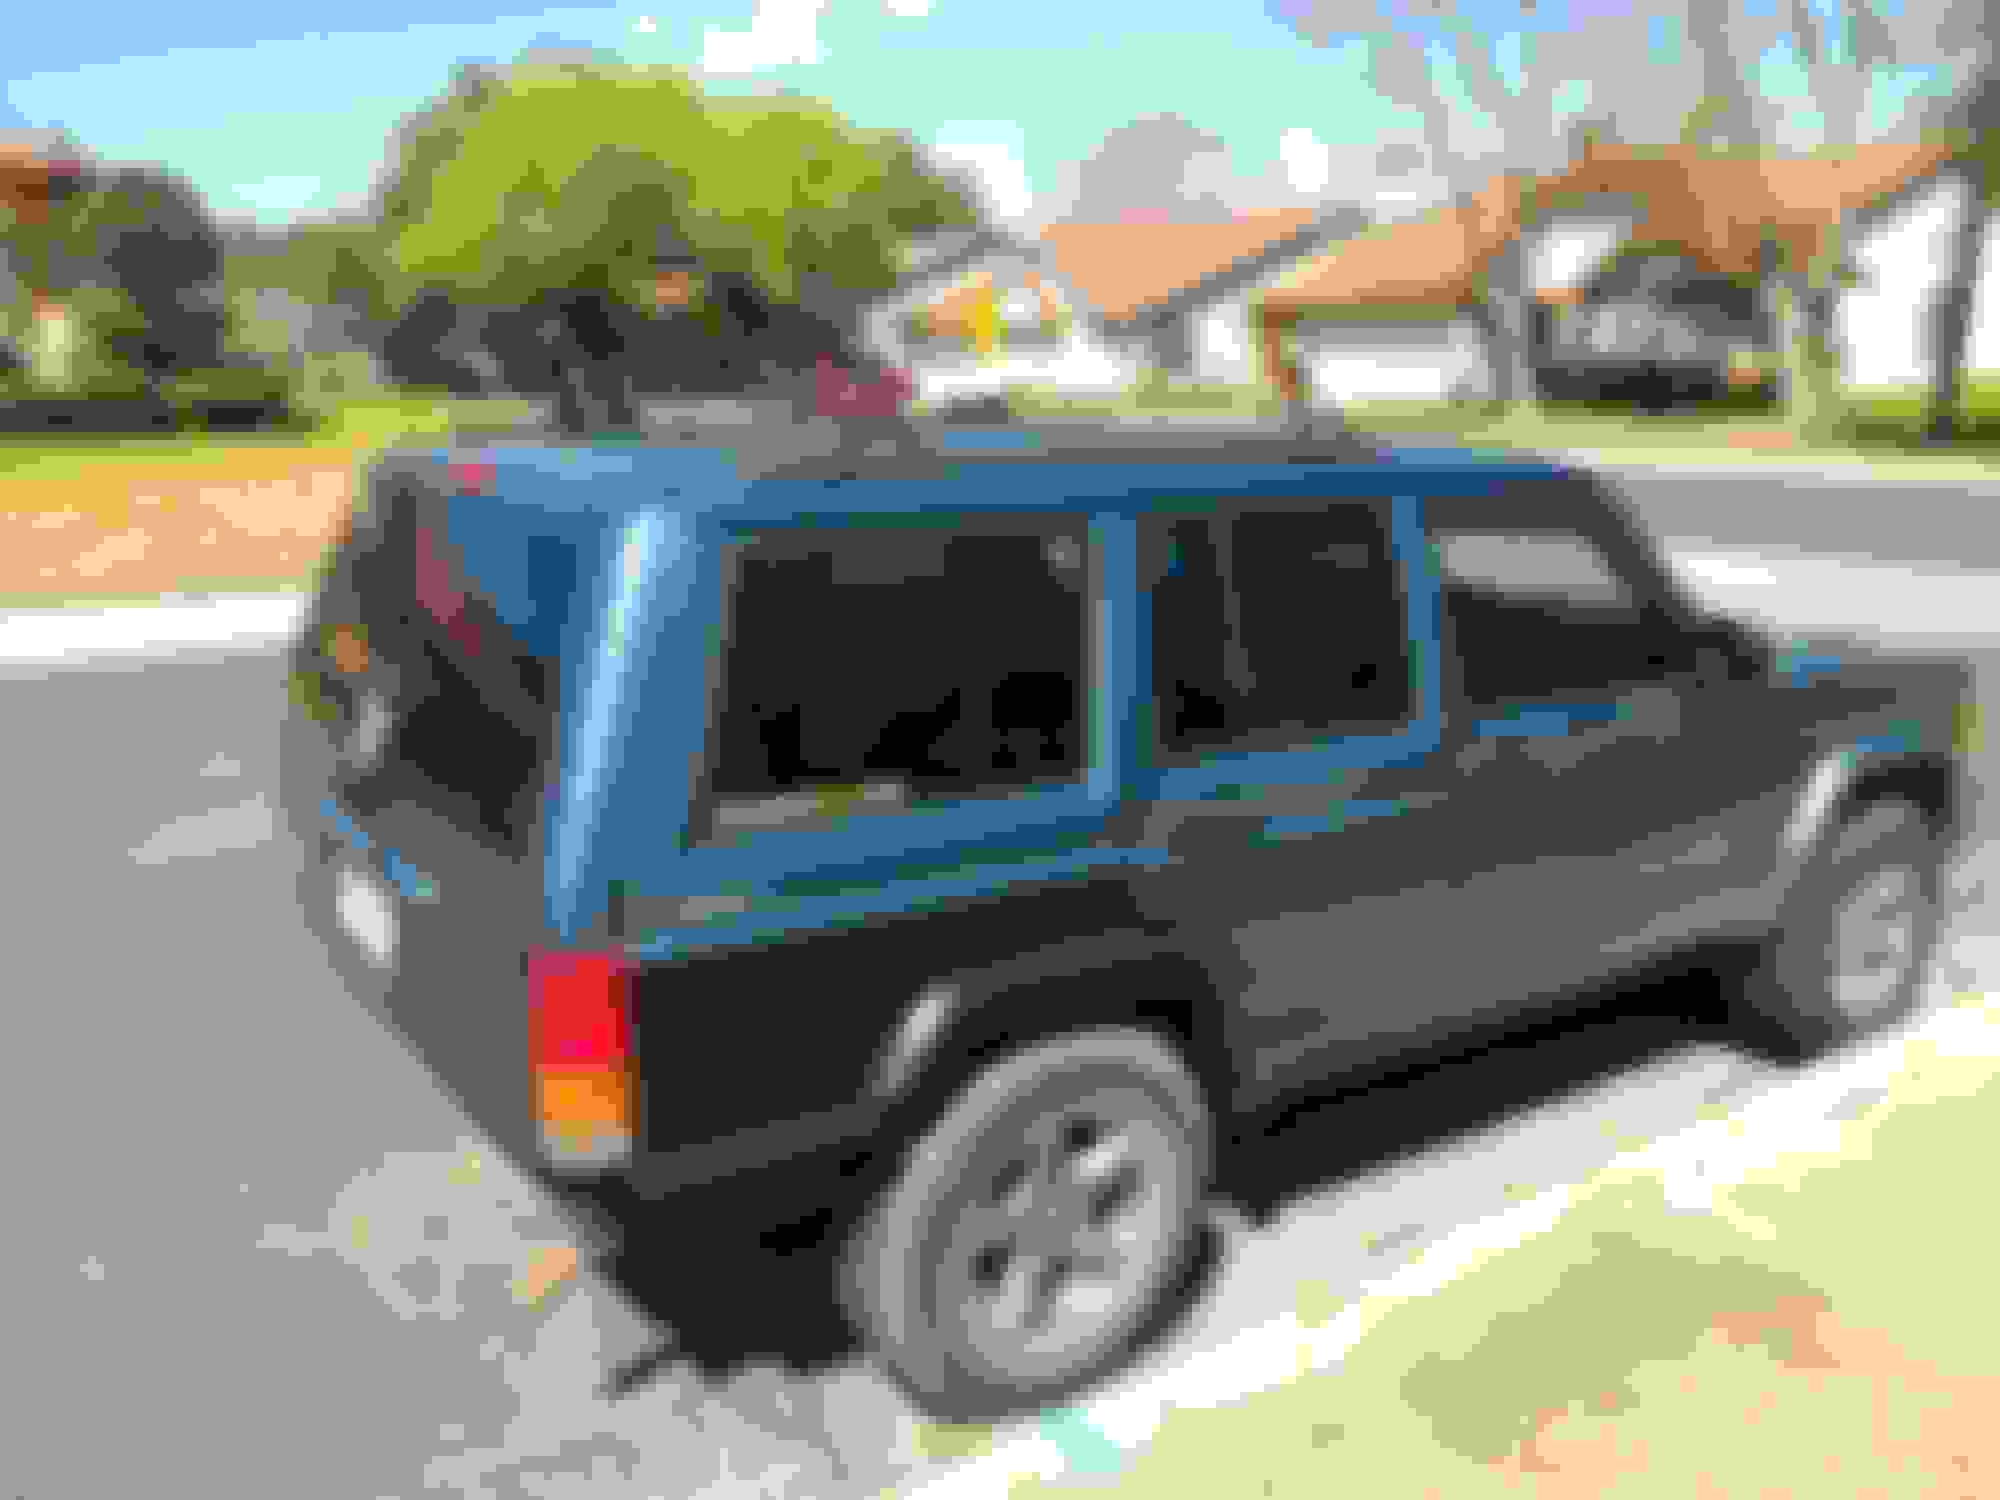
More things done! And I remembered to take pictures! First off, the rear quarter panel pictures I've been putting off for the longest time-


And I (FINALLY!!!) got my gas tank skid on, it only took a crap ton of grinding!

My painting skills are astounding, aren't they?


And I (FINALLY!!!) got my gas tank skid on, it only took a crap ton of grinding!

My painting skills are astounding, aren't they?
02-08-2016, 10:06 AM
#21
CF Veteran
Thread Starter
Join Date: Jan 2011
Location: Converse, Texas
Posts: 1,651
Likes: 0
Received 5 Likes
on
5 Posts
Year: 1999
Model: Cherokee
Engine: 4.0 I6
Fun times! Today my battery cables decided they didn't want to work at all anymore, gonna replace them with some thicker cables. Good news is the crappy little plug Chrysler decided to use for the starter end of it isn't there- it's just a regular cable connection- so thank you PO.

^ Didn't have that crap, just a normal cable.
^ Didn't have that crap, just a normal cable.
Last edited by Evilpopcorn; 02-08-2016 at 10:08 AM.
 02-08-2016, 10:32 PM
#23
CF Veteran
Thread Starter
Join Date: Jan 2011
Location: Converse, Texas
Posts: 1,651
Likes: 0
Received 5 Likes
on
5 Posts
Year: 1999
Model: Cherokee
Engine: 4.0 I6
Got the new cables in, someday I'll have to replace the ground cables as well, but for now- SHE'S ALIVE!!!


Got all the parts from NAPA, had to get this fixed TODAY, didn't have time to look around for all the best stuff.
And I'd like to thank 5-90 for all the info he put on this forum, really helped out an electrical moron like me.


Got all the parts from NAPA, had to get this fixed TODAY, didn't have time to look around for all the best stuff.
And I'd like to thank 5-90 for all the info he put on this forum, really helped out an electrical moron like me.
02-27-2016, 01:39 PM
#24
CF Veteran
Thread Starter
Join Date: Jan 2011
Location: Converse, Texas
Posts: 1,651
Likes: 0
Received 5 Likes
on
5 Posts
Year: 1999
Model: Cherokee
Engine: 4.0 I6
Stuff got done again! And this time it only took me a week to take pictures! Got some of this stuff-

To paint my quarter panels, went really well despite my lack of painting skills. Also got a CB, it was a $60 model on sale for $20, so I figured what the hell, I'll get a CB now. Only using a small through-the-window antennae though, I figure it's cleaner and I don't need a full one, just enough to keep in contact in a convoy.


To paint my quarter panels, went really well despite my lack of painting skills. Also got a CB, it was a $60 model on sale for $20, so I figured what the hell, I'll get a CB now. Only using a small through-the-window antennae though, I figure it's cleaner and I don't need a full one, just enough to keep in contact in a convoy.


 03-06-2016, 12:06 AM
#25
CF Veteran
Thread Starter
Join Date: Jan 2011
Location: Converse, Texas
Posts: 1,651
Likes: 0
Received 5 Likes
on
5 Posts
Year: 1999
Model: Cherokee
Engine: 4.0 I6
Couple of things today- when I painted my Jeep, I also made these-

But forgot to take a picture... I just glued a .40 shell onto a plastic valve stem cap... I thought it looked kinda neat.

But forgot to take a picture... I just glued a .40 shell onto a plastic valve stem cap... I thought it looked kinda neat.
03-06-2016, 12:11 AM
#26
CF Veteran
Thread Starter
Join Date: Jan 2011
Location: Converse, Texas
Posts: 1,651
Likes: 0
Received 5 Likes
on
5 Posts
Year: 1999
Model: Cherokee
Engine: 4.0 I6
Other thing! Last year for Christmas I got these-

And today I finally started getting them on... but I forgot to get hardware to FINISH getting them on so... I'm gonna have to fasten them tomorrow... at any rate, made a template to measure where to cut, then taped off the area to protect the paint-

And now the holes are cut-


Used a drill and a jigsaw.

And today I finally started getting them on... but I forgot to get hardware to FINISH getting them on so... I'm gonna have to fasten them tomorrow... at any rate, made a template to measure where to cut, then taped off the area to protect the paint-


And now the holes are cut-


Used a drill and a jigsaw.

 03-15-2016, 02:32 AM
#30
CF Veteran
Thread Starter
Join Date: Jan 2011
Location: Converse, Texas
Posts: 1,651
Likes: 0
Received 5 Likes
on
5 Posts
Year: 1999
Model: Cherokee
Engine: 4.0 I6
So today I found a very small leak on my intake manifold... anyone know if it can be patched? Welded over or something?

