DD
 09-21-2016, 04:00 PM
#46
Seasoned Member
Thread Starter
Join Date: May 2015
Location: ROCKFORD IL
Posts: 313
Likes: 0
Received 2 Likes
on
2 Posts
Year: 2001
Model: Cherokee
Engine: I6
I also accomplished the cut and fold  ...
...

driver side with the plastic off

driver side with cutting locations

driver side first cut

driver side second and third cut

driver side opened up

driver side screwed in temporary

driver side finished. I took more pictures of the driver side than the passenger side

passenger side with plastic off

passenger side with cutting locations

passenger side screwed in temporary

passenger side finished
...
driver side with the plastic off

driver side with cutting locations

driver side first cut

driver side second and third cut

driver side opened up

driver side screwed in temporary

driver side finished. I took more pictures of the driver side than the passenger side

passenger side with plastic off

passenger side with cutting locations

passenger side screwed in temporary

passenger side finished


 09-23-2016, 04:17 PM
#51
Seasoned Member
Thread Starter
Join Date: May 2015
Location: ROCKFORD IL
Posts: 313
Likes: 0
Received 2 Likes
on
2 Posts
Year: 2001
Model: Cherokee
Engine: I6

jeep with no hood

hood off the jeep

tapped up the hood

template on the hood

first cut

1" hole saw to start the process of cutting

I didn't like the section off metal between so I cut if off

test fit

all done cutting

finally assembly

hood and hood vents installed

inside view


what I actually cut out of the hood
09-23-2016, 04:25 PM
#52
Seasoned Member
Thread Starter
Join Date: May 2015
Location: ROCKFORD IL
Posts: 313
Likes: 0
Received 2 Likes
on
2 Posts
Year: 2001
Model: Cherokee
Engine: I6
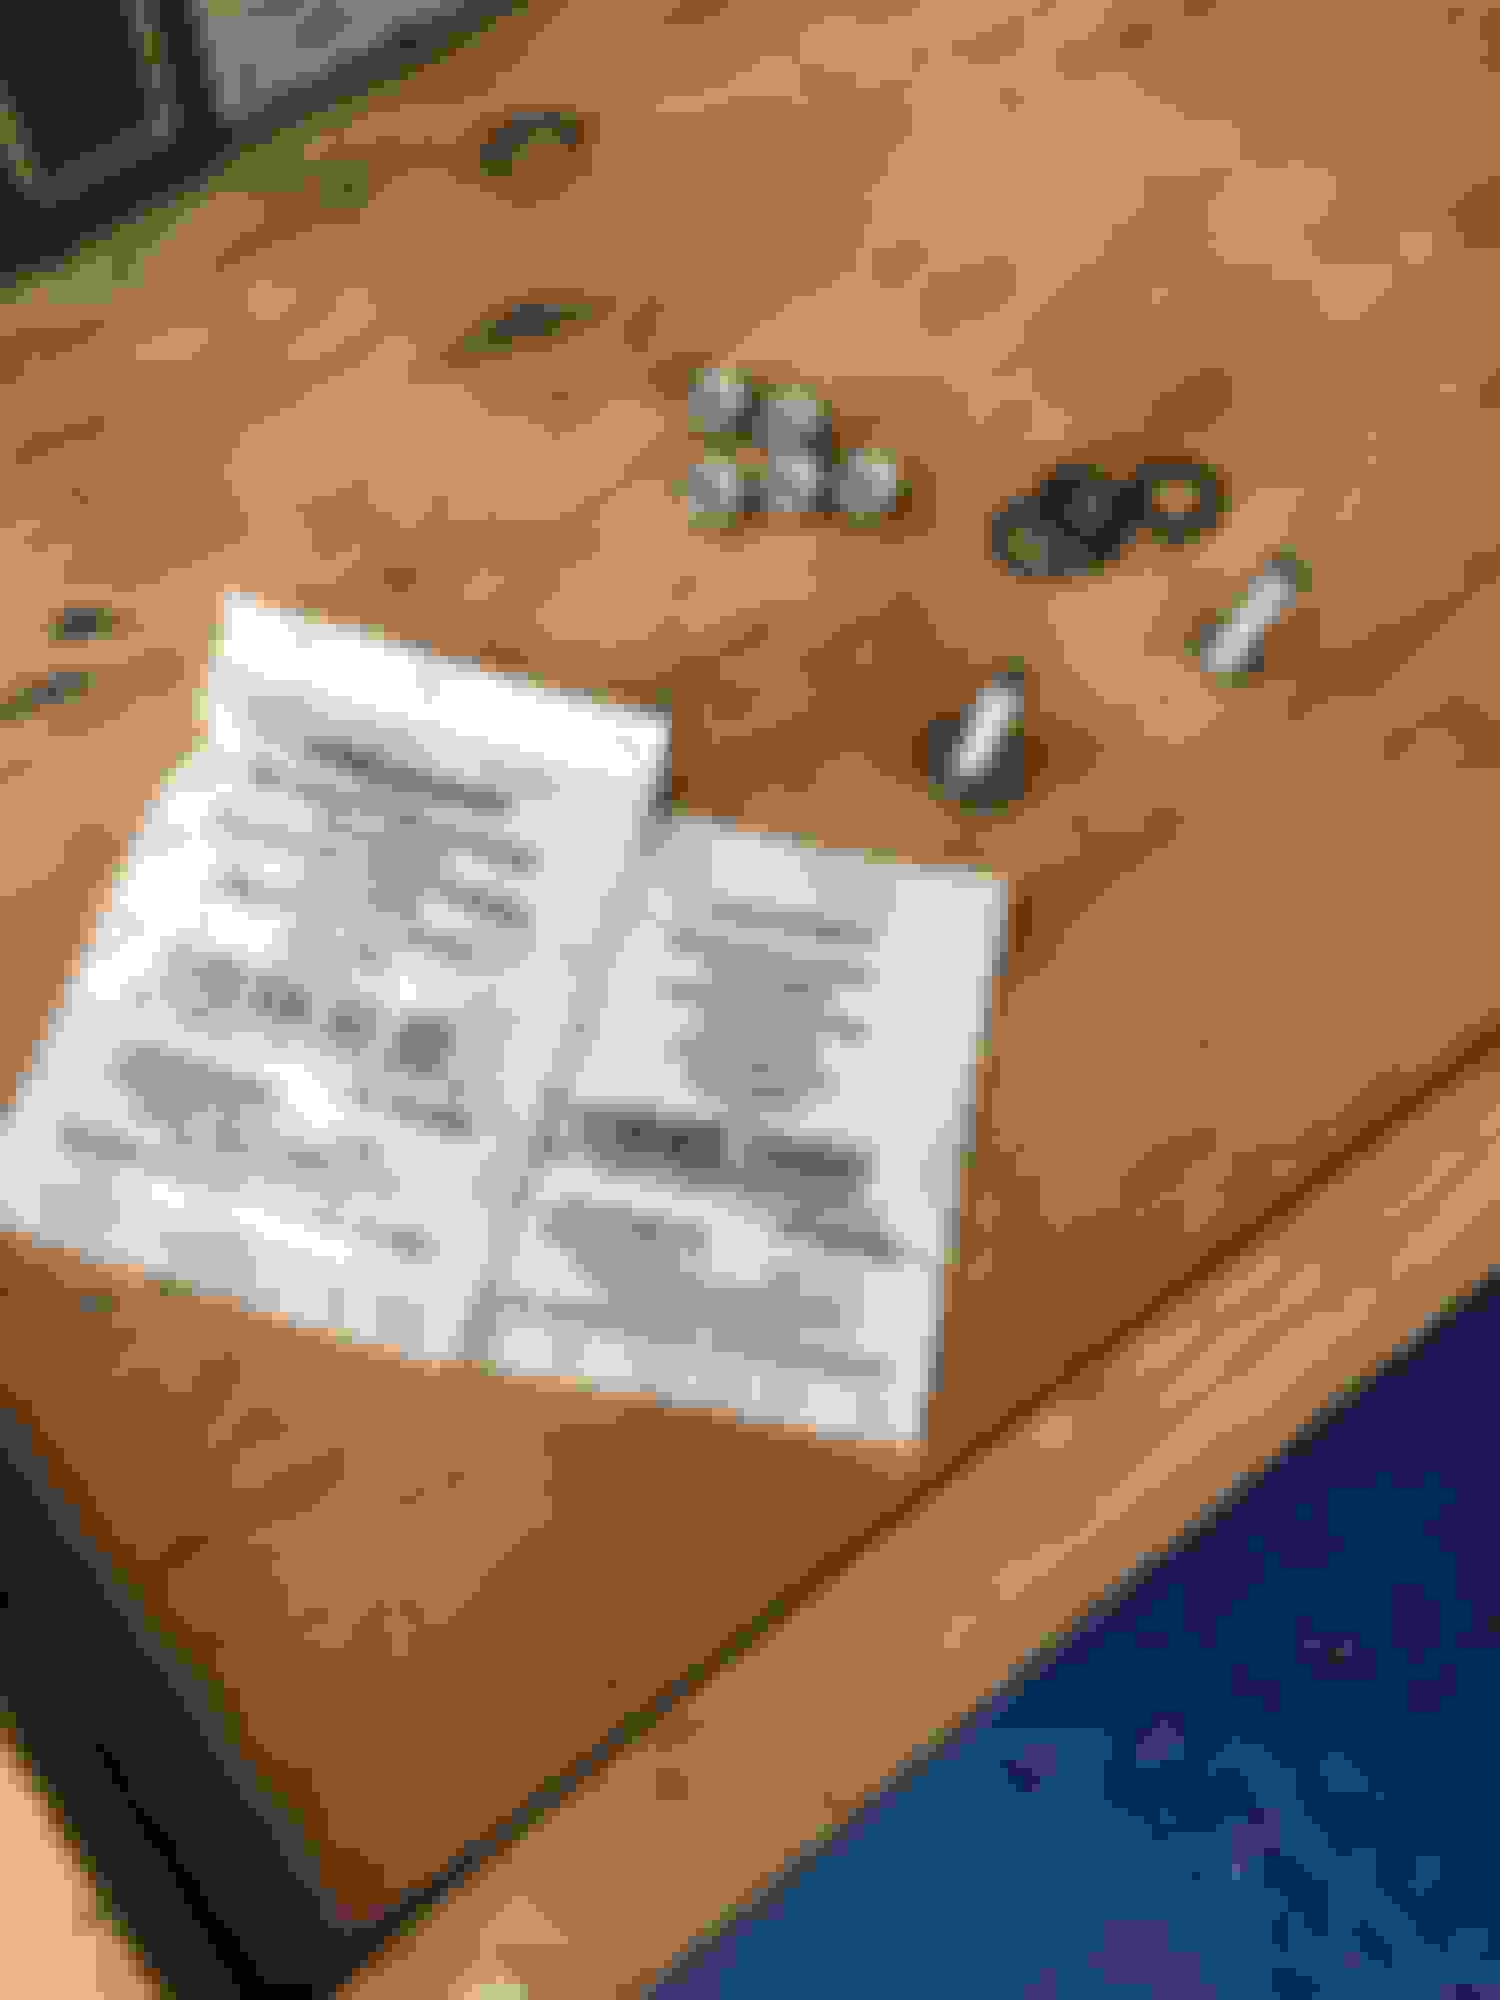
at the same time as the install of the hood vents I installed new 4 port injectors.

I got my injectors from K SUSPENSION
http://www.ksuspensionlifts.com
came with the injectors,business cards, one sticker ( I got another one for each back window) and the instructions

numbering the injectors

I used this cool tape to wrap the fuel rail.

wrapping the injectors

new injectors with a sleeve and the cool wrap

finished
 09-26-2016, 10:14 AM
#54
Seasoned Member
Thread Starter
Join Date: May 2015
Location: ROCKFORD IL
Posts: 313
Likes: 0
Received 2 Likes
on
2 Posts
Year: 2001
Model: Cherokee
Engine: I6
I found these hood vents on CL for 60 bucks and I couldn't pass up the deal. the only problem is that they were for a CJ. so after I was done installing I had empty hole where the windshield loop would go. so 14 dollars later I had some allen head stainless bolts to finish off the hood.

CJ windshield loop holes location
1/4-20, bolts, washers, and nuts

finished


CJ windshield loop holes location

1/4-20, bolts, washers, and nuts

finished

 12-01-2016, 11:09 AM
#56
Seasoned Member
Thread Starter
Join Date: May 2015
Location: ROCKFORD IL
Posts: 313
Likes: 0
Received 2 Likes
on
2 Posts
Year: 2001
Model: Cherokee
Engine: I6
so on this long thanksgiving break I worked on the jeep. stage 2 of the lift! LOL I didn't like the massive rack I had so I bought "new to me" springs and LCA and track bar

the axle side on the lower controls arms was the easy part. the body side was seized so I cut through the bolt with a saw zaw. took about three blades were side of the bushing

finally one new lower control arm is in. the only place around me with the correct bolts was Fastenal

than the next side and I was ready to start on the new isolators and springs

old garbage to new garbage
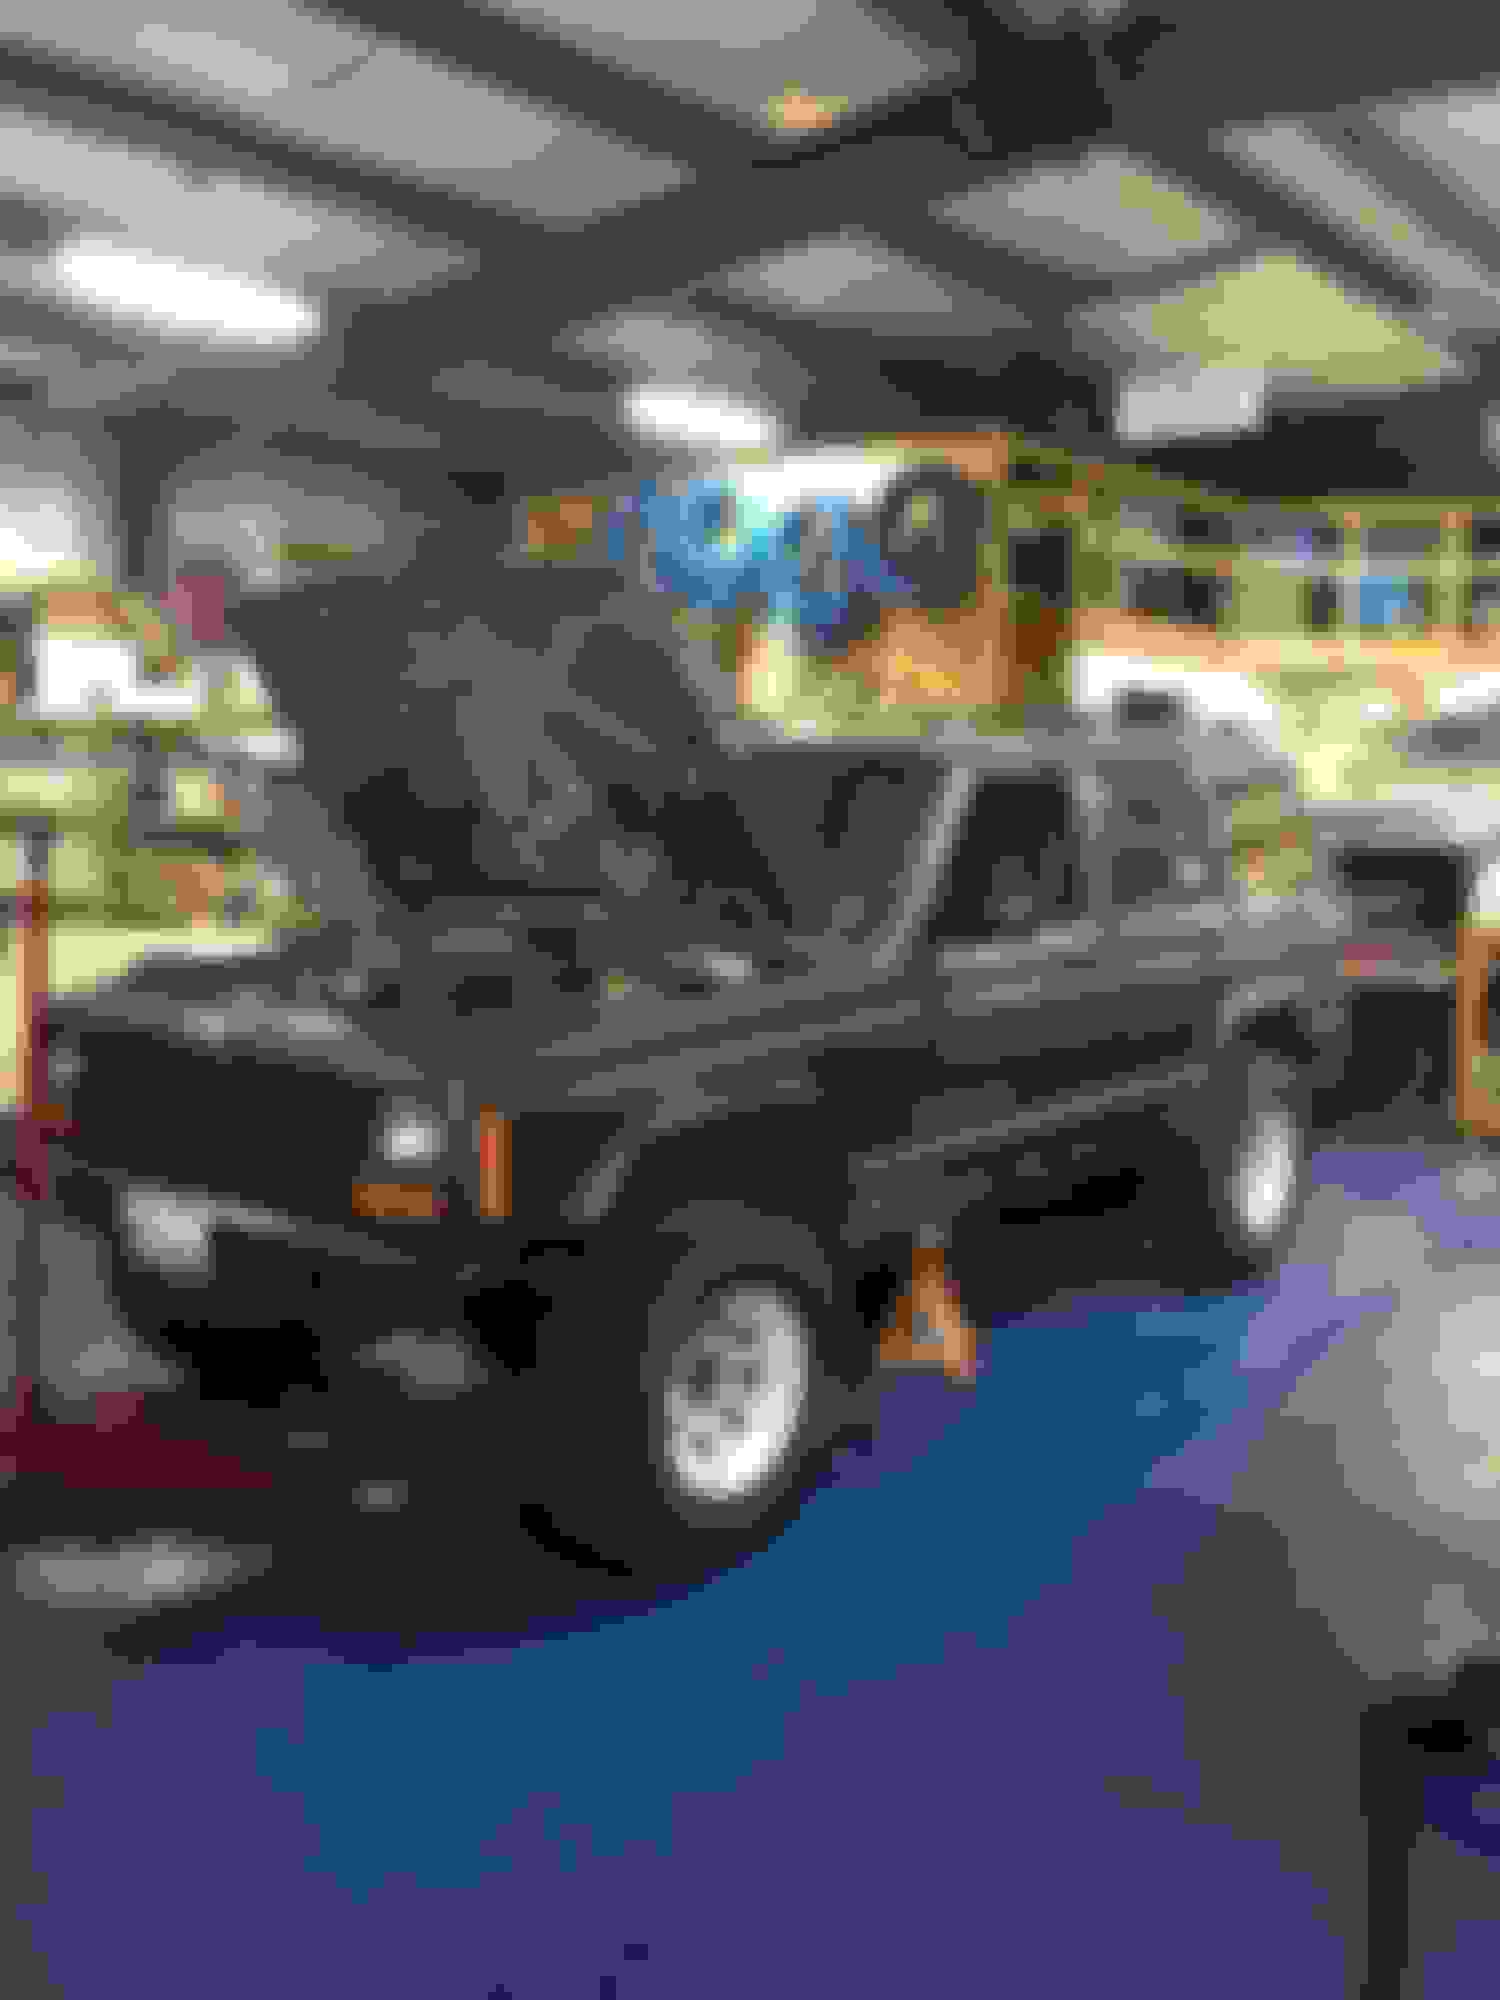
and done!
also not pictured is that I did add bump stops to the front. they are just hockey pucks with a hole and a bolt holding it to the spring perch.
12-01-2016, 11:15 AM
#57
Seasoned Member
Thread Starter
Join Date: May 2015
Location: ROCKFORD IL
Posts: 313
Likes: 0
Received 2 Likes
on
2 Posts
Year: 2001
Model: Cherokee
Engine: I6
I am having a lot of trouble with my track bar though.
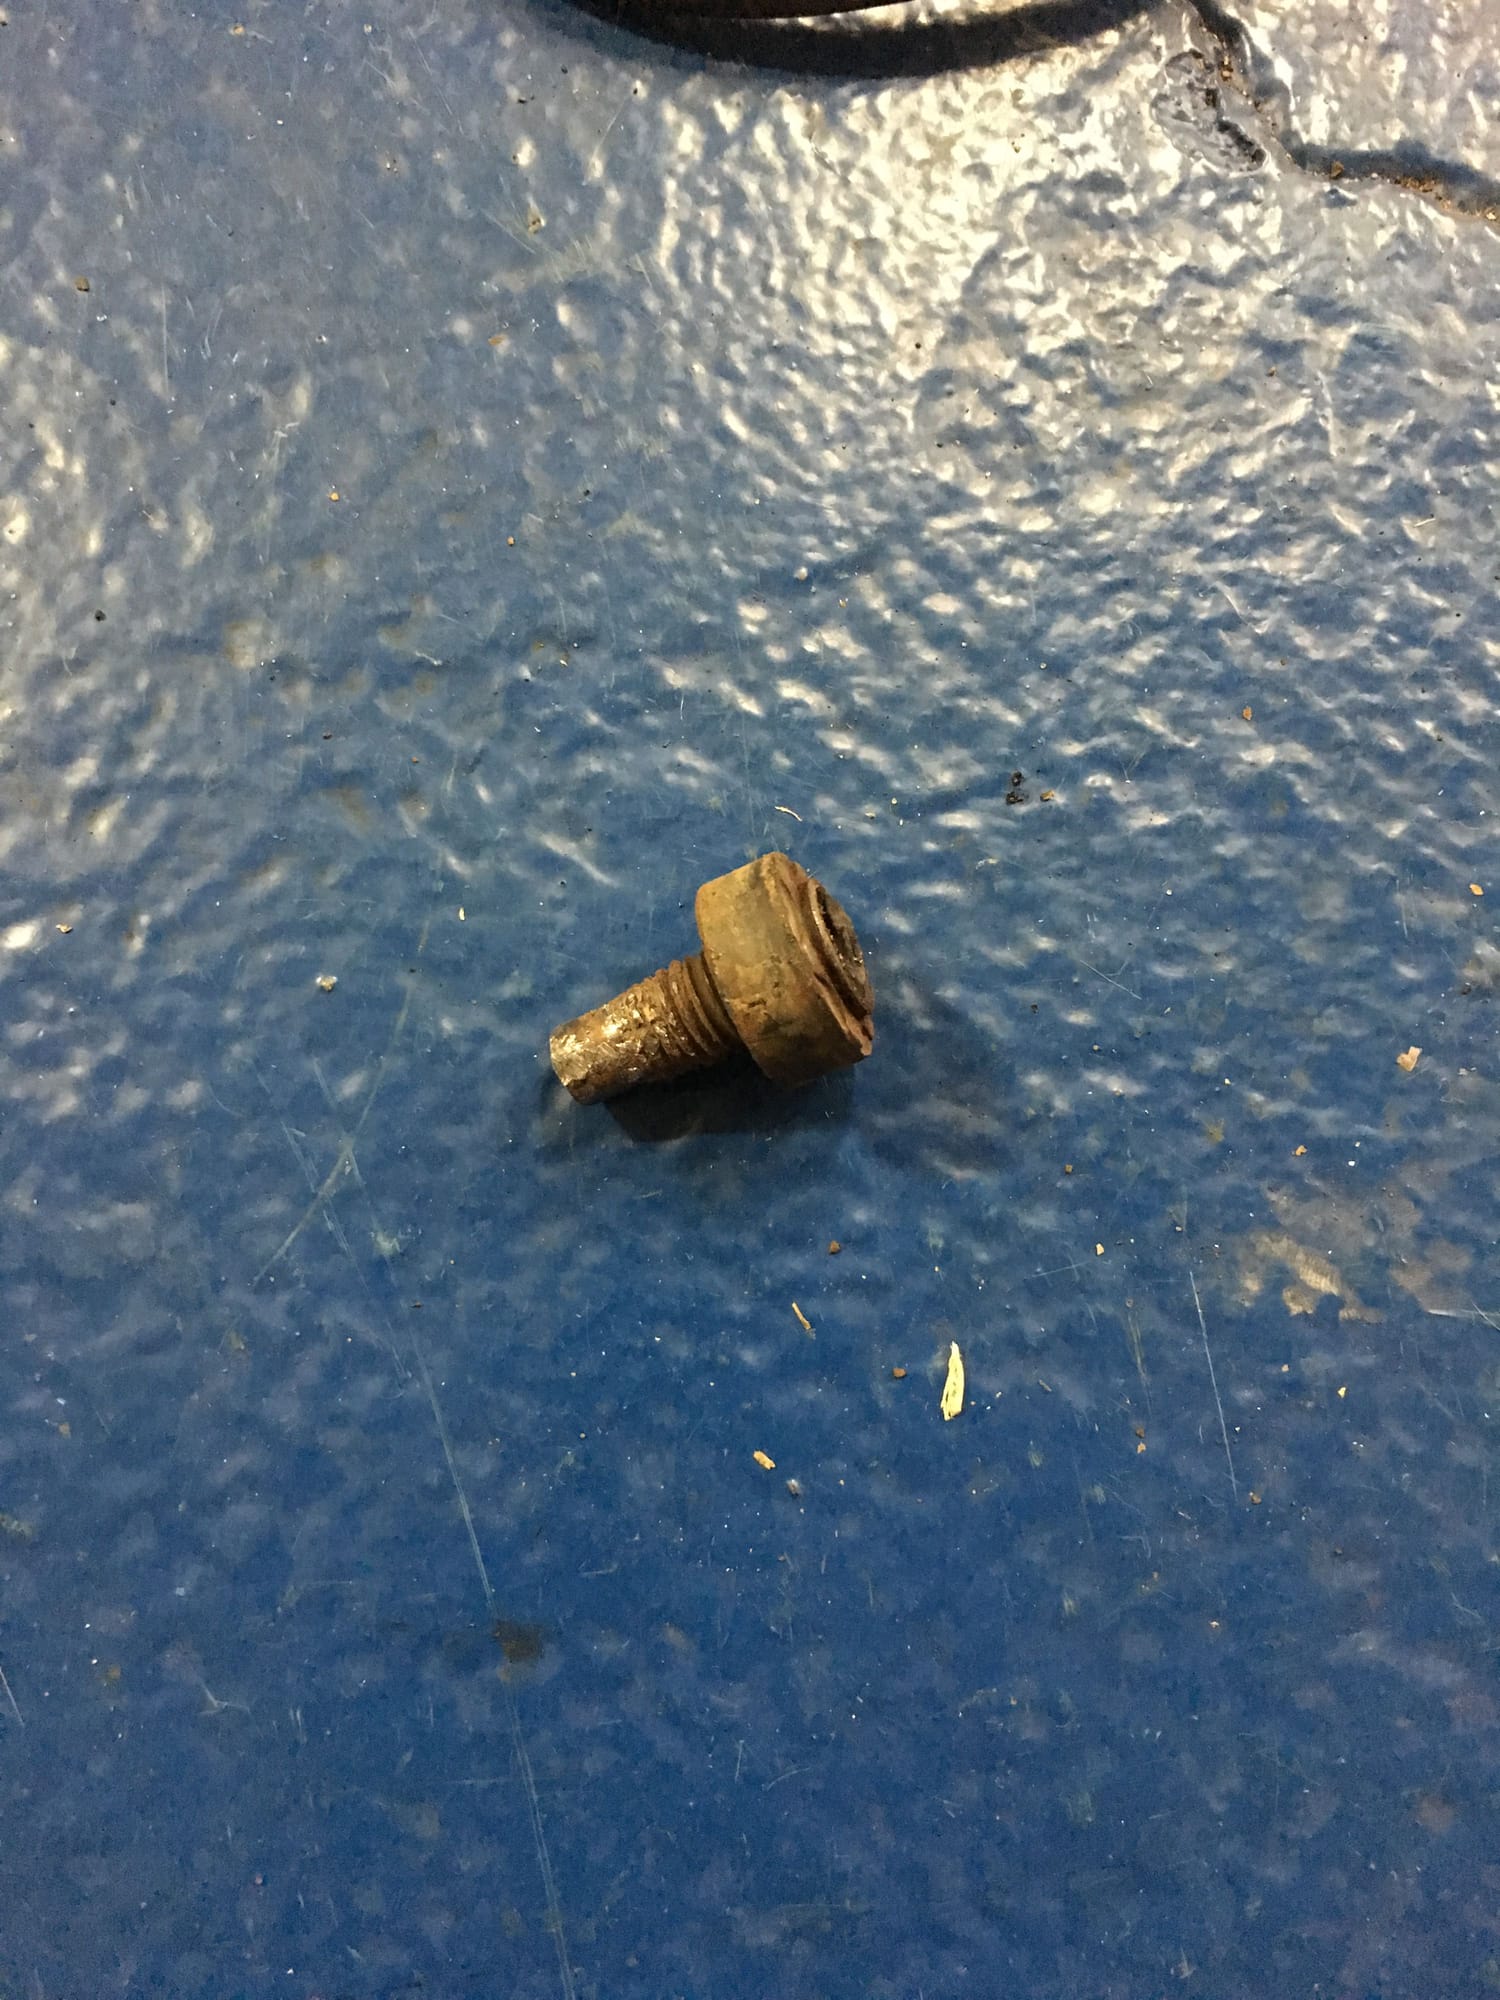
the axle side bolt broke. figures. so I cut that out with a saw zaw as well.
my problem is actually at the bracket side.
pictures below

axle side I broke and just cut loose.

my problem is the two bolts that hold the bracket up. the first or right bolt in this picture came out fine. but the second bolt or left bolt in the picture broke. and I cant get a saw zaw in there to cut the nut or bolt loose. any suggestions?
12-05-2016, 09:46 AM
#58
Seasoned Member
Thread Starter
Join Date: May 2015
Location: ROCKFORD IL
Posts: 313
Likes: 0
Received 2 Likes
on
2 Posts
Year: 2001
Model: Cherokee
Engine: I6
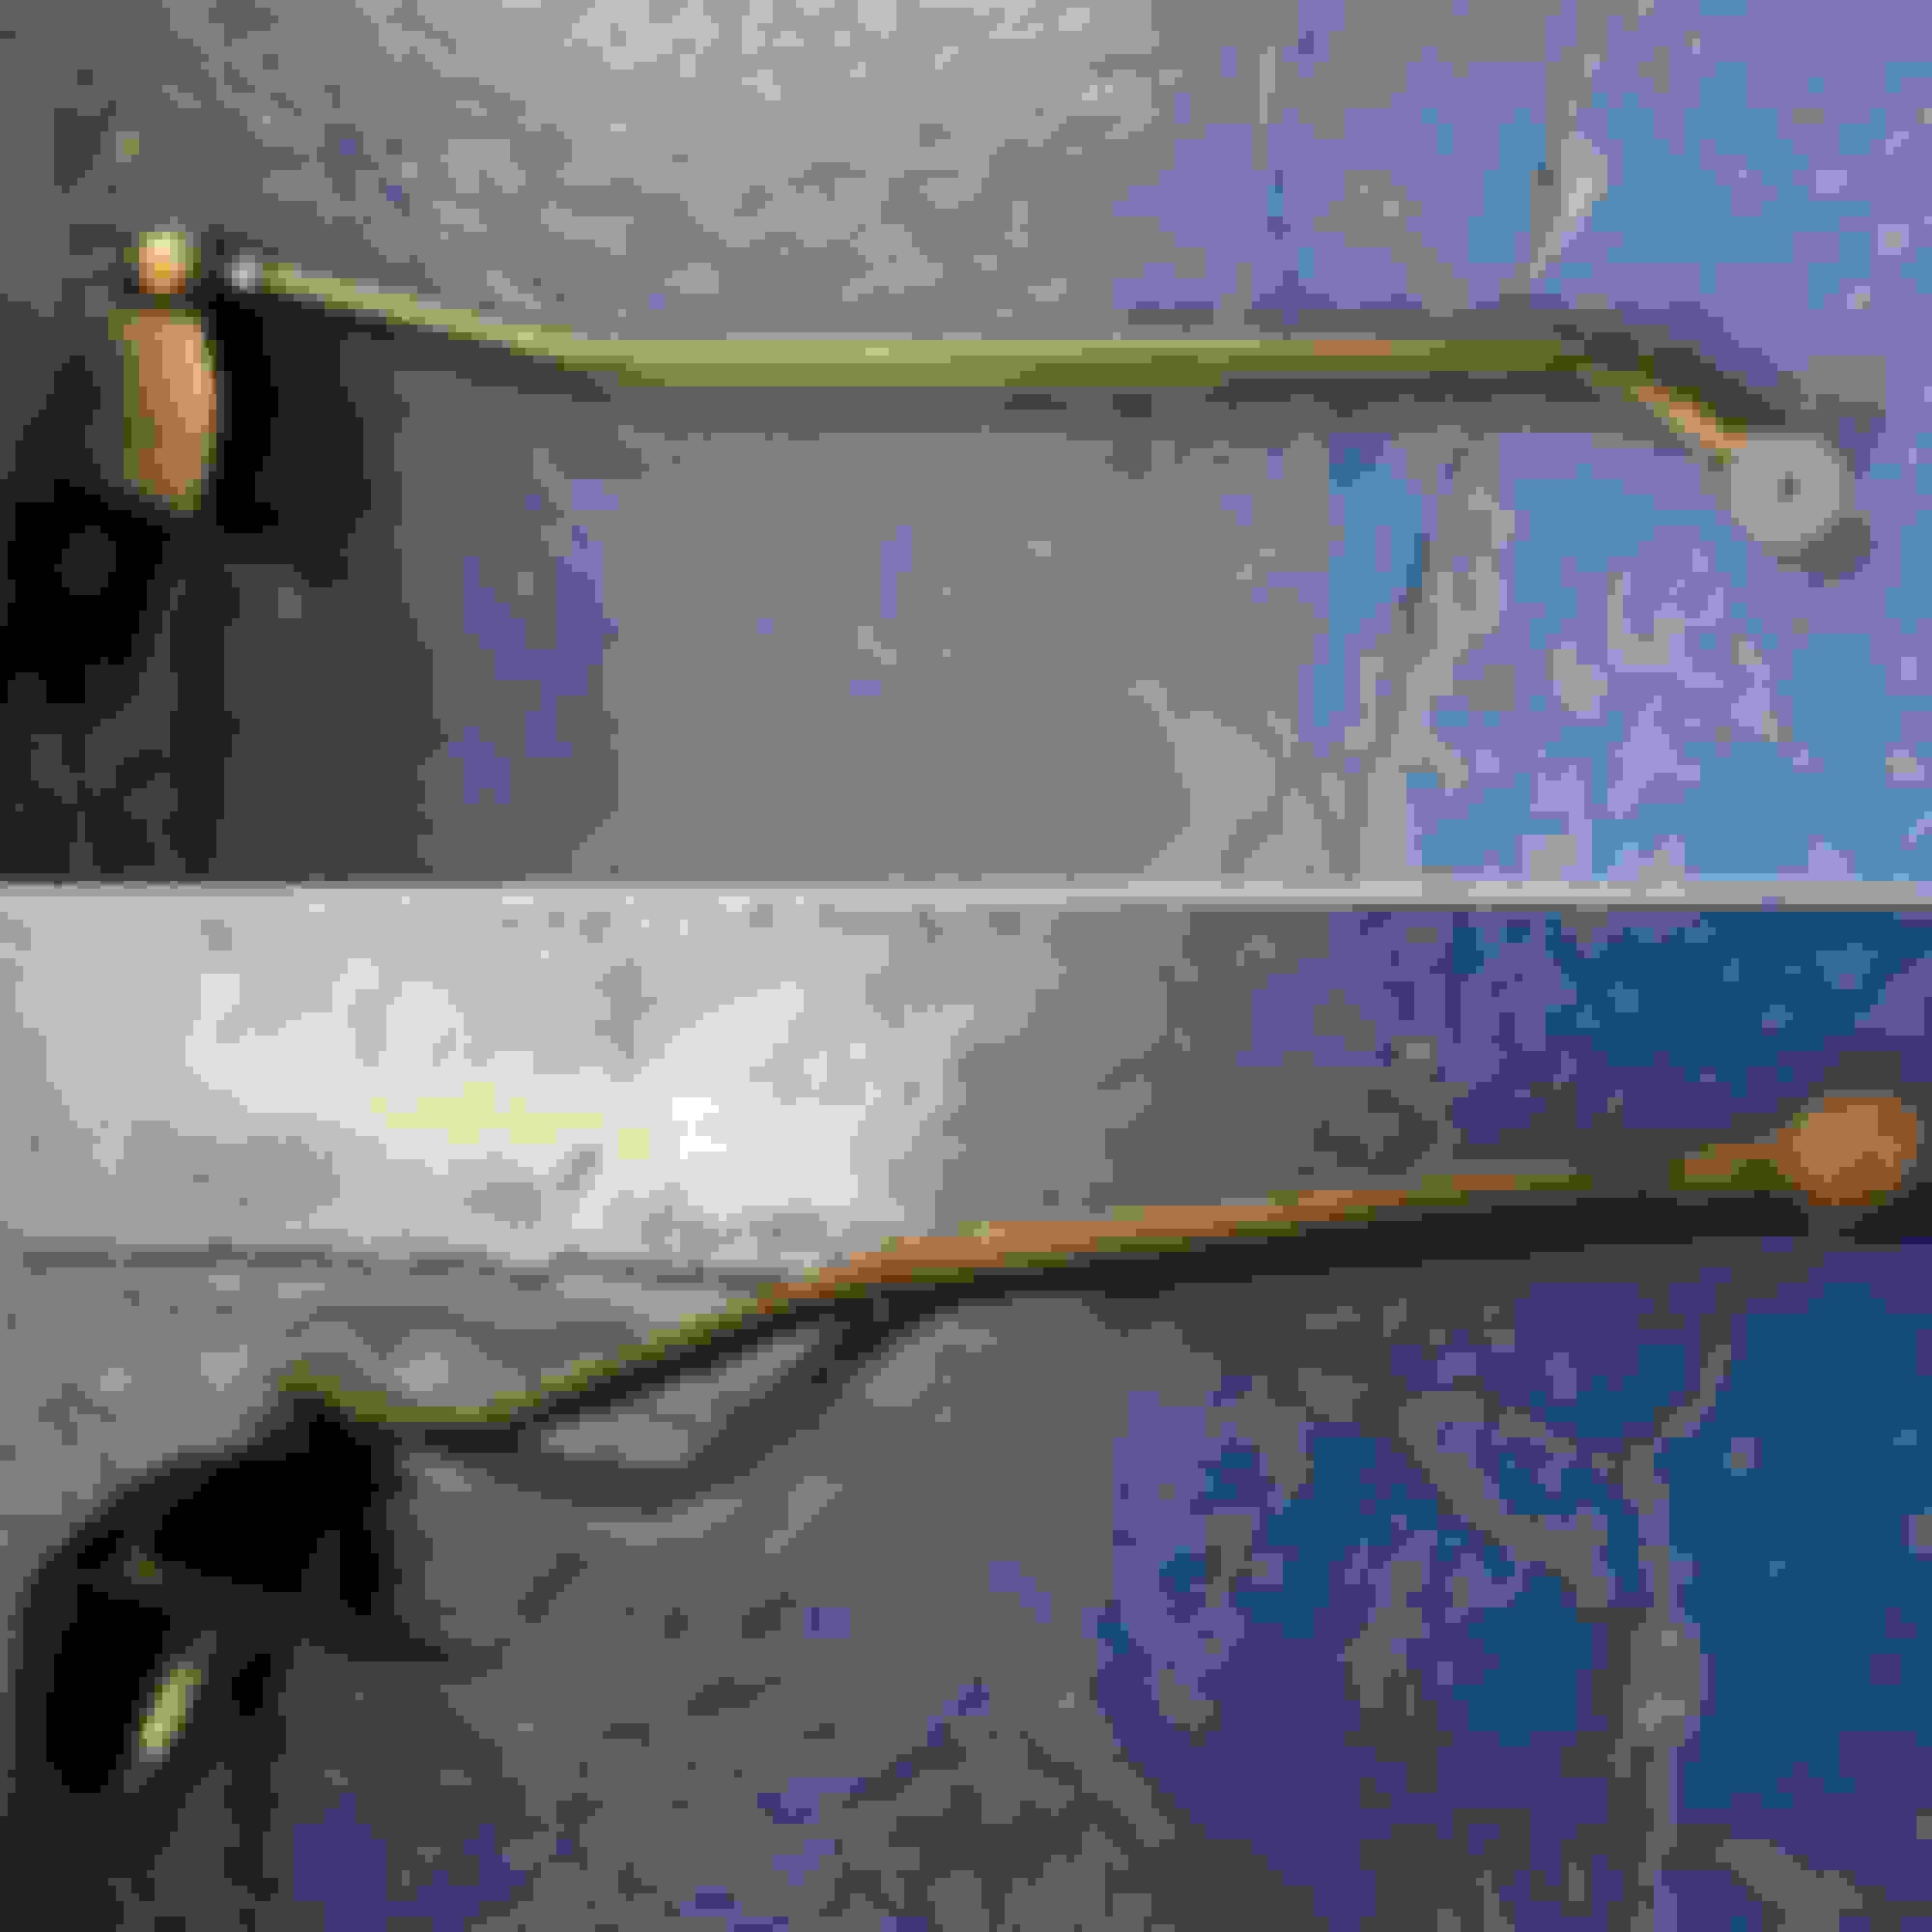
I heated up the bolt enough where I could spin the rest of the remaining bolt back up and I used a big pry bar and boom! sucker popped right off.
the front bolt did come out clean so I screwed that back into the nut and heated that up as well. used the faithful pry bar and BOOM!
than I just went a bought new GRADE 8 7/16-2 long bolts, nut and washers.
THE THREAD I MADE,
https://www.cherokeeforum.com/f67/tr...-bolts-231380/
 This image has been resized. Click this bar to view the full image. The original image is sized 1210x1613.

this was the problem child
This image has been resized. Click this bar to view the full image. The original image is sized 1210x1613.

both bolts and nuts are out
This image has been resized. Click this bar to view the full image. The original image is sized 1210x1613.

new GRADE 8 7/16-2inch long
the front bolt did come out clean so I screwed that back into the nut and heated that up as well. used the faithful pry bar and BOOM!
than I just went a bought new GRADE 8 7/16-2 long bolts, nut and washers.
THE THREAD I MADE,
https://www.cherokeeforum.com/f67/tr...-bolts-231380/
 This image has been resized. Click this bar to view the full image. The original image is sized 1210x1613.
this was the problem child
 This image has been resized. Click this bar to view the full image. The original image is sized 1210x1613.
both bolts and nuts are out
 This image has been resized. Click this bar to view the full image. The original image is sized 1210x1613.
new GRADE 8 7/16-2inch long
12-05-2016, 10:12 AM
#59
Seasoned Member
Thread Starter
Join Date: May 2015
Location: ROCKFORD IL
Posts: 313
Likes: 0
Received 2 Likes
on
2 Posts
Year: 2001
Model: Cherokee
Engine: I6
the front of the jeep is back together and the jeeps driverable
some of my black Friday/cyber Monday items also came in.
still waiting on the Dirt bound center console bracket and mid IRO unibody stiffeners.
old garbage to new garbage

window vents

JCR CB antenna and 2 stickers

Rtic 45 cooler

should be at 3" finally! (that's what she said)
only thing I notice is the passenger rear corner looks low, anybody else see that?

some of my black Friday/cyber Monday items also came in.
still waiting on the Dirt bound center console bracket and mid IRO unibody stiffeners.

old garbage to new garbage

window vents

JCR CB antenna and 2 stickers

Rtic 45 cooler

should be at 3" finally! (that's what she said)
only thing I notice is the passenger rear corner looks low, anybody else see that?
 12-08-2016, 09:35 AM
#60
Seasoned Member
Thread Starter
Join Date: May 2015
Location: ROCKFORD IL
Posts: 313
Likes: 0
Received 2 Likes
on
2 Posts
Year: 2001
Model: Cherokee
Engine: I6
my dirt bound center console came in

I am still waiting on more items to show up. hopefully they get here before Friday.

I am still waiting on more items to show up. hopefully they get here before Friday.