Black Phoenix

 03-17-2014, 07:59 AM
#122
CF Veteran
Thread Starter
Join Date: Jan 2013
Location: west chester, pa
Posts: 19,216
Likes: 0
Received 39 Likes
on
35 Posts
Year: 1999
Engine: 4.0
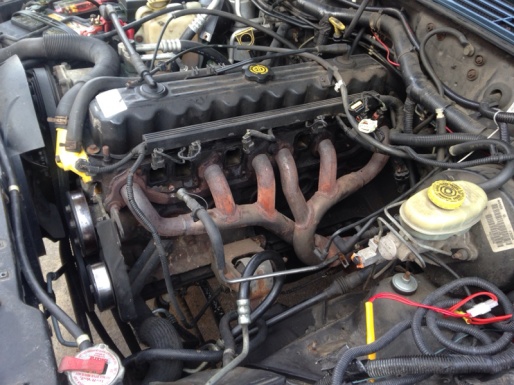
Well, yesterday, I did the intake swap along with new gasket...
It always rev up to 1,500-ish at start up. After the swap, it rev up to 750 at start up. People have always said I had an intake leak. Due to a cracked manifold they said.
It turns out that the intake manifold was just fine, no cracks or anything on it. The culprit was the smashed gasket. Probably due to the accident that the PO was in. (That's how I got it in the first place).
Advance auto gave me wrong gasket twice. Causing 3 hour delay on the job. They gave me those for the 0331 heads.
I gave up so I decided to enlarge the holes on gasket to match the 0630 head. Since the proper gasket won't be available for a couple days and I had already took the intake manifold and stuff out of the jeep.
I think it look pretty good and shifts much better in addition to running better too. Next is valve cover gasket. Gotta clean that oil mess up.
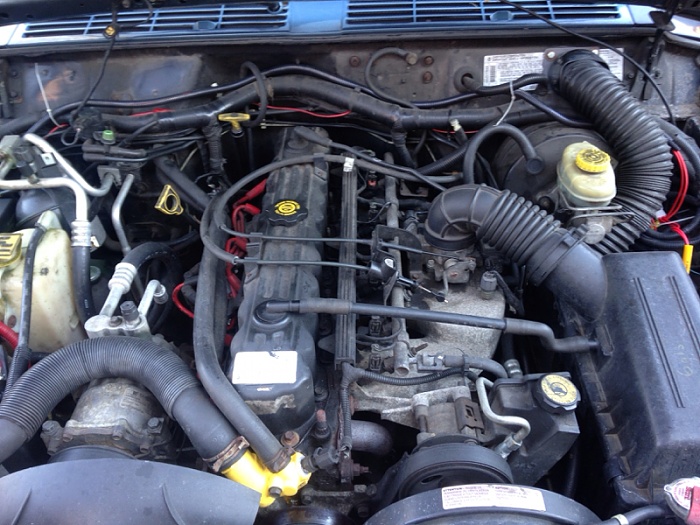
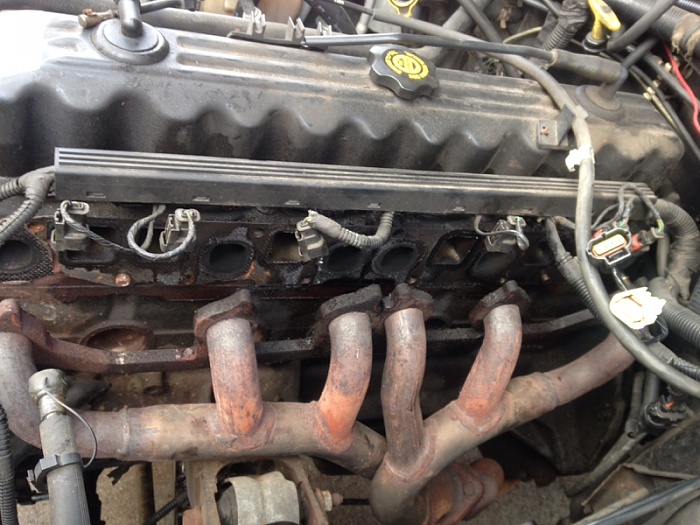
The "before" shot
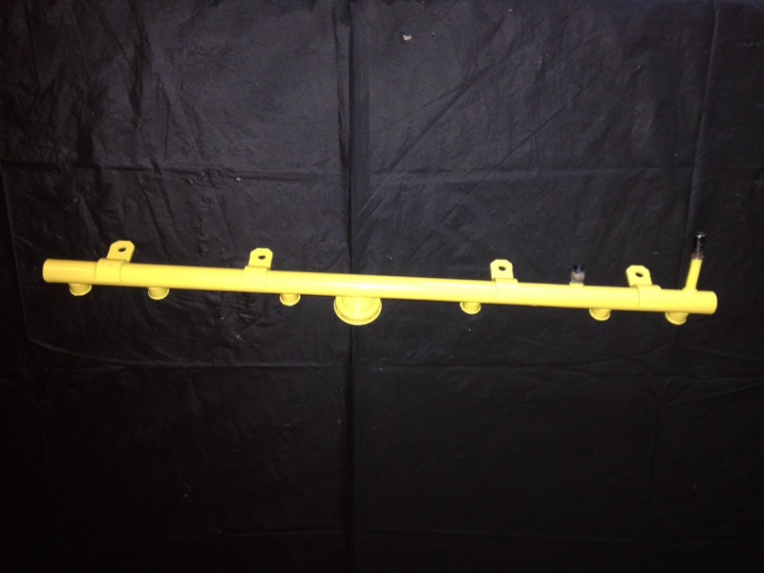
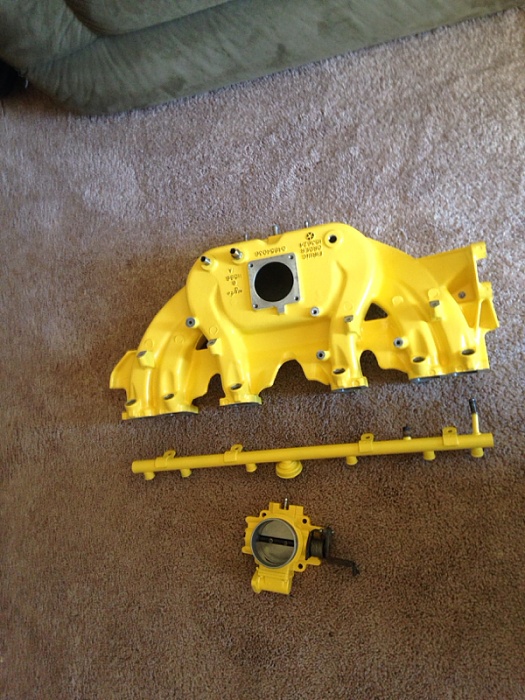
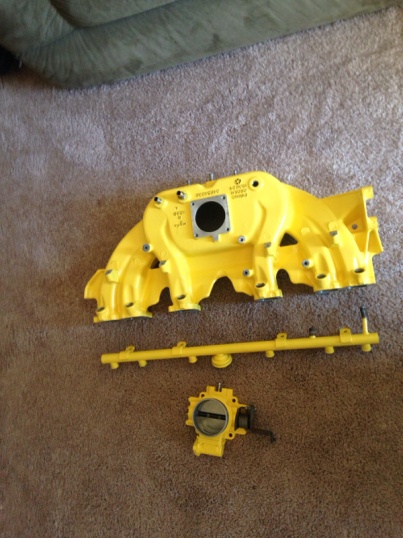
The painted parts
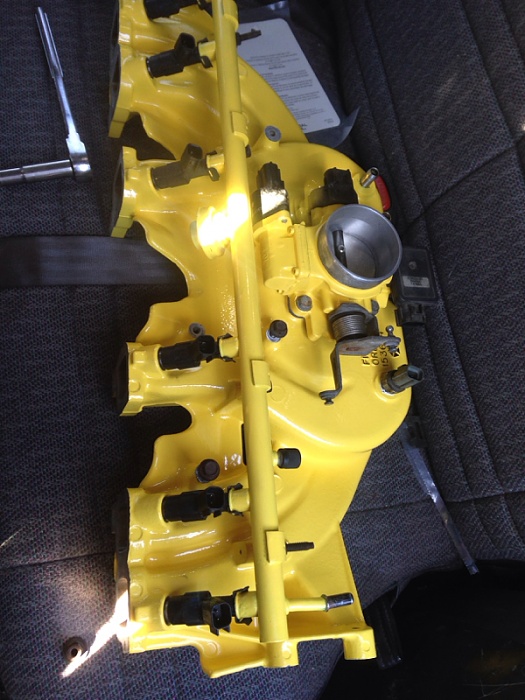
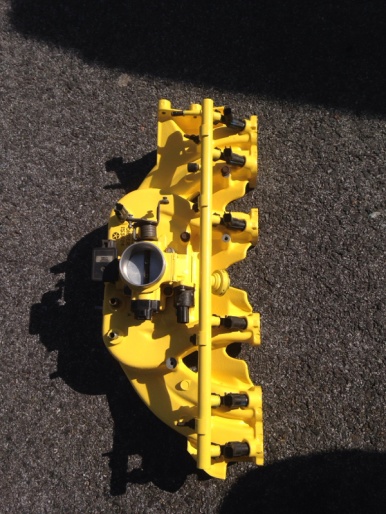
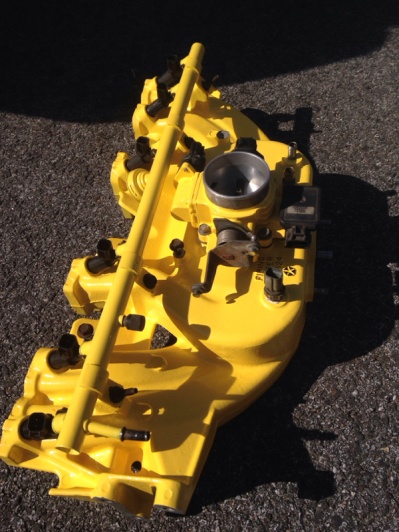
The assembled parts


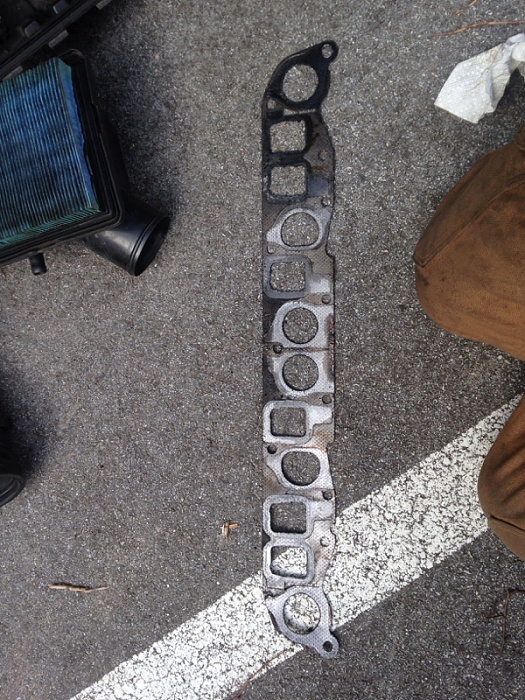
The difference between the old and new gasket
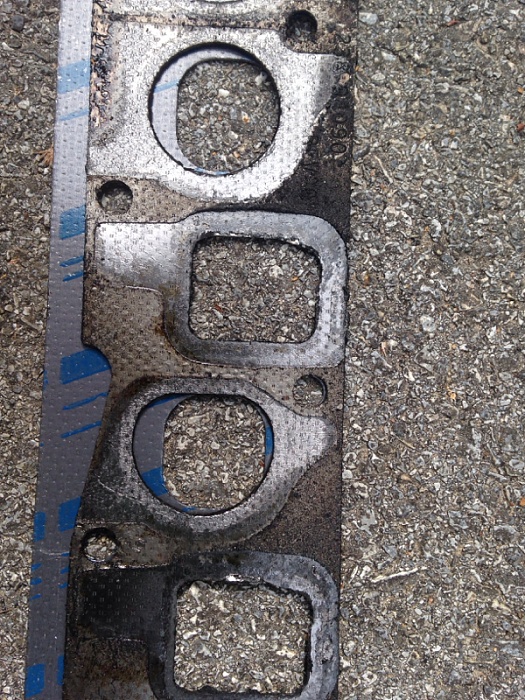
The old gasket
Looks like someone jb welded the crack on pipe too lol

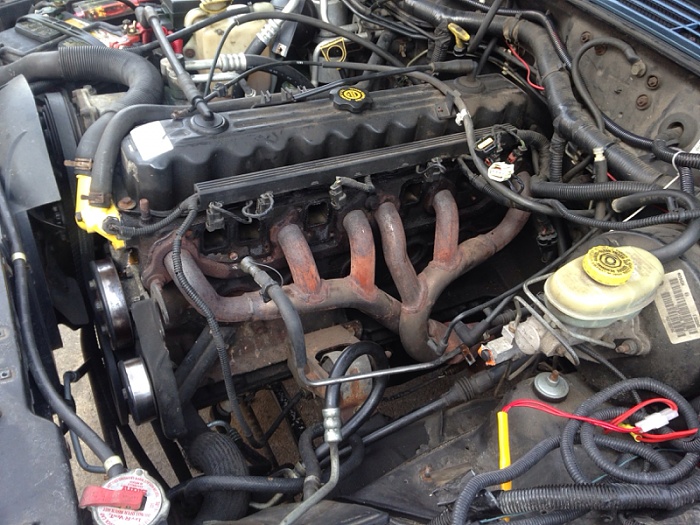
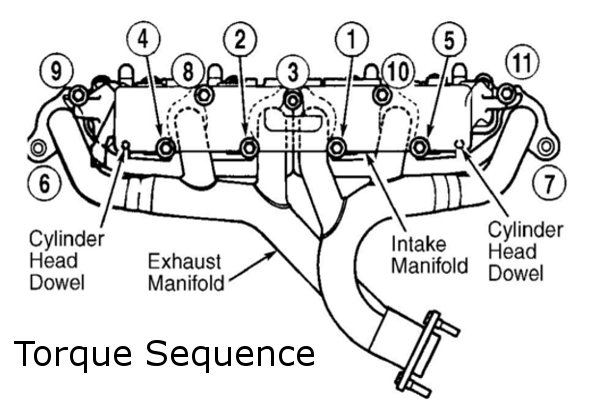
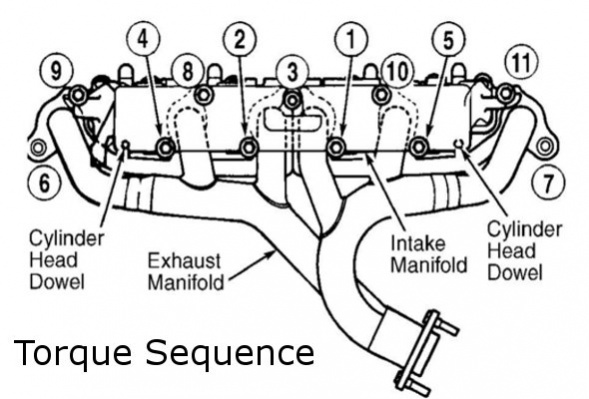
I used this picture to help with torquing down the manifolds
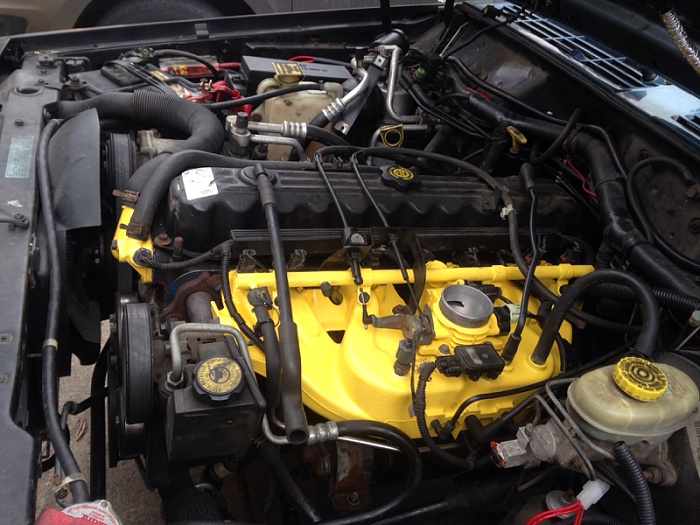
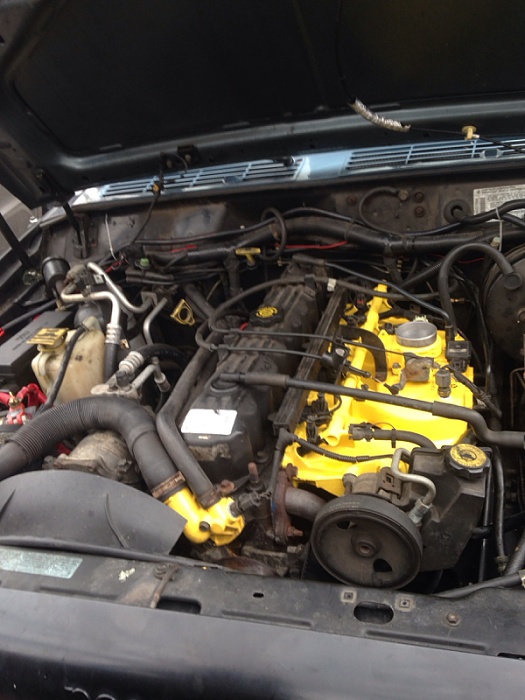
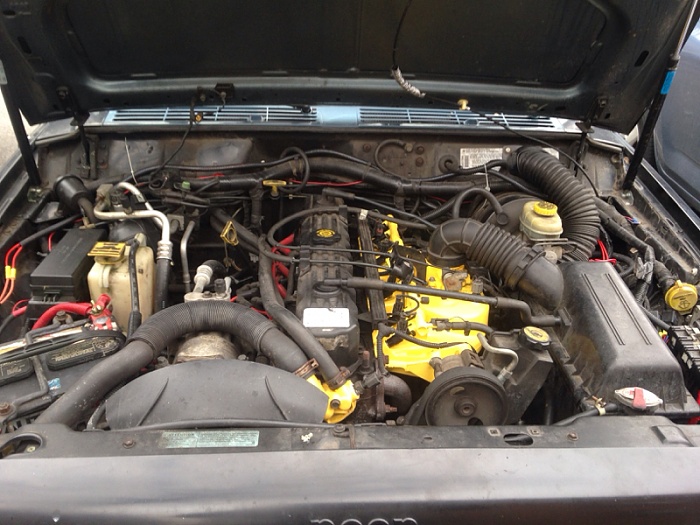
The completed installation.
It always rev up to 1,500-ish at start up. After the swap, it rev up to 750 at start up. People have always said I had an intake leak. Due to a cracked manifold they said.
It turns out that the intake manifold was just fine, no cracks or anything on it. The culprit was the smashed gasket. Probably due to the accident that the PO was in. (That's how I got it in the first place).
Advance auto gave me wrong gasket twice. Causing 3 hour delay on the job. They gave me those for the 0331 heads.
I gave up so I decided to enlarge the holes on gasket to match the 0630 head. Since the proper gasket won't be available for a couple days and I had already took the intake manifold and stuff out of the jeep.
I think it look pretty good and shifts much better in addition to running better too. Next is valve cover gasket. Gotta clean that oil mess up.
The "before" shot

The painted parts
The assembled parts

The difference between the old and new gasket
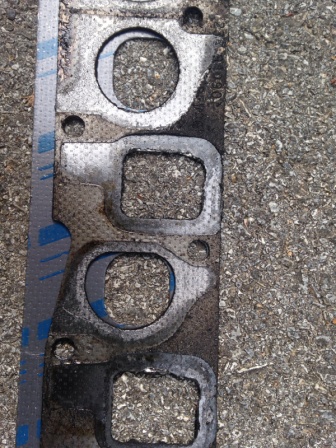
The old gasket


Looks like someone jb welded the crack on pipe too lol

I used this picture to help with torquing down the manifolds
The completed installation.


 03-17-2014, 08:45 AM
#123
CF Veteran
Join Date: Dec 2012
Location: York, PA
Posts: 4,169
Likes: 0
Received 6 Likes
on
6 Posts
Year: 1998
Model: Cherokee
Engine: 4.0
Sweeeet. That torque diagram is yet another thing the Hayne's manual lacks. It's a bit of a pain to do until you do it 3 times.
Mine hasn't cracked yet (fingers crossed) but when it does I will likely just weld it shut, lol
Mine hasn't cracked yet (fingers crossed) but when it does I will likely just weld it shut, lol
03-17-2014, 08:56 AM
#125
CF Veteran
Join Date: Dec 2012
Location: York, PA
Posts: 4,169
Likes: 0
Received 6 Likes
on
6 Posts
Year: 1998
Model: Cherokee
Engine: 4.0
Mine has 2.5" from the cat back. It was converted at some point prior to my ownership. The cat has the factory 2.25" input and 2.5" output.
03-18-2014, 10:01 AM
#128
CF Veteran
Join Date: Dec 2012
Location: York, PA
Posts: 4,169
Likes: 0
Received 6 Likes
on
6 Posts
Year: 1998
Model: Cherokee
Engine: 4.0
You've had that kit forever lol. I just talked a local buddy of mine out of getting a Rusty's kit and directed him to Allen for the RK kit. He ordered it the same day. Win
03-18-2014, 10:03 AM
#129
CF Veteran
Thread Starter
Join Date: Jan 2013
Location: west chester, pa
Posts: 19,216
Likes: 0
Received 39 Likes
on
35 Posts
Year: 1999
Engine: 4.0
What did he get? The 3 link or 4 link?
03-23-2014, 04:49 PM
#130
CF Veteran
Thread Starter
Join Date: Jan 2013
Location: west chester, pa
Posts: 19,216
Likes: 0
Received 39 Likes
on
35 Posts
Year: 1999
Engine: 4.0
Pretty good weekend.
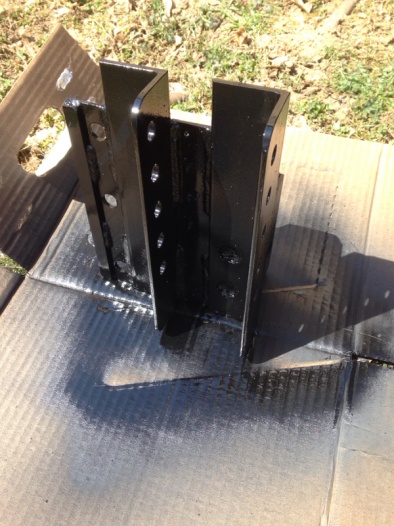
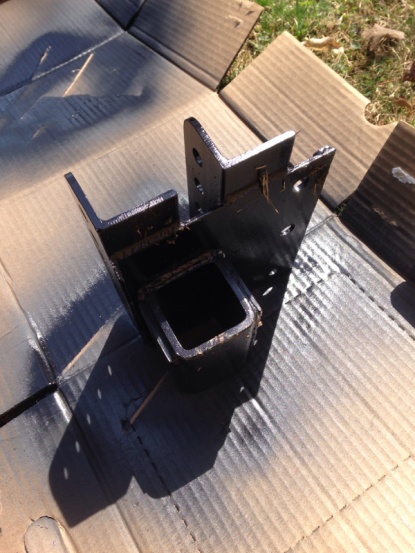
Installed the two RockKrawler brackets on the frame. It was really tough due to my frame stiffeners. Had to trim the pinch seam and the spacers that came with the kit.

I'm gonna weld some stitch welds on the brackets next weekend.
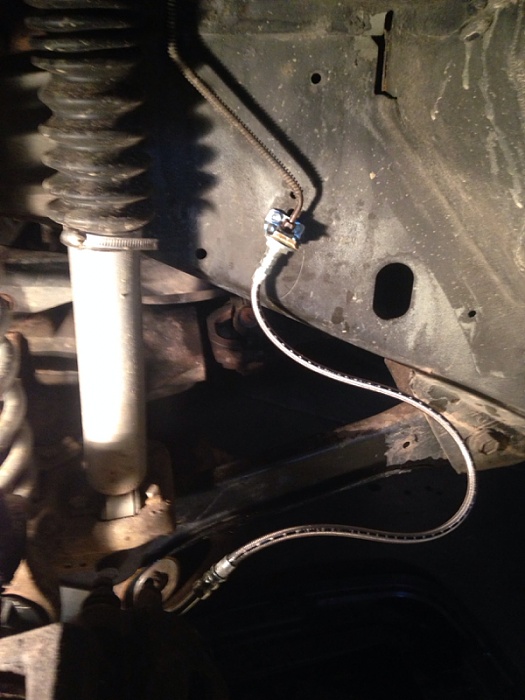
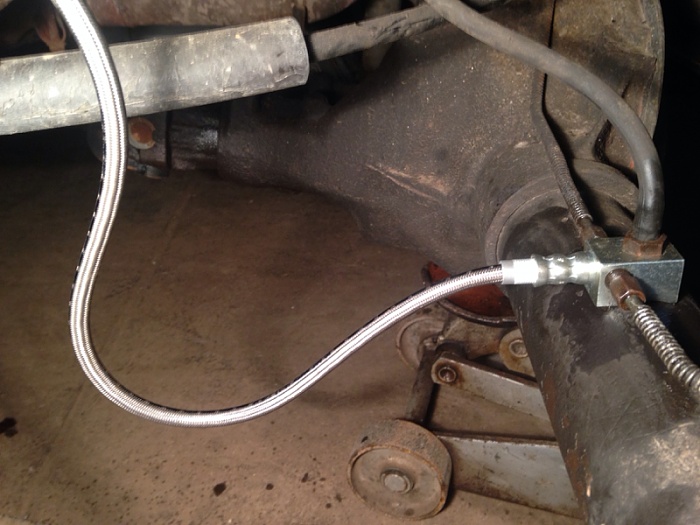
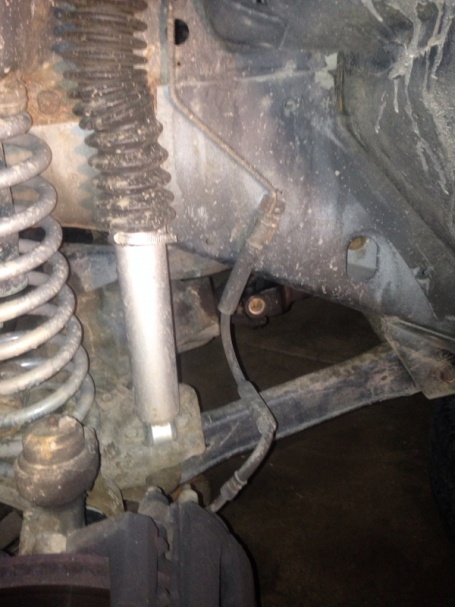
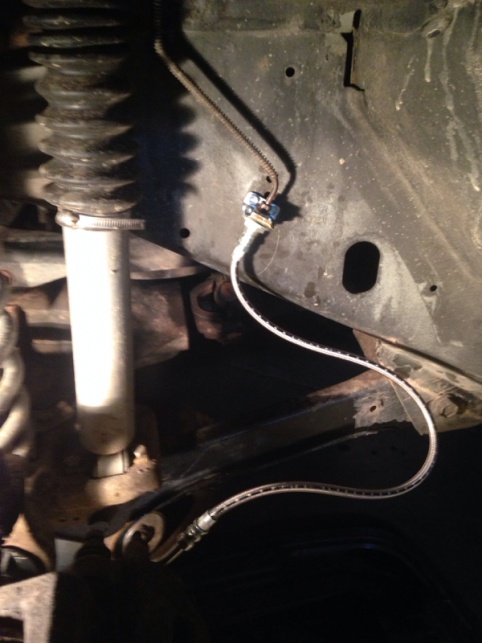
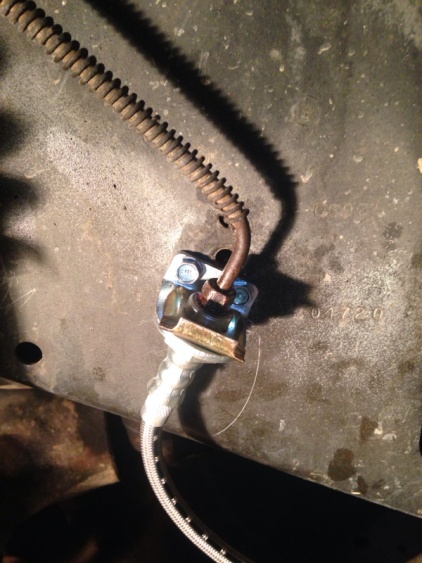
Today installed new stainless steel brake hoses (extended for 6 inch lift)
Pretty straight forward.


Gonna do the 3 link next weekend, at my friennd's shop.
Installed the two RockKrawler brackets on the frame. It was really tough due to my frame stiffeners. Had to trim the pinch seam and the spacers that came with the kit.
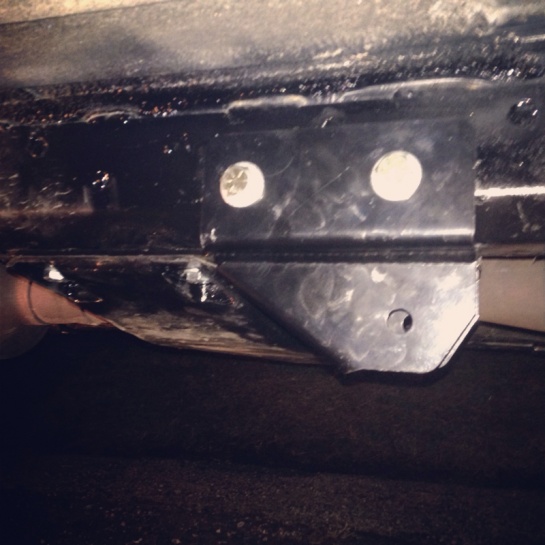
I'm gonna weld some stitch welds on the brackets next weekend.
Today installed new stainless steel brake hoses (extended for 6 inch lift)
Pretty straight forward.

Gonna do the 3 link next weekend, at my friennd's shop.
04-03-2014, 06:00 AM
#131
CF Veteran
Thread Starter
Join Date: Jan 2013
Location: west chester, pa
Posts: 19,216
Likes: 0
Received 39 Likes
on
35 Posts
Year: 1999
Engine: 4.0
If u haven't already done this, I would recommend u to do this..
http://www.naxja.org/forum/showpost.php?p=245993828
http://www.naxja.org/forum/showpost.php?p=245993828
04-15-2014, 11:29 AM
#132
CF Veteran
Thread Starter
Join Date: Jan 2013
Location: west chester, pa
Posts: 19,216
Likes: 0
Received 39 Likes
on
35 Posts
Year: 1999
Engine: 4.0
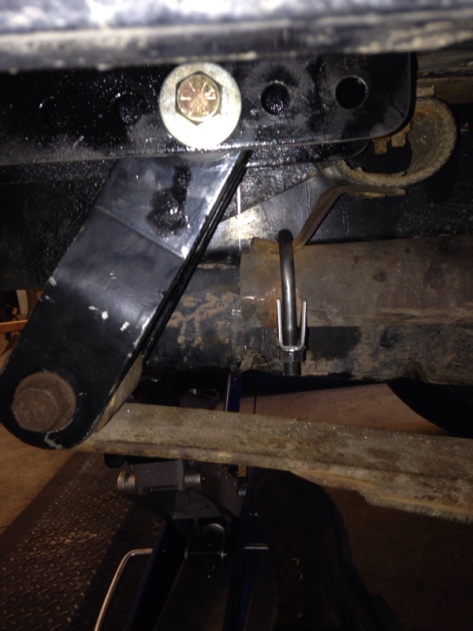
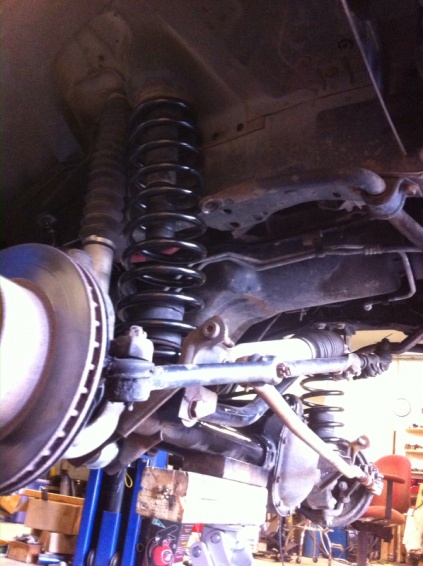
Well it was a busy weekend. I'm still sore from the wrenching, ha.
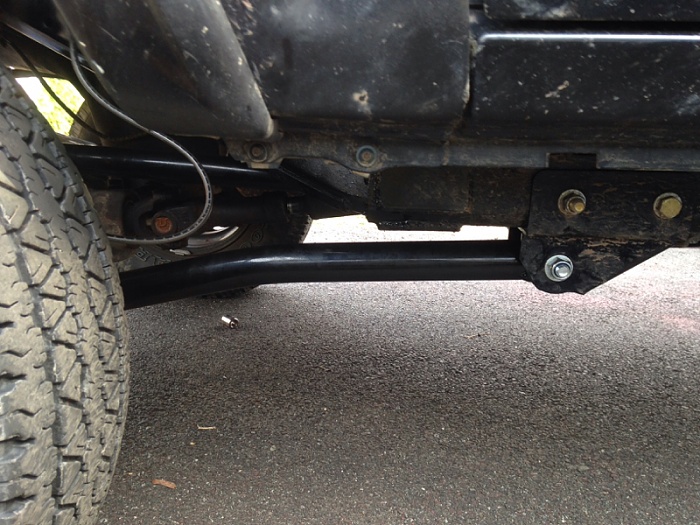
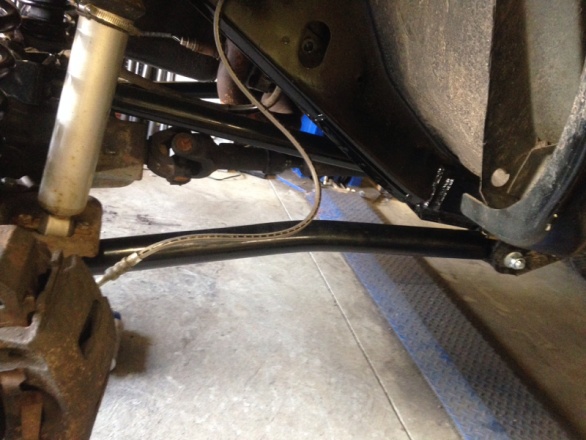
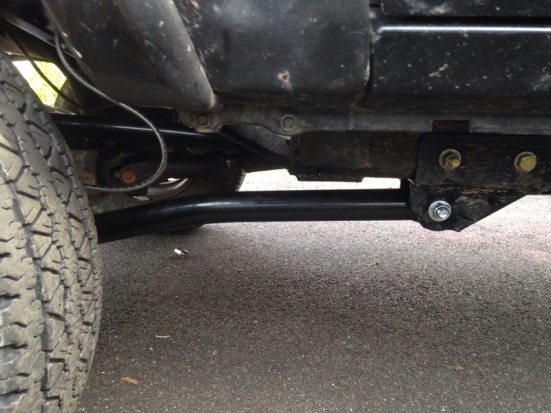
Installed the RockKrawler 3 link on the jeep and did a few other stuff at the same time.
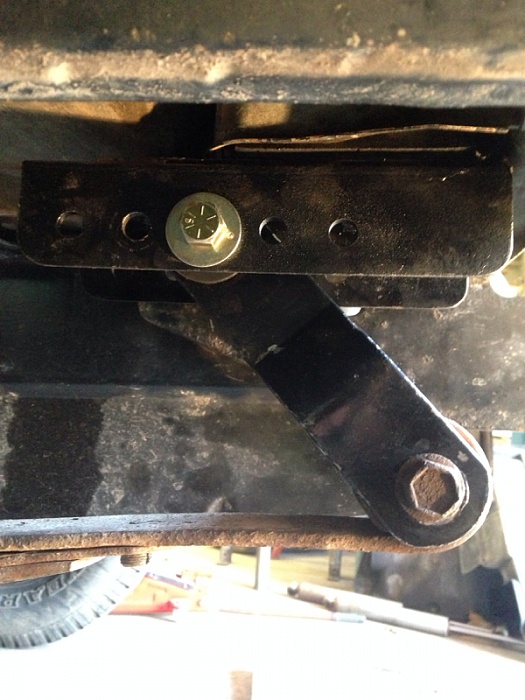
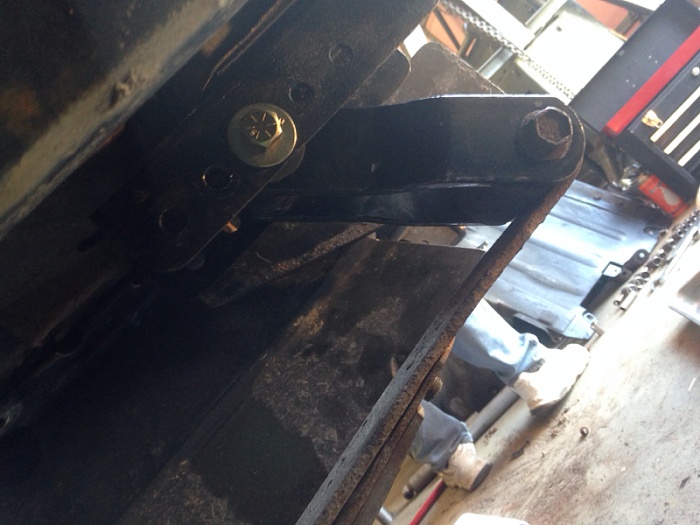
Friday night, I removed the hitch and the gas tank skid because I was making shackle relocation brackets. I tied it by sandwiching it into the uniframe using nutstrips and the gas tank skid/ hitch combo.
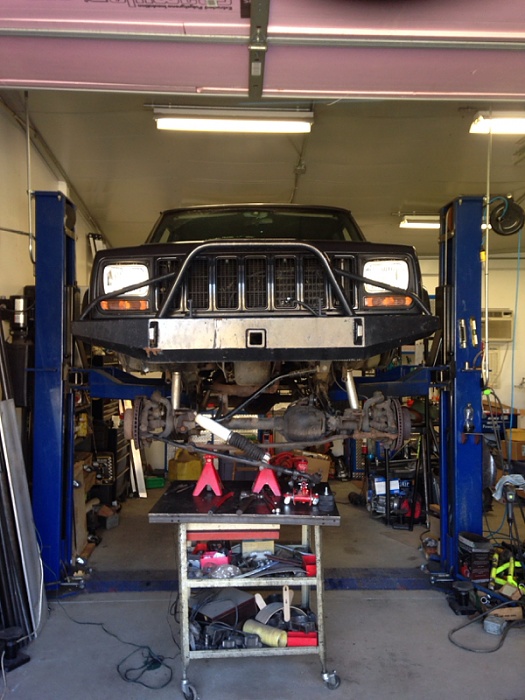
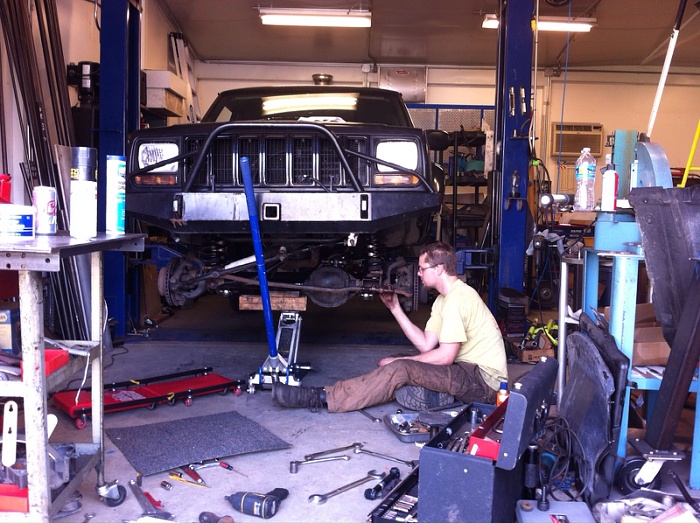
Saturday I went over to my friend's house, he has a car lift which would make it easy to do everything.
Since I was putting on the new lift at the same time, I decided to remove the OEM shackles (good thing I used kroil few times the week beforehand) and I didn't have any hard time removing the old bolts.
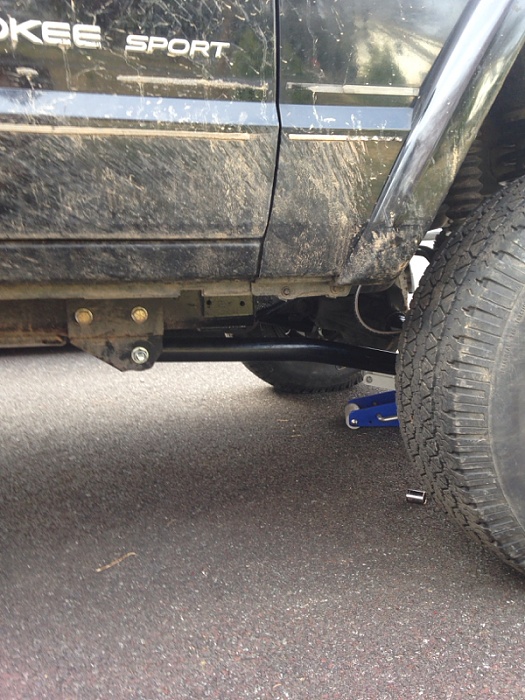
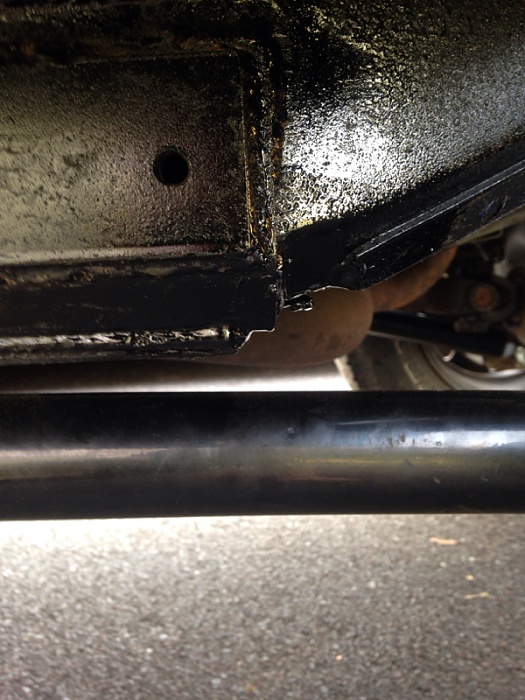
Welded up the relocation brackets, and installed it along with Teraflex 1.5 lift shackles (it looked like 2 inches to me). I bought it used from a member here and he told me it was 1.5. Anyway I put new bushings on it. I had to cut off the exhaust pipe because it was interfering with the shackle and the eye on the leaf. I'm gonna weld a straight tube to the tailpipe at a later date.
I also decided to throw out the rear bumper end caps.


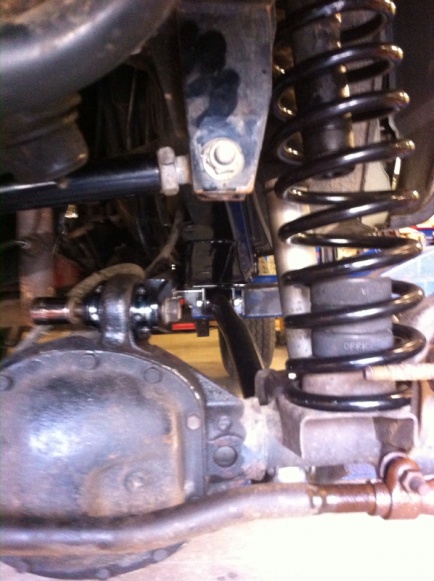
Now to the front. Like I already mentioned, I'm putting on the new lift at the same time, so I started by lifting the whole jeep and removed the lower shock bolts and sway bar links, disconnected the track bar and the draglink, and lowered the axle enough that the coils could be popped off.
OEM control arms came off next. Then I removed the bushing on the cast iron pumpkin because the kit came with the spherical joint. Then I started on cutting off the passenger upper mount off the axle and both lower mounts on the frame.
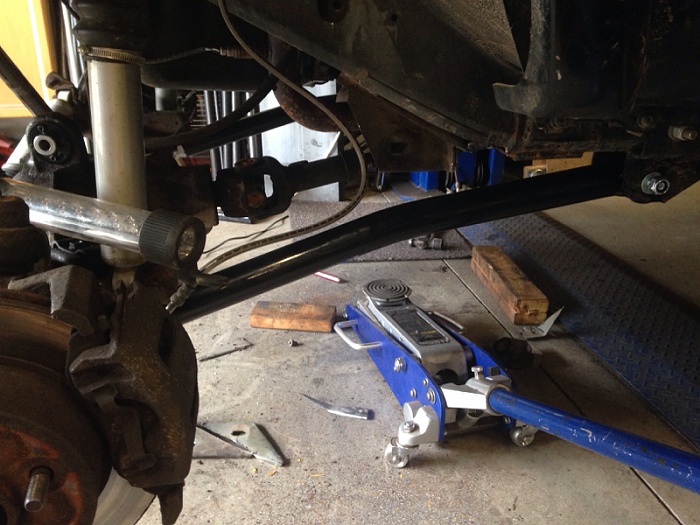
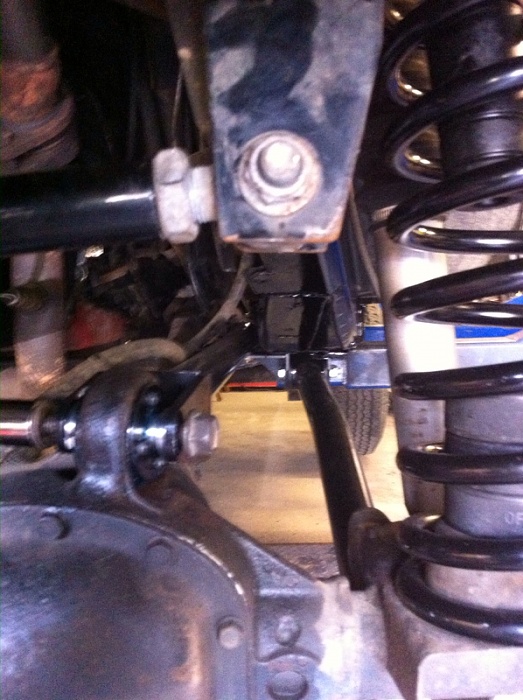
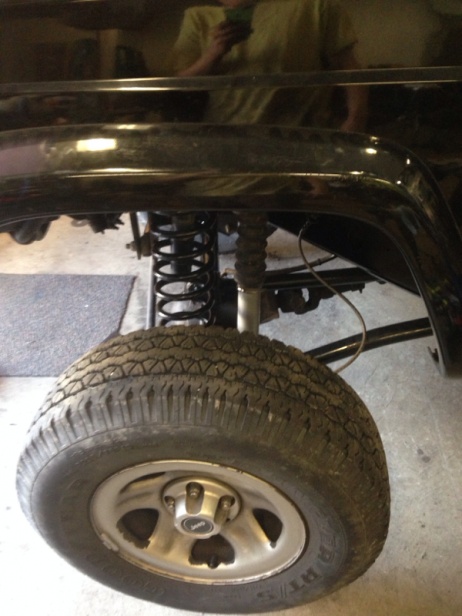
The lower arms went on then the upper arm. No clearance issues but I did have to zip tie the front axle vent tube away. I put up the 1.5 extended bump stops and drilled holes on the coil pads for the hockey pucks. Next, the 4.5 Rubicon Express coils went on.
Reconnected the shock mounts, drag link, and the track bar.
For now I decided to drive around with no front sway bar to see what it's like.
We did the driveway alignment to make sure the track bar had the axle centered in line with the rear axle. And then centered the steering wheel and adjusted the caster angle on the front axle.
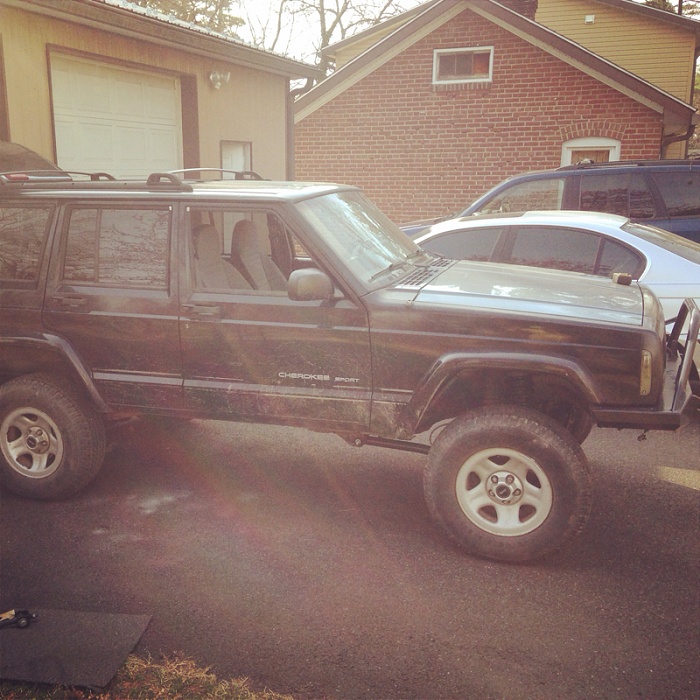
Drove around and I'm surprised how good it performed.
Here's some pictures


I also greased all the joints, ball joints, tie rods, and driveshafts before going on the test drive.
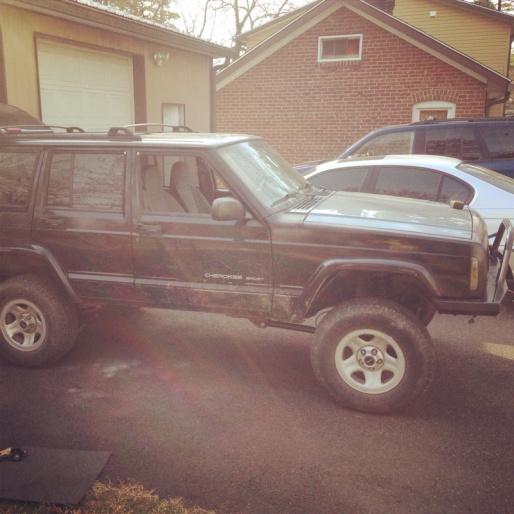
Overall I'm happy with the new lift and the long arms.
Now if I could find something to flex on....
Installed the RockKrawler 3 link on the jeep and did a few other stuff at the same time.
Friday night, I removed the hitch and the gas tank skid because I was making shackle relocation brackets. I tied it by sandwiching it into the uniframe using nutstrips and the gas tank skid/ hitch combo.
Saturday I went over to my friend's house, he has a car lift which would make it easy to do everything.
Since I was putting on the new lift at the same time, I decided to remove the OEM shackles (good thing I used kroil few times the week beforehand) and I didn't have any hard time removing the old bolts.
Welded up the relocation brackets, and installed it along with Teraflex 1.5 lift shackles (it looked like 2 inches to me). I bought it used from a member here and he told me it was 1.5. Anyway I put new bushings on it. I had to cut off the exhaust pipe because it was interfering with the shackle and the eye on the leaf. I'm gonna weld a straight tube to the tailpipe at a later date.
I also decided to throw out the rear bumper end caps.


Now to the front. Like I already mentioned, I'm putting on the new lift at the same time, so I started by lifting the whole jeep and removed the lower shock bolts and sway bar links, disconnected the track bar and the draglink, and lowered the axle enough that the coils could be popped off.
OEM control arms came off next. Then I removed the bushing on the cast iron pumpkin because the kit came with the spherical joint. Then I started on cutting off the passenger upper mount off the axle and both lower mounts on the frame.
The lower arms went on then the upper arm. No clearance issues but I did have to zip tie the front axle vent tube away. I put up the 1.5 extended bump stops and drilled holes on the coil pads for the hockey pucks. Next, the 4.5 Rubicon Express coils went on.
Reconnected the shock mounts, drag link, and the track bar.
For now I decided to drive around with no front sway bar to see what it's like.
We did the driveway alignment to make sure the track bar had the axle centered in line with the rear axle. And then centered the steering wheel and adjusted the caster angle on the front axle.
Drove around and I'm surprised how good it performed.
Here's some pictures


I also greased all the joints, ball joints, tie rods, and driveshafts before going on the test drive.
Overall I'm happy with the new lift and the long arms.
Now if I could find something to flex on....