When you click on links to various merchants on this site and make a purchase, this can result in this site earning a commission. Affiliate programs and affiliations include, but are not limited to, the eBay Partner Network.
It's back to the drawing board on the light mounts. They are lighting up the hood like an operating table. I'm going to do some research to find the best solution for this problem. I'm sure a 50" light bar mounted on the A-pillars would solve everything, but I'm stubborn and want to make these work.
My XJ came with a sagging headliner. I had planned to wait and do the interior later but the foam backing was deteriorated and raining down on my head and everything else in the truck.
The previous owner had used some wooden slats to hold up the material.
I found the headliner material at
Jo-Ann's, and bought the spray adhesive from Oreilly's.
Headliner removed
This thing was a mess. The fabric fell completely off when I pulled it out.
I was surprised how easily the board cleaned up. I used a stiff brush to get it off and the shop vac for clean up.
I laid out the material and sprayed on the adhesive
I dropped a corner when laying the fabric down and it folded over and bonded instantly. I was able to pull it apart but it pulled the foam backing off the outer edge that overhung. It left a small area on the drivers side with a puffy spot. It's not very noticeable but still a little aggravating to have to live with a less than perfect headliner after all the effort.
Getting everything back together was the most aggravating part of the whole process. I didn't do an effective job of poking out all the screw holes and the visors and speakers gave me a fit.
I got everything reinstalled and finished up just as it was getting dark.
I read to use two cans and apply three layers of adhesive but I ran out and only put on two layers in the back. I'll keep my fingers crossed it doesn't fall off in a week. I'm glad this project is behind me.
I'm pleased overall with the results, and hope it lasts for several years.
Last edited by Van_Homan; 07-16-2017 at 04:02 PM.
Reason: Grammar
The carpet in the XJ was very dirty. I had hoped to replace it but there's no money in the budget for new carpet so I figured I would give it a deep clean and see how it comes out.
I started by removing everything including the seats and console.
Once empty I vacuumed it out.
I've never owned a vehicle with carpet this dirty, and I've had some old cars. It actually looked like a crime scene.
I sprayed degreaser on the worst spots and then scrubbed the entire carpet with a stiff brush and dish detergent.
I then vacuumed up all the dirty water with the wet dry vac.
I then repeated the process two more times.
I also took the opportunity to clean the console and all the interior trim. To my surprise the carpet cleaned up well. It's by no means perfect but looks 100% better and only cost the price of a can of de-greaser.
After 24 hours the smell of the degreaser is still very strong. I think I overdid it. I put a bucket of charcoal inside to help absorb order. I also sprinkled baking soda over all the carpet to help absorb the smell and I'm leaving a 5lb bag of it sitting inside tonight to see if that speed up the ordor removal.
Hopefully in a few days the carpet will begin to smell better.
Last edited by Van_Homan; 07-23-2017 at 01:21 PM.
Reason: Photobucket policy change
Man your carpet looks great. I would try to clean mine but it wouldn't take long for it to get dirty again. I would really like to get a set of QuadraTec liners for the whole rig instead. Then clean it up and install the liners.
Man your carpet looks great. I would try to clean mine but it wouldn't take long for it to get dirty again. I would really like to get a set of QuadraTec liners for the whole rig instead. Then clean it up and install the liners.
Thanks. I was checking out those Quadratec mats last night. They are definitely on my list. I figured I would clean it up really nice and take a bunch of pictures before it gets used and dirty. It also motivates me to do the next thing on my list. Lol
That turned out cleaner than I would have expected. Great job man.
Thank you. I'm satified with the results. I scrubbed them again last night to get the smell of the degreaser out. I definitely went overboard with that stuff.
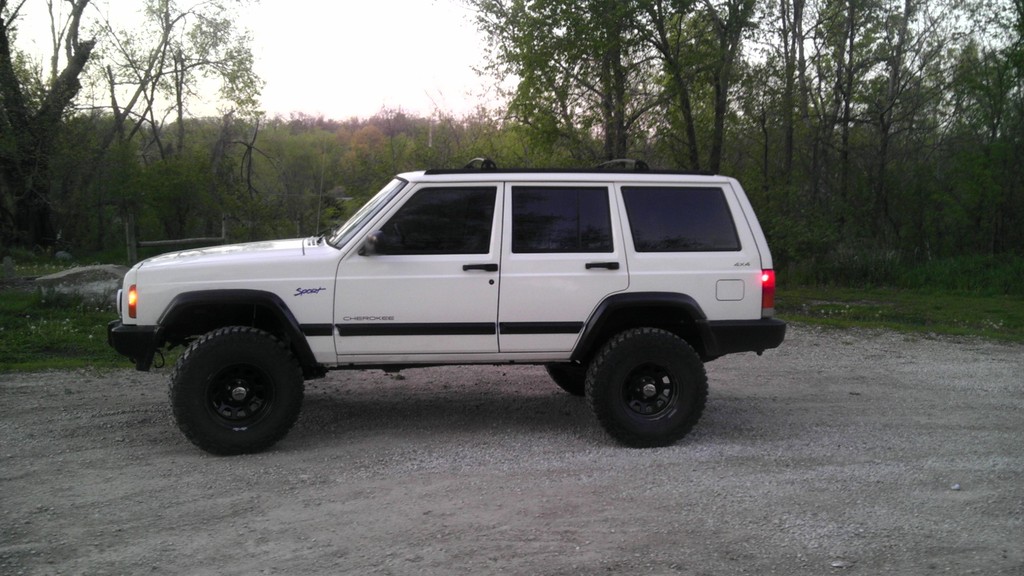
Looks great man! I have a white 97 cherokee. I am considering taking off the trim on my doors, yours looks good! I also have the nasty carpet like yours. I took the carpet cleaner too it when i bought it but may take the seats out and do like you did.
Looks great man! I have a white 97 cherokee. I am considering taking off the trim on my doors, yours looks good! I also have the nasty carpet like yours. I took the carpet cleaner too it when i bought it but may take the seats out and do like you did.
clean ride. Interested in seeing what you do for the canoe?kyak rack? Ive got the yakima bars but they stick up a little high. im not quite sure if i like it or not
 05-31-2015, 09:13 PM